At times, even after following appropriate fixes, some issues don’t get resolved on Windows. For example, if you are facing the no sound issue on Windows 11, it’s likely you need to download Windows 11 and perform a clean install to fix the problem. Along the same lines, the black screen issue on Windows 11 is a frustrating snag that repeats after every update. To resolve all these problems, it’s better to start from a clean slate. So in this guide, we bring you a simple tutorial on how to download Windows 11 from Microsoft’s official website and also, clean install Windows 11 on any PC. So without wasting any time, let’s jump to the steps.
How to Download Windows 11 (Updated Feb 2023)
We have explained the steps to download Windows 11 from Microsoft’s official website. In addition, we have added detailed steps on how to clean install Windows 11 on your PC right away. You can move to the relevant section from the table below.
Download Windows 11 From the Official Microsoft Website
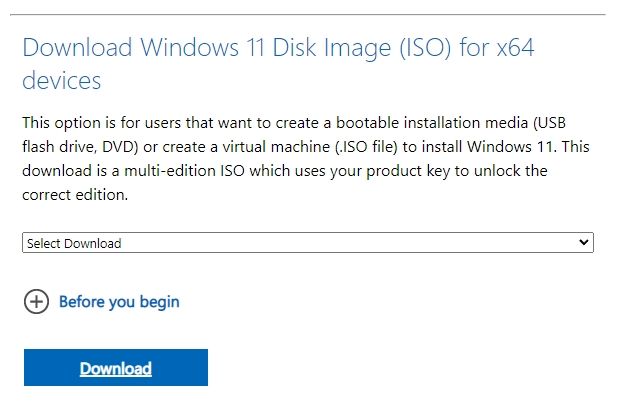
1. First of all, open Microsoft’s official page to download Windows 11. Once here, scroll down and move to the “Download Windows 11 Disk Image (ISO) for x64 devices” section.
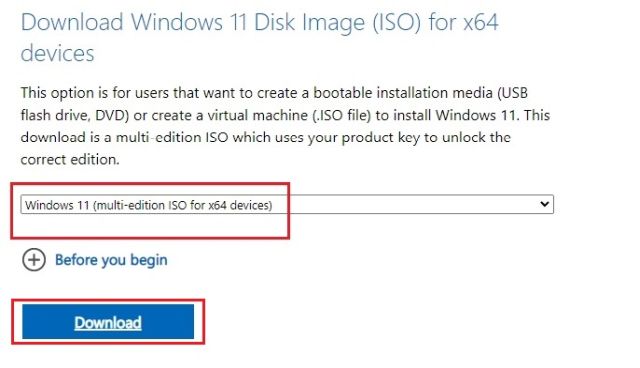
2. Here, select “Windows 11 (multi-edition ISO for x64 devices)” and click on “Download”.
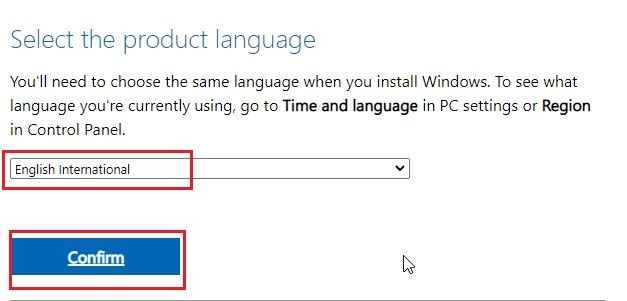
3. Now, choose the product language from the drop-down menu and click on “Confirm”.
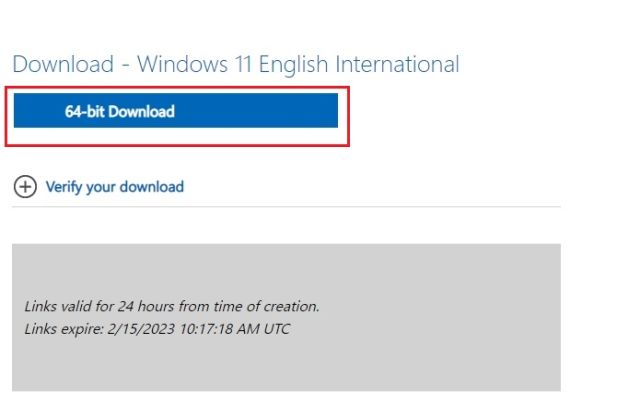
4. Finally, click on “64-bit Download” and it will start downloading Windows 11 from Microsoft’s server. The file size will be over 5 GB.
How to Perform a Clean Install of Windows 11
1. Go ahead and download Rufus from here. It’s a free and open-source program that lets you quickly create an installation media. Now, insert a USB thumb drive into your PC and launch Rufus. It will automatically detect the USB drive.

2. Next, click on “Select” and choose the Windows 11 file you downloaded above.
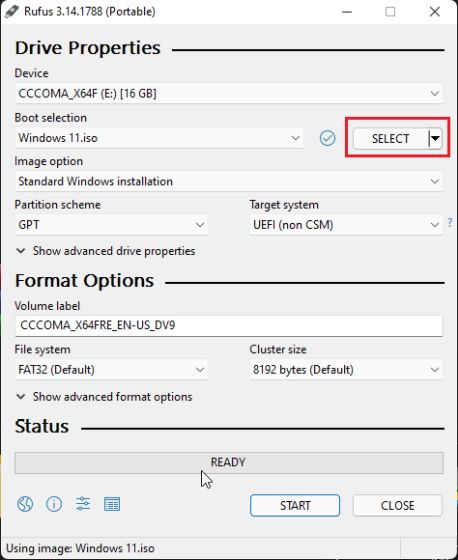
3. After that, keep everything as default and click on “Start” at the bottom.

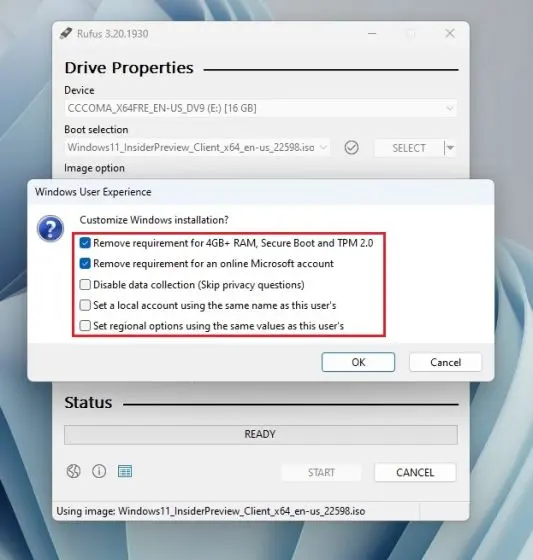
4. A small pop-up will appear. Rufus now allows users to remove most of Microsoft’s requirements for Windows 11’s installation. You can remove the requirement for an online Microsoft account. Further, if you want to set a local account name, disable data collection, and bypass other Windows 11 requirements, you can do that too.
4. After the flashing process is done, close Rufus and restart your computer. As your PC boots up, start pressing the boot key continuously.
Note: On HP laptops, pressing the “Esc” key during startup brings up the Startup menu. For other laptops and desktops, you will have to look for the boot key on the Internet. It should be one of these: F12, F9, F10, etc.

5. Now, select the USB drive on which you flashed Windows 11 and hit Enter.

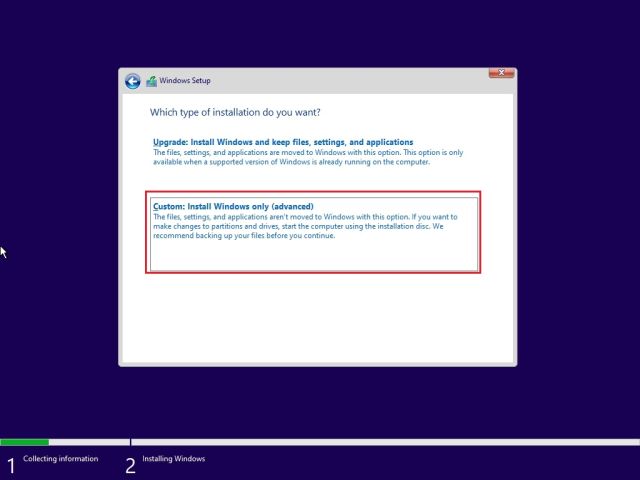
6. You will then boot into the Windows 11 installer setup. Follow this path: Next -> Install Now -> I don’t have a product key -> Select edition -> Custom.
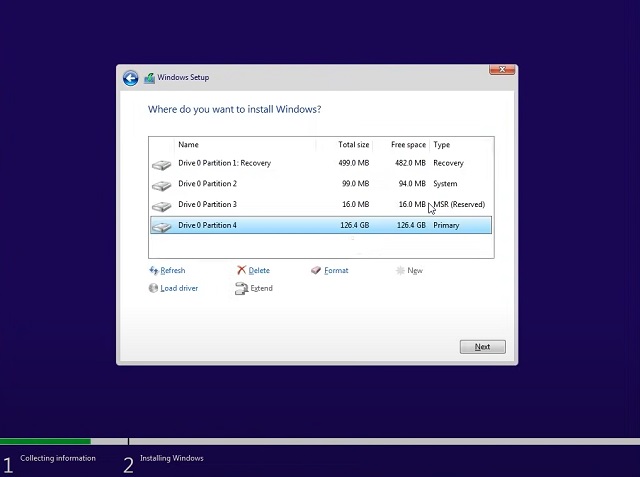
7. Here, select the partition where you want to install Windows 11 and click on the “Next” button. Generally, it’s the “C” drive.
8. And that’s it. A fresh copy of Windows 11 will now be installed on your PC. If you face any error here, you can follow our guide and bypass Windows 11’s requirements including CPU, TPM, Secure Boot, and more.
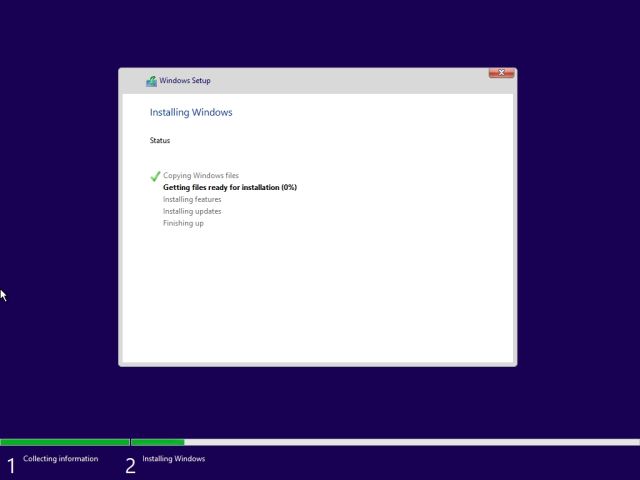
9. After the installation, when the computer restarts, unplug the USB thumb drive, and you will boot right into Windows 11’s onboarding (OOBE) setup. Now, go ahead and set up Windows 11. In case, you want to create a local account on Windows 11 during setup, follow our tried-and-tested methods from the linked article.

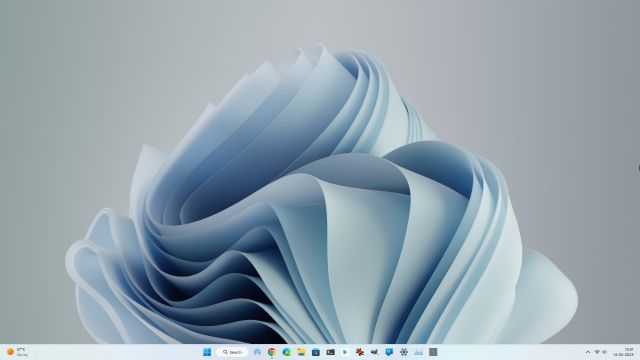
10. And there you have it! Windows 11 clean installed on your PC.
Download and Clean Install Windows 11 on Your PC
So this is how you can download Windows 11 officially from Microsoft’s website. To make things easier, we have also added steps to clean install Windows 11 on any PC. You can also learn how to free up disk space after upgrading to Windows 11. And do adjust the Power Mode settings on Windows 11 to get the best performance out of your PC. Anyway, that is all from us. If you have any questions, comment down below and let us know. We will definitely try to help you out.


