With one Apple ID, you can authorize up to 5 computers for iTunes Store to access all of your music, movies, and other content seamlessly across the devices. So, it doesn’t matter which trusted computer you have, you can stream your favorite flicks and listen to curated playlists without having to hop from one device to the other. But how would you authorize your Mac now as Apple has shut down iTunes in macOS Catalina? Well, the tech giant has ensured the killing of iTunes has no impact on all the related functionalities including this important one. So, whether you are willing to license one of your Macs to access your entire jukebox or planning to sell/give away or send your computer to service, follow along as I show how you can authorize or deauthorize your Mac for iTunes Store purchases in macOS Catalina without any hassle.
Authorize or Deauthorize Mac for iTunes Store Purchases on macOS Catalina
To get started, I would like to brief you about the whole process so that you can get a good hang of it right at the beginning.
So, Does the Whole Process Work Without iTunes?
First off, we are going to unhide the iTunes Store. Yeah, you heard it right! Apple has slightly kept the media library out of sight but you can easily make it show in the stock music app. Once that is done, it becomes business as usual as it has always been. Now that everything is crystal clear, let’s dive straight into the step-by-step breakdown!
Show iTunes Store in Music App on macOS
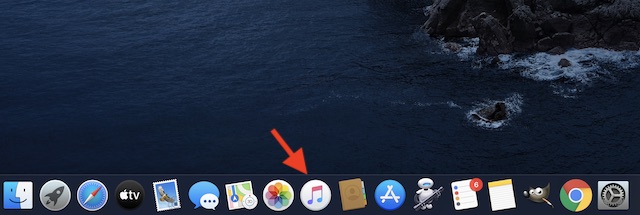
- Launch Music app on your Mac.

2. Now, click on the Music menu and choose Preferences.
3. Ensure that the General tab is selected. Then, check the box for Show located to the left of the iTunes Store. After that, click on OK to finish.
From now onwards, the iTunes Store will show up in the sidebar of the music app. Thus, you can access all of your content. If you ever want to hide it, return to the Music preferences and then uncheck the box for the iTunes Store in the end.
Authorizing or Deauthorizing Mac from iTunes Store
- Launch Music app on your Mac.

2. Now, click on the Account menu and choose Authorizations.
3. Next, you have two options:
Authorize This Computer: Select it if you want to authorize this macOS device. Then, enter your Apple ID and password. After that, click on Authorize to confirm.
Deauthorize This Computer: Select it to deauthorize this macOS device. Then, sign in to your Apple ID and click on De-authorize to finish.
View All of Your Authorized Computers in macOS Catalina
You can also view all of your authorized computers right from the music app. Make sure you are signed in to your account.
- Open Music app on your Mac. Then, click on the Account menu and choose View My Account.
2. Now, you may be prompted to sign in using your Apple ID. Do it.
On the Account Information page, go to the Apple ID summary section. Now, check out the number of computers you have authorized with your Apple ID.
Keep in mind, this section won’t appear if you haven’t authorized two or more computers.
Deauthorize All the Computers
Just in case, you no longer use any computers which you had authorized earlier, you can deauthorize all of them at one go. To do so, click on the Deauthorize All option on the Account info page and confirm.
Note: macOS Catalina lets you see your authorized computers from Apple TV and Apple Books apps as well. The process is quite similar.
Manage Your Authorized Mac for iTunes Store with Ease
So, that’s the right way to manage all the authorized Macs for iTunes Store purchases. While the new music app may not be as versatile as iTunes, it makes the exercise of managing music painless due largely to the clutter-free interface. Besides, it also makes the process of importing songs easy going. Not to mention, the options to hide Apple Music and even access the top 25 most played music which can appeal to those who aren’t a fan of Apple’s streaming service. By the way, have any questions? Toss it up in the comments section below.