Boss fights are some of the most exciting and challenging parts of Silksong, and it’s always a thrill to face them. The only problem is that tracking them down takes time, and learning their patterns takes even longer. Don’t worry, our wise silks have got you covered. This guide will walk you through all Hollow Knight Silksong bosses, their locations, and the best tips and tricks to beat them with ease.
All Bosses in Hollow Knight Silksong: Full List with Locations
Before we dive deeper with all the tips and tricks for each Hollow Knight Silksong boss, here is a list of them, along with their spawn location:
| Boss Name | Location |
|---|---|
| Moss Mother | Moss Grotto |
| Lace | Deep Docks, The Cradle |
| Watcher at the Edge | Sands of Karak |
| Steel Assassin Sharpe | TBA (possibly Steel Soul mode) |
| Shrine Guardian Seth | Shellwood |
| Last Judge | Blasted Steps |
| Bell Beast | The Marrow |
| Sister Splinter | Shellwood |
| Great Conchflies | Blasted Steps |
| Moorwing | Greymoor |
| Fourth Chorus | Far Fields |
| Widow | Bellhart |
| Cogwork Dancers | Cogwork Core |
| Trobbio (Boss) | Whispering Vaults (The Stage) |
| Forebrothers Signis and Gron | Deep Docks |
| Skull Tyrant | The Marrow |
| Phantom | Bilewater (Exhaust Organ) |
| Grand Mother Silk | The Cradle |
| Crust King Khann | Sands of Karak |
| Nyleth | Shellwood |
| Clover Dancers | Verdania |
| Skarrsinger Karmelita | Far Fields |
| Lost Lace | The Abyss |
| Lost Garmond | Blasted Steps |
| Father of the Flame | Underworks |
| Savage Beastfly | Far Fields / Hunter’s March |
| Groal The Great | Bilewater |
| Disgraced Chef Lugoli | Sinner’s Road |
| The Unraveled | Whiteward |
| First Sinner | The Slab |
| Pinstress (Boss) | Mount Fay |
| Gurr the Outcast | Far Fields |
| Crawfather | Crawlake |
| Palestag | Verdania |
| Bell Eater | Grand Bellway |
| Tormented Trobbio | Whispering Vaults |
| Second Sentinel (Boss) | High Halls |
| Voltvyrm | Sands of Karak |
| Raging Conchfly | Sands of Karak |
| Broodmother | The Slab |
| Plasmified Zango | TBA |
| Shakra (Boss) | Bilewater / Greymoor |
| Skarrgard | The Marrow |
| Craggler | The Marrow |
| Choir Clapper | The Forum Room |
| Summoned Saviour | Bonegrave (Steel Soul Mode) |
How to Defeat Every Boss in Silksong
There are 42 major bosses and 3 sub-bosses in Hollow Knight Silksong. Some are optional challenges, but most must be defeated to gain new skills, secure valuable items, or unlock access to new areas. You will also find some specific bosses only during the Steel Soul mode. Below is a complete list of every boss in Silksong, along with strategies and tips to help you defeat them.
Moss Mother
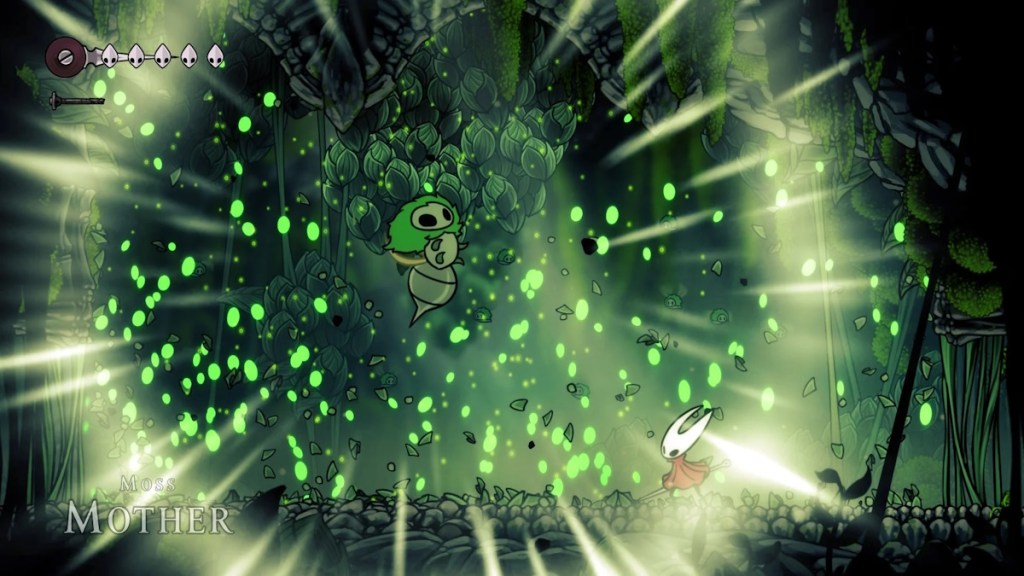
- Dodge her swooping stinger by timing a simple jump. You can immediately do a side sweep attack to deal damage.
- When she’s stunned (look for that spinning halo), sneak in extra hits.
- In phase two, clear her offspring quickly so you’re not crowded. Keep the heal handy.
Lace

- Keep your distance and dodge her rapid fencing thrusts by jumping at the right time.
- Against her, only pogo when she’s grounded and attacking forward.
- Watch the platform edges: don’t get burned by lava when focusing on offense.
- Similarly, when you fight her in the Citadel, look for the AOE attack and stay away from the edges. Falling will take away health.
Watcher at the Edge
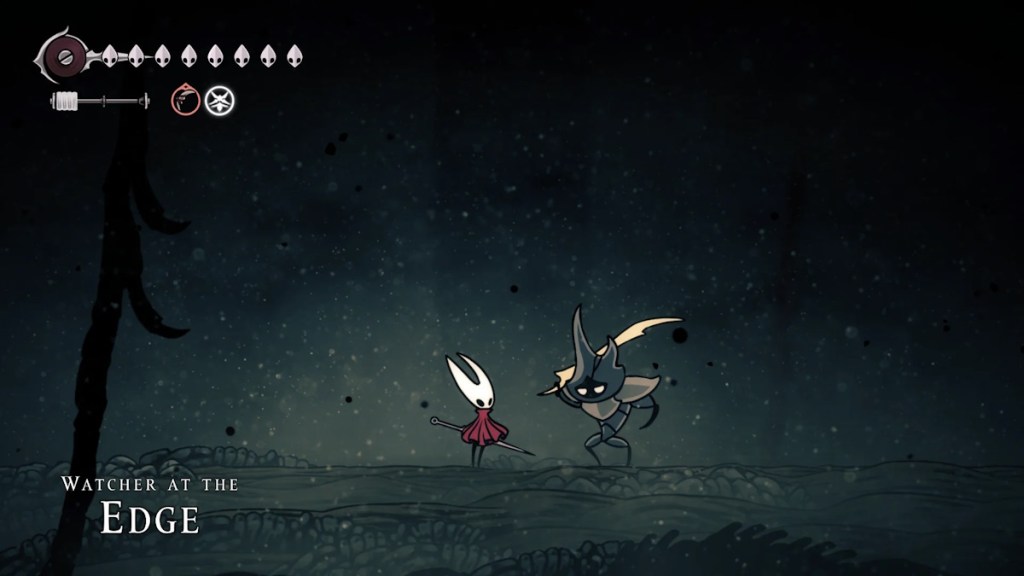
- Play Nidolin to awaken him first and try to keep the dash ability handy.
- His abilities are easy to dodge, so keep your distance until it is the right time to strike.
- He is a ground-only boss, so pogo while using a Reaper’s Crest to do the job quickly.
Steel Assassin Sharpe
- This boss is not yet found in the normal difficulty mode, with some saying it is only available during the Steel Soul mode.
- His whip-like proboscis has long range and wind-up; dodge early, then land behind him. (Working theory based on description.)
Shrine Guardian Seth
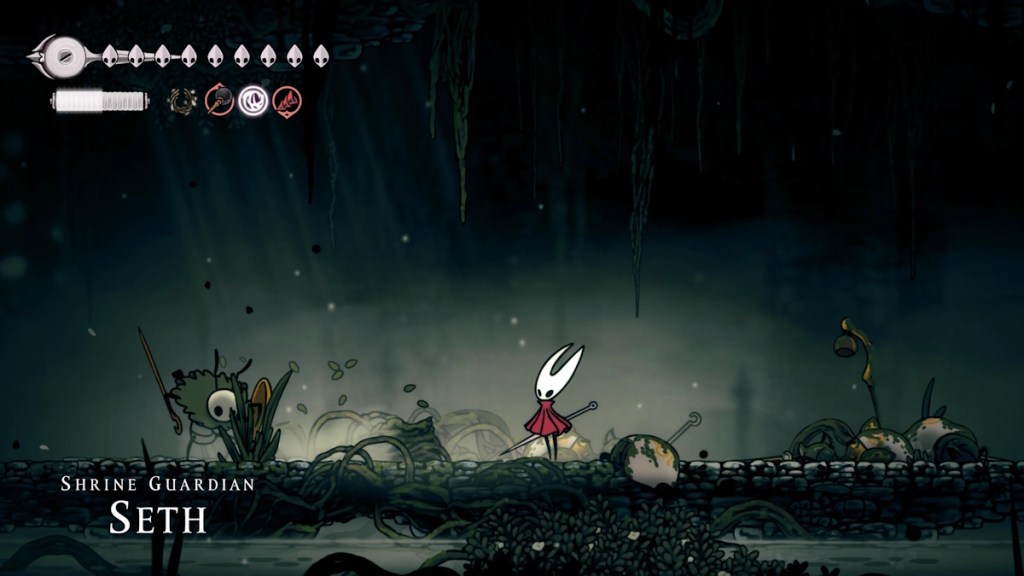
- Let him finish his shield-guarded attack before countering.
- Dodge sideways when he throws and retrieves his shield; it’s your best chance to punish.
Last Judge

- Keep moving. Don’t stand in place as she swirls her thurible, especially once it ignites.
- Push forward when she finishes a throw; there’s often a brief window before her next attack.
Bell Beast

- Pogo on her back during charging strikes to rack up damage safely.
- When she jumps, dash underneath and strike as she lands.
- You can also deal damage during her roar; close in and take advantage.
Sister Splinter
- Jump upslash and dash away before her claw attacks.
- Stay away from the thorny woods and focus on the boss.
Great Conchflies
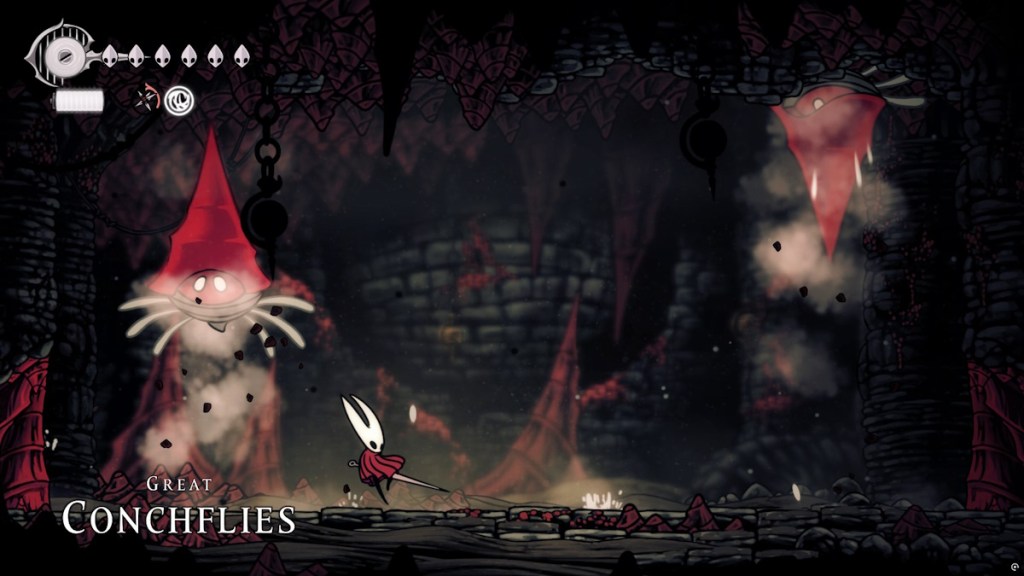
- Attack when they emerge in sync; sandwich them quickly before they reset.
- Use vertical attacks whenever their pattern resets mid-air for safety.
Moorwing
- Deflect the attacks and time your vertical slashes.
- Hit once, then go further back, take the wind to go high, and from the edge of the wooden platform, you can cheese the boss.
Fourth Chorus
- Look for the attack type: ground sweep, ground pound, or lava rocks, and dodge accordingly.
- Only aim for his head at the top of your jump; his arms destroy floor segments, so stay mobile.
Widow
- Dodge under her diagonal dash, then leap back, or use crest pogo to follow up.
- Watch silk threads for the signals of falling bells. Dash under diagonal bells or retreat to the corners to survive.
Cogwork Dancers
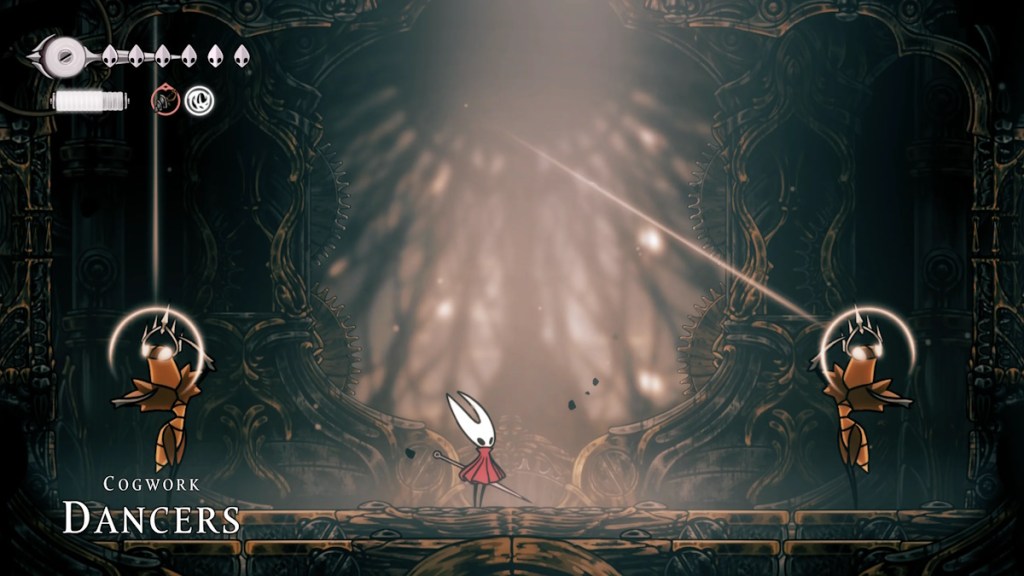
- Follow the light path the enemies show and anticipate a jump or a dodge accordingly.
- Use the Silkspear ability when they perform the joint attack in mid-air to dismantle them.
Trobbio (Boss)
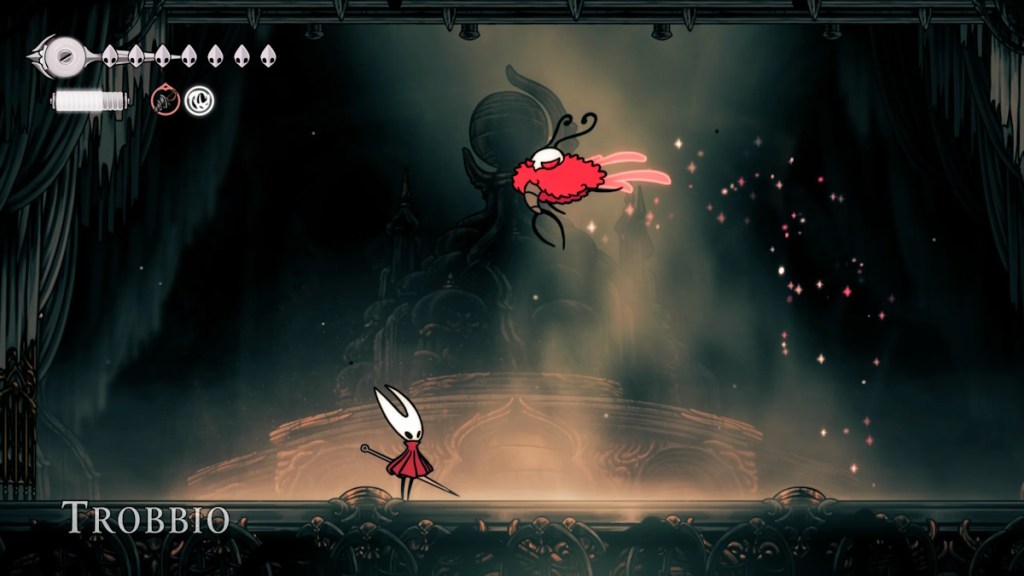
- Let him start the cyclone attack and pogo until he stops to deal solid damage.
- After completing the spin, he throws two cyclones in the air; stay in the middle to avoid them.
Forebrothers Signis and Gron
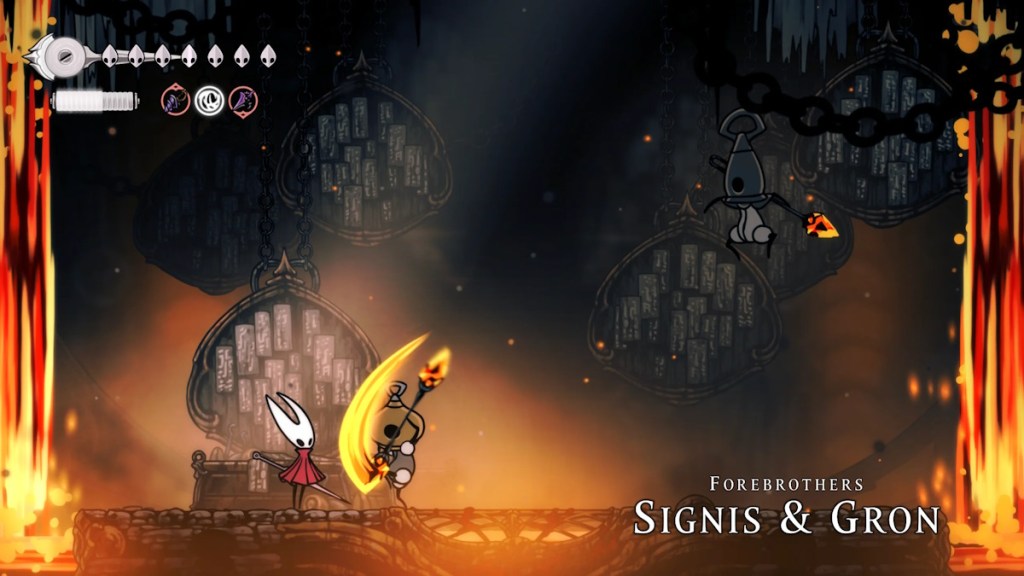
- Take out the air enemy first to avoid the lava ball attack.
- Don’t go near the edges, as hitting the lava will reset you on the platform with lower health.
Skull Tyrant

- This boss winds up before performing every move, giving you enough time to attack.
- Keep moving to avoid its jump charge and the falling rocks.
Phantom
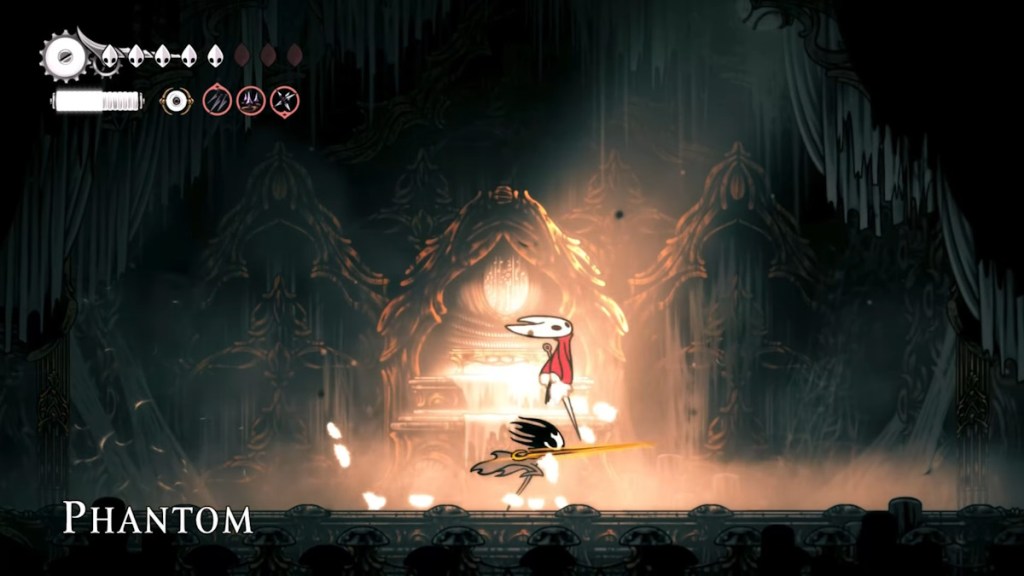
- Be ready to dodge whenever Phantom throws the needle; she follows up with a dash attack after it.
- Watch out for that teleport out of nowhere, keep the healing handy if you are hit by one.
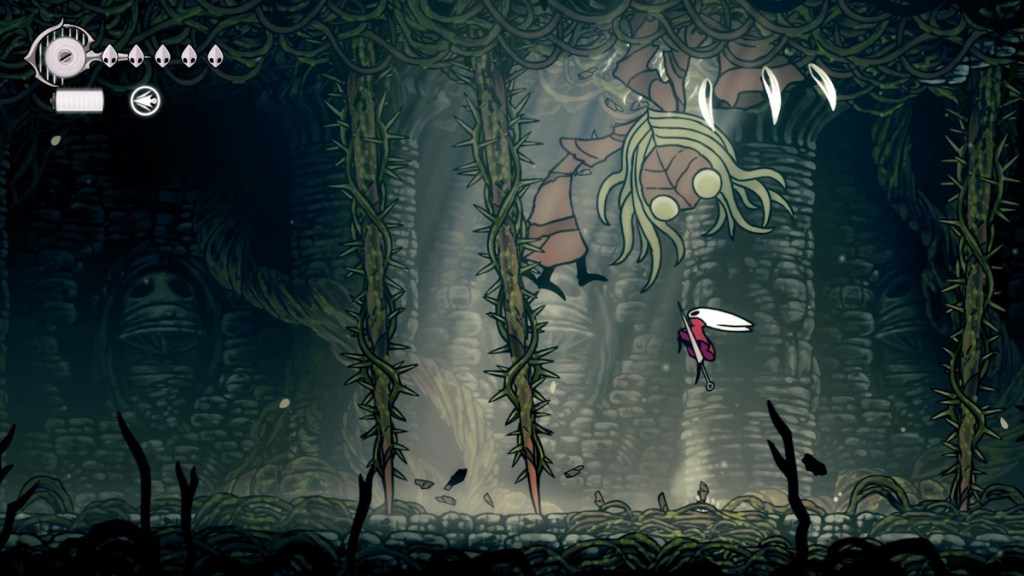
Grand Mother Silk
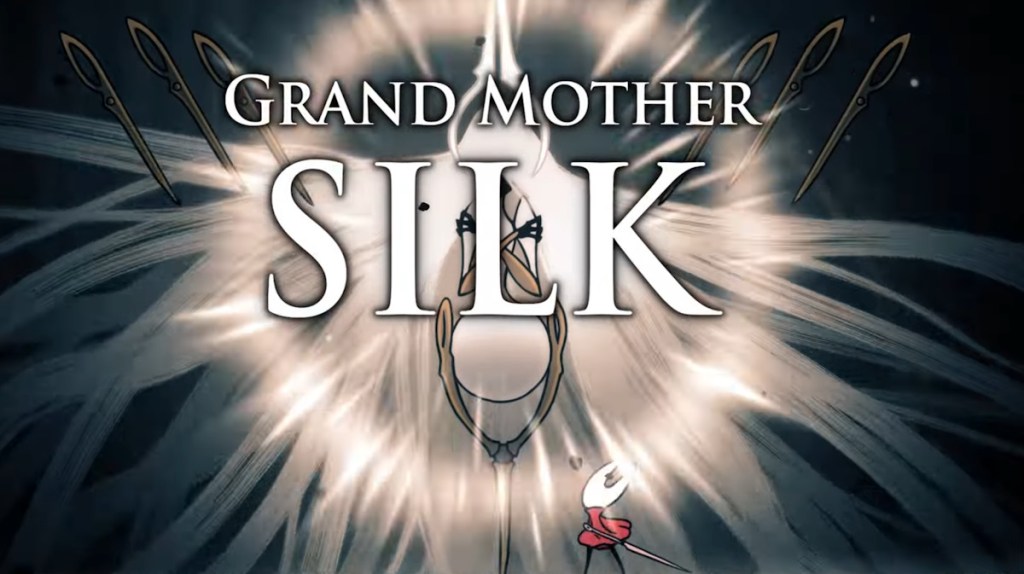
- Track her web-based moves and pause before responding. Timing is your best ally.
- Switch between offense and defense based on her movement.
Crust King Khann
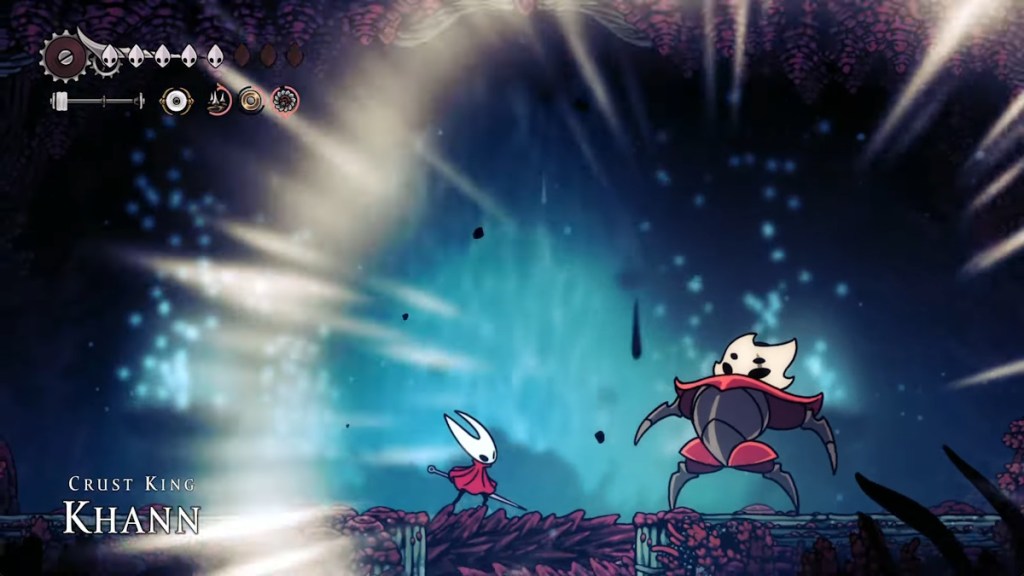
- Focus on sidestepping; his swings are wide but patterned.
- Attack when his momentum carries him past you, and once he is closing in, back off quickly.
Nyleth
- Having the Clawline is a must to jump between walls when the platform is gone mid-fight.
- Hang on the wall and use tools like throwing needles or traps to deal damage from a distance.
- Dash away and use wall jump to avoid the pore spread attack.
Clover Dancers
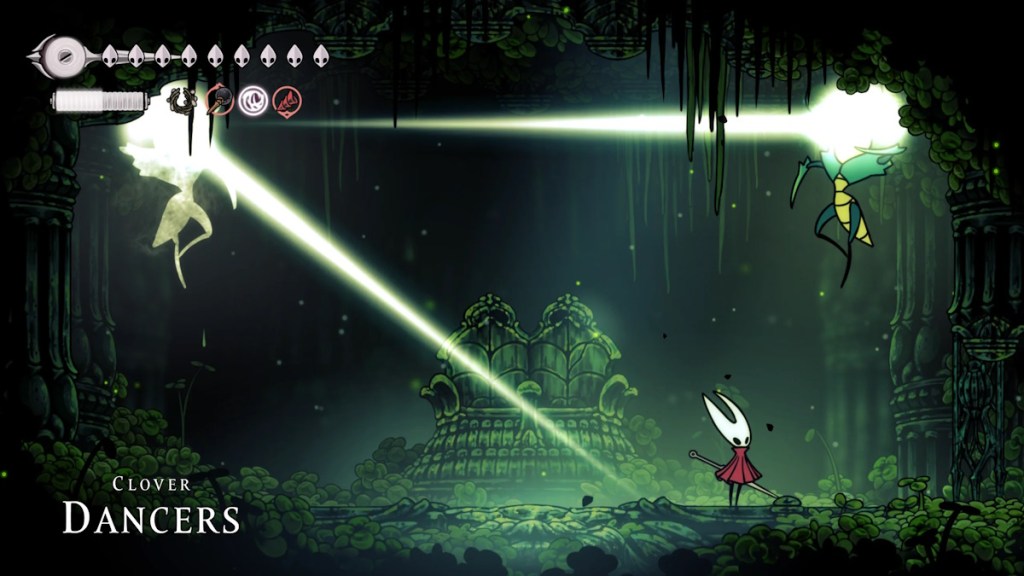
- Their attack pattern is similar to Cogwork Dancers; however, their attacks are faster.
- Use a defensive approach when they are combining the attacks. After a combination, they will go through a much slower cooldown period. Strike at that time.
- Stay near the middle when you do the cyclone attack, and once you do a full rotation around it, use a Silkspear or uppercut.
Skarrsinger Karmelita
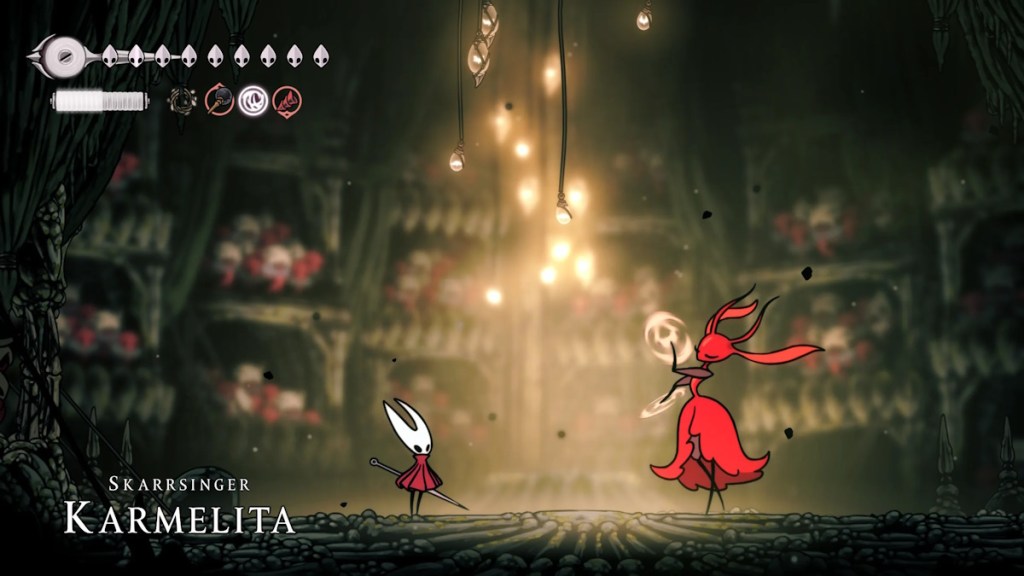
- Jump and charge forward when she is performing the long-range attacks.
- After dodging her close combat slashes, use a wall jump and make distance. After that, spam your long-range tools until she comes closer again. Repeat this.
Lost Lace

- Unlike the normal version, Lost Lace relies more on abilities, so keep the jump and dash ready.
- Jump and dodge the AOE abyss attack to avoid getting one-shot.
- In the second phase, she uses the air slashes more often, so you must stay on the ground mostly.
Lost Garmond
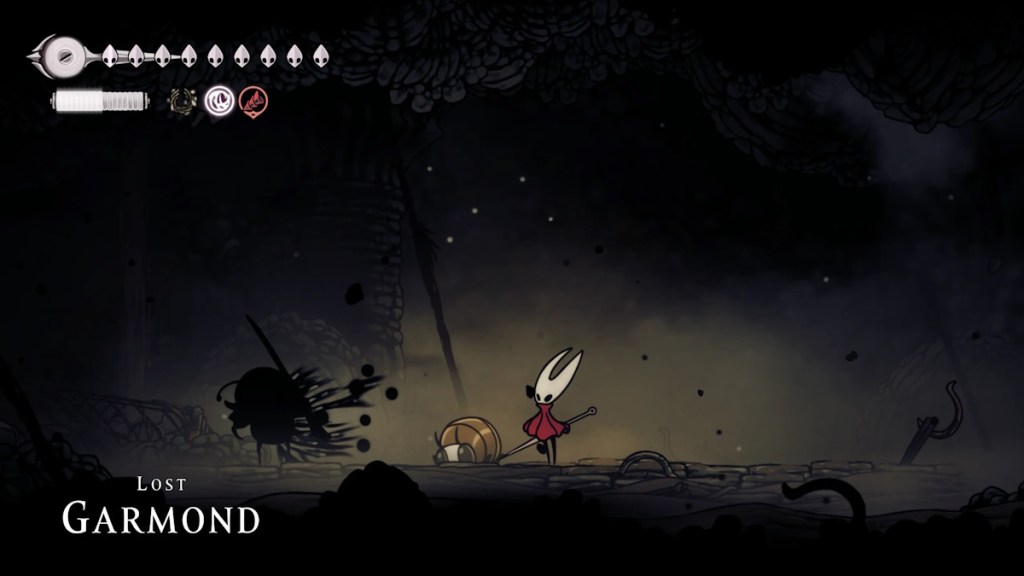
- Avoid close encounters, especially during his three charge attacks.
- It is better to use ranged tools to deal damage, but hold onto them when he uses the deflect ability.
Father of the Flame
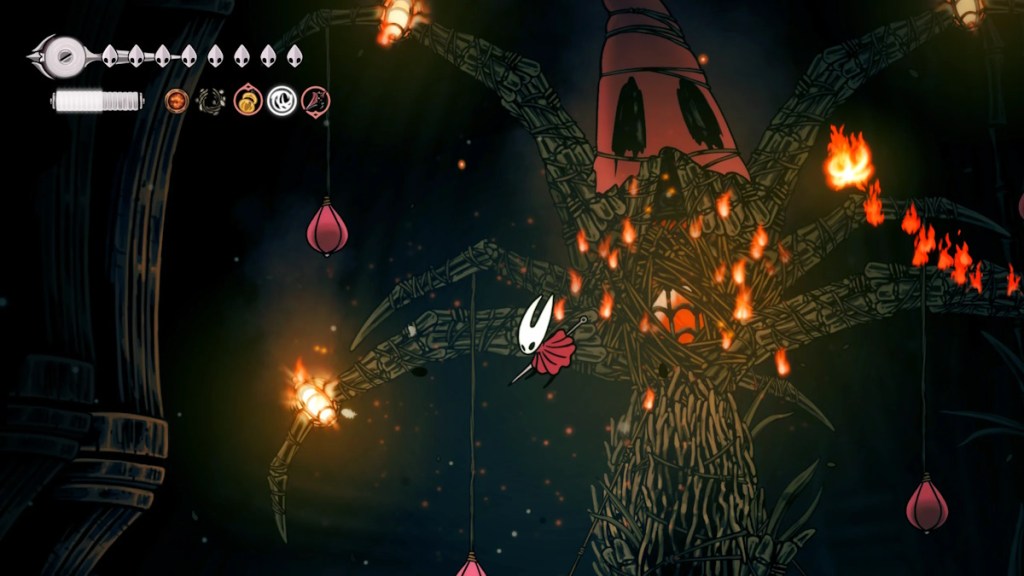
- Avoid the fire wisps as they can burn your silk move. Try to use your silk moves early.
- Pogo your way to the top and start from the top lanters. Destroying all lanterns will let you defeat this boss.
Savage Beastfly
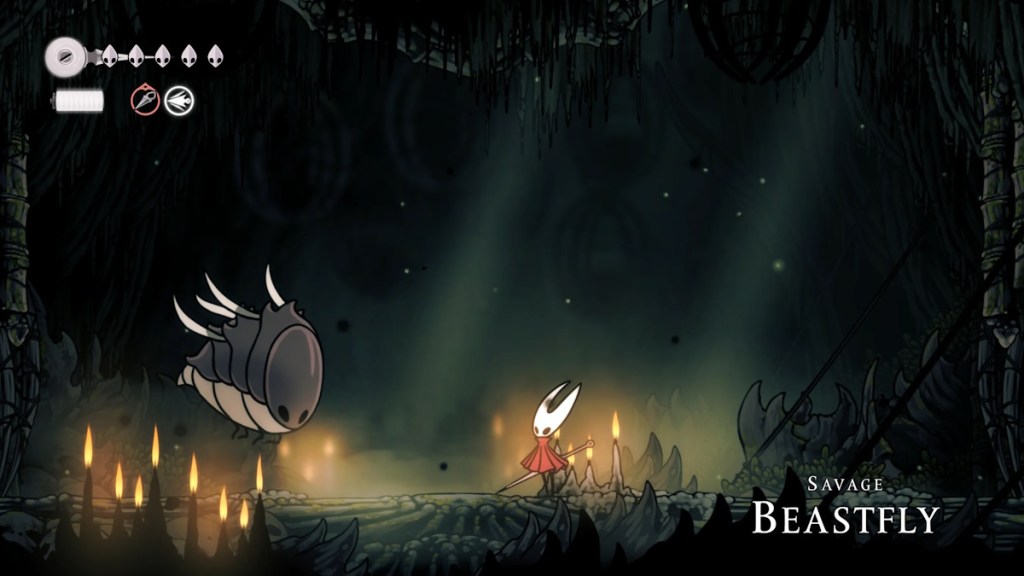
- Avoid the summons and let the beastfly smash them.
- Jump when the fly does the ground charge and pogo for a long combo.
Groal The Great
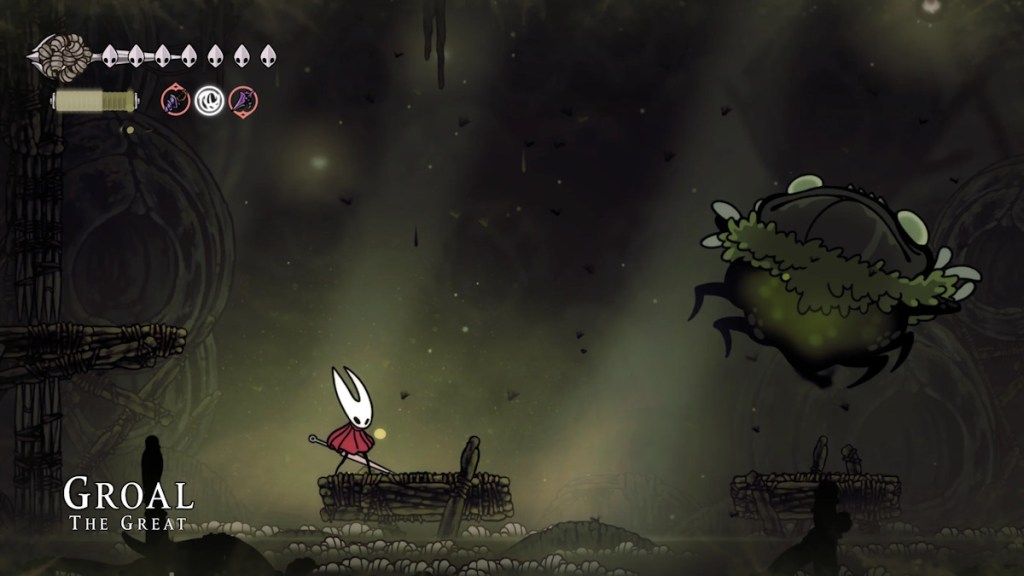
- Stick to the corners and wall jump when required, to dodge projectiles or attacking mini enemies.
- When the boss performs suck ability, wall jump – dash, and go on top of it, then pogo for at least four slashes to deal a lot of damage.
Disgraced Chef Lugoli
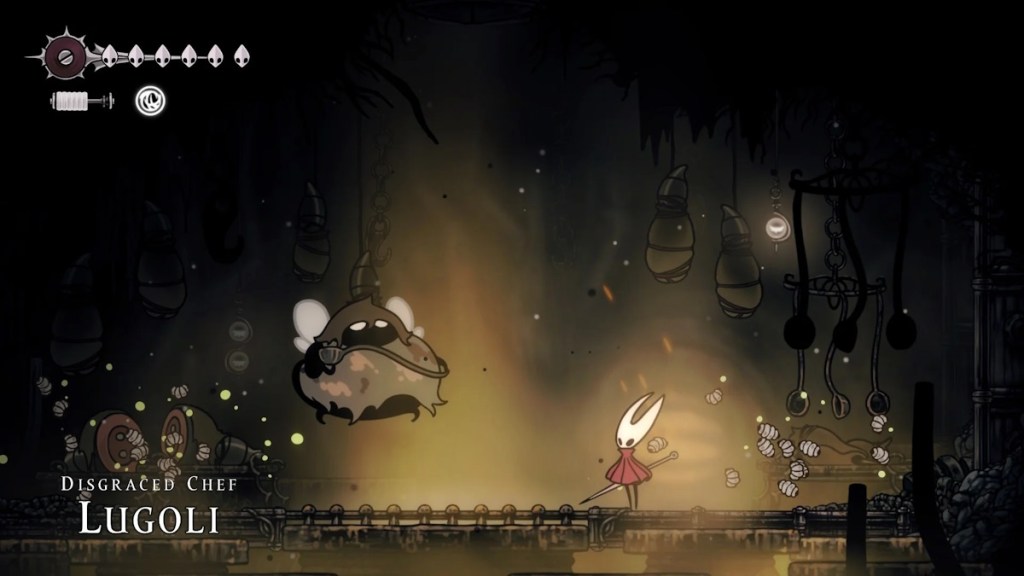
- Keep your distance when the boss does the hip attack. Quickly dash back in and slash a few damage to punish.
- Try using bomb or trap tools when it tries to do overhead or undercut attacks.
The Unraveled
- Before the boss enters the arena, lay as many traps as possible. It is a ground boss, so traps will deal a lot of damage.
- Keep a distance and wait for the boss to use the ball projectile attack. During this time, you can close and plunge a couple of free strikes.
First Sinner

- Last Sinner is one of the fastest bosses in Hollow Knight Silksong, and staying defensive against her is important.
- When she performs Bind, try to deal as much damage as possible.
Pinstress (Boss)
- Pinstress can glide in the air and perform a couple of different variations of a plunge attack. To avoid, you can double jump or dash in a corner.
- To deal damage, let the boss come under you during its ground plunge and pogo.
Gurr the Outcast
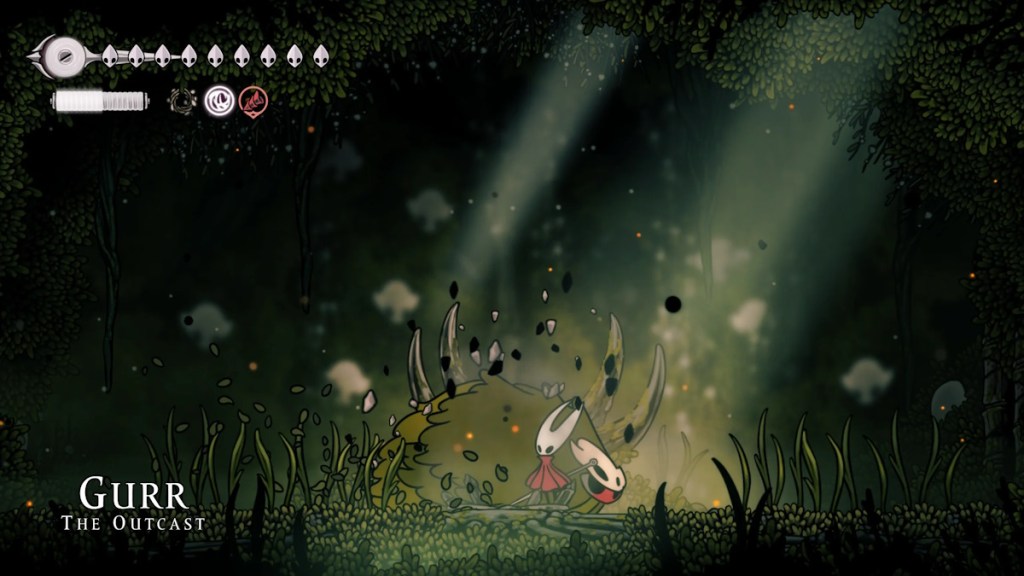
- Gurr the Outcast has a limited set of moves, mostly summoning spikes in the arena. Try to avoid the spikes by timing the jumps.
- After throwing traps, the boss charges underground. Try not to stay in its way during that time.
Crawfather
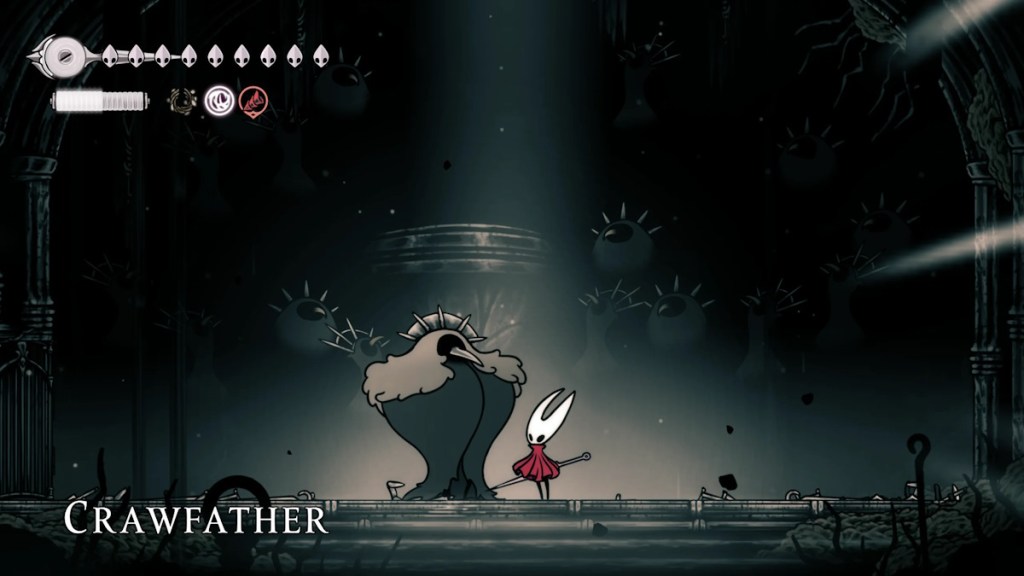
- The whole arena is filled with multiple flying enemies. Try to stay at a distance and use bouncing projectile tools. You can get the crafting kit in Silksong and improve tool damage.
- When summons are cleared, wait for the triple beak attack and try to pogo on it.
- During the Crawfather chain attack, go under him and perform uppercuts.
Palestag

- The Palestag boss loves teleporting all the time, and the only attack it does is the boomerangs. So, dodging is the only way you get to it.
- Before the fight starts, move the leaf in the pond to a corner. Whenever there are multiple boomerangs, you can dip in the water for safety.
- The best way to deal with this boss is with the ranged attacks or mech bug summons.
Bell Eater
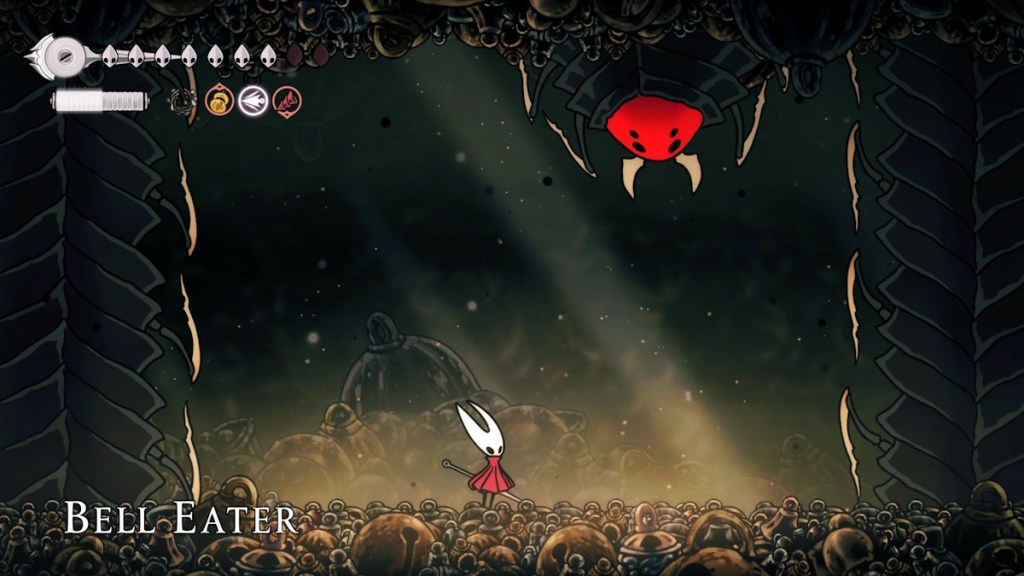
- Unlike the Bell Beast boss, the Bell Eater throws multiple projectiles at once. The chamber it spawns in is also smaller than other boss encounters.
- The best way to deal with the boss is through traps. When the steam indicator shows up, throw in a couple of traps and wait for it to do the magic.
- Do not try to attack it when it does the ground charge; jump up and glide until it is over.
Tormented Trobbio
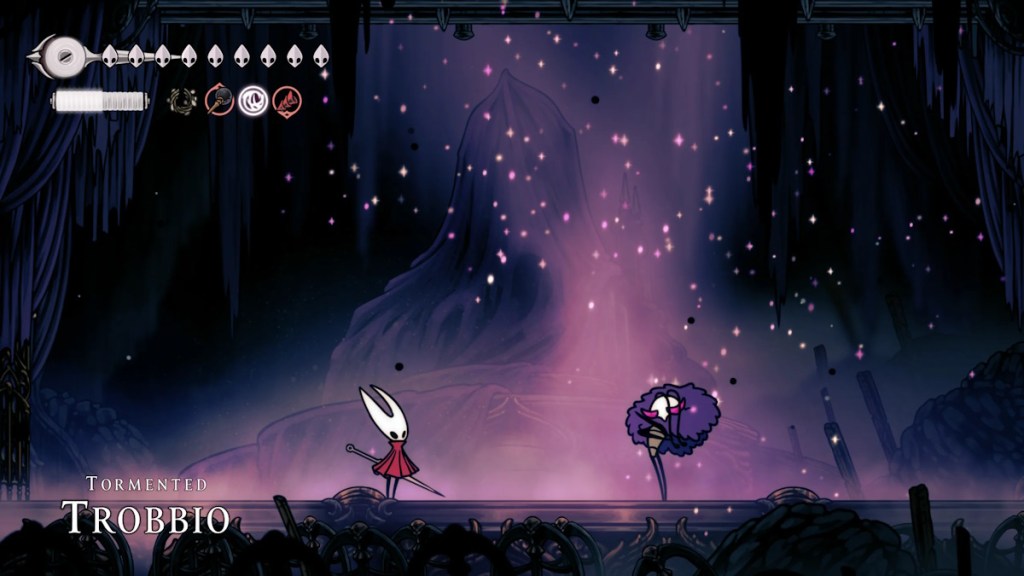
- Unlike its base version, the Tormented Trobbio is much quicker and deals more damage.
- To avoid getting hit by his attacks, look for the purple glitter paths. Time the dodge properly, and you will have enough time to get a couple of hits.
- Save the healing for the tornado attack. In case you are hit by it, you will need healing to get back into the fight.
Second Sentinel (Boss)
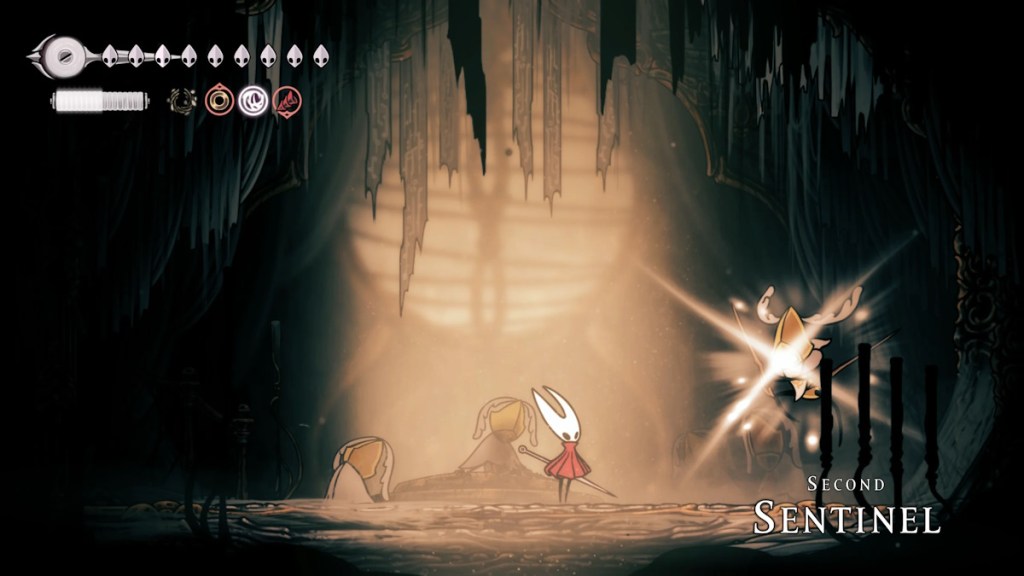
- After every attack, the Second Sentinel takes a little time to strike again; use this time to attack.
- Make sure to parry the first hit when the Sentinel uses the multiple strike ability. Once you parry it, jump above and pogo.
Voltvyrm
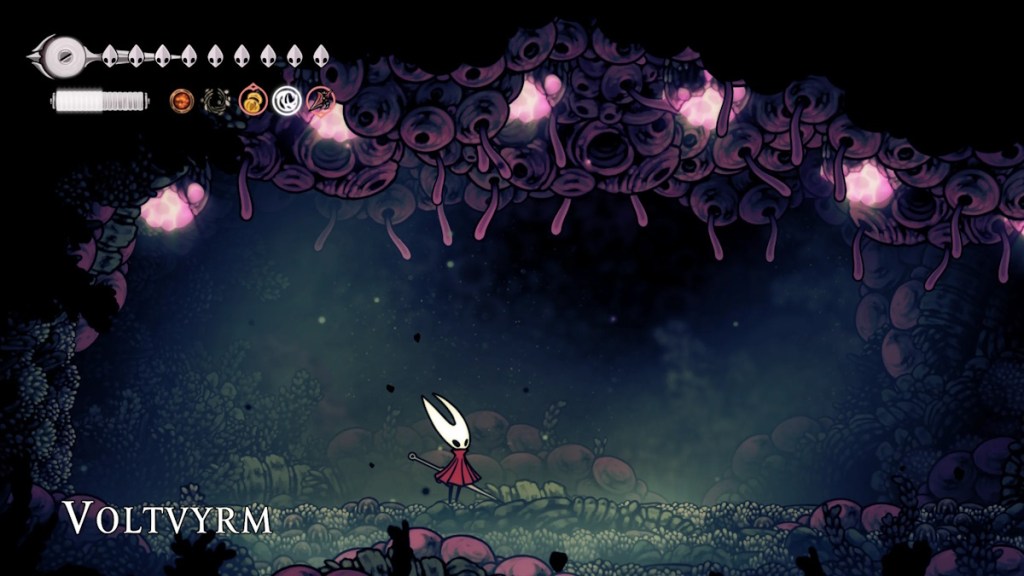
- Voltvyrm only appears from the upper wall in the boss area. Look for the hole it appears out of and plunge into it.
- Beware of the glowing signals; these indicate the attacks. While there are not many attacks, the abilities this boss uses deal a lot of damage.
Raging Conchfly
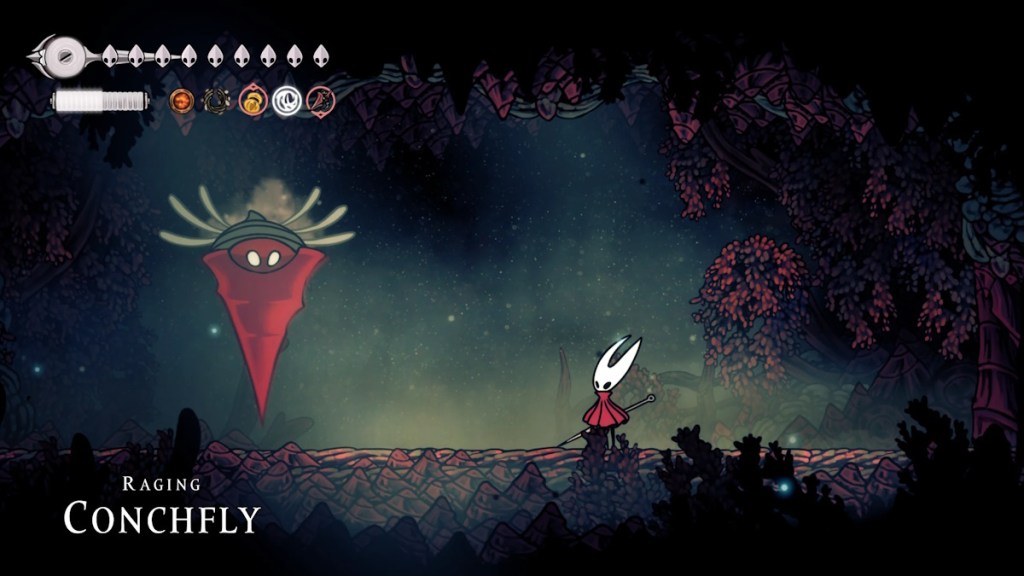
- Avoid the drill charge attack from both the boss and the summons. It will stun you after dealing damage, potentially putting you in a vulnerable situation.
- Deflect the drill projectiles and use them against the mini conchflies.
Broodmother
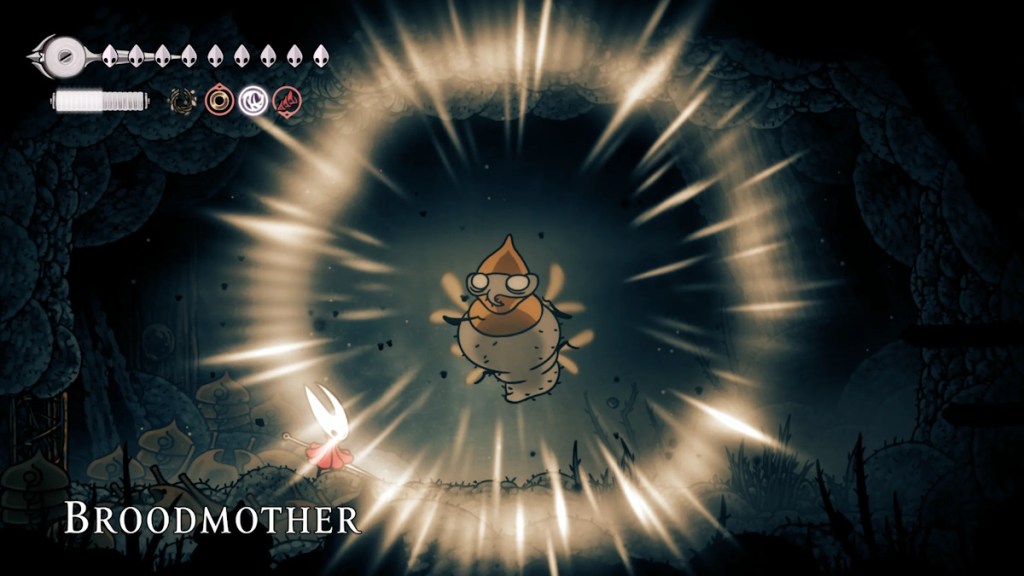
- Wait for the boss to come to ground and pogo on her back. Do not charge on the ground; her jump forward attack will inflict damage.
- Clear the summons before tackling the mother boss to stay clear of any cheap interference.
Plasmified Zango
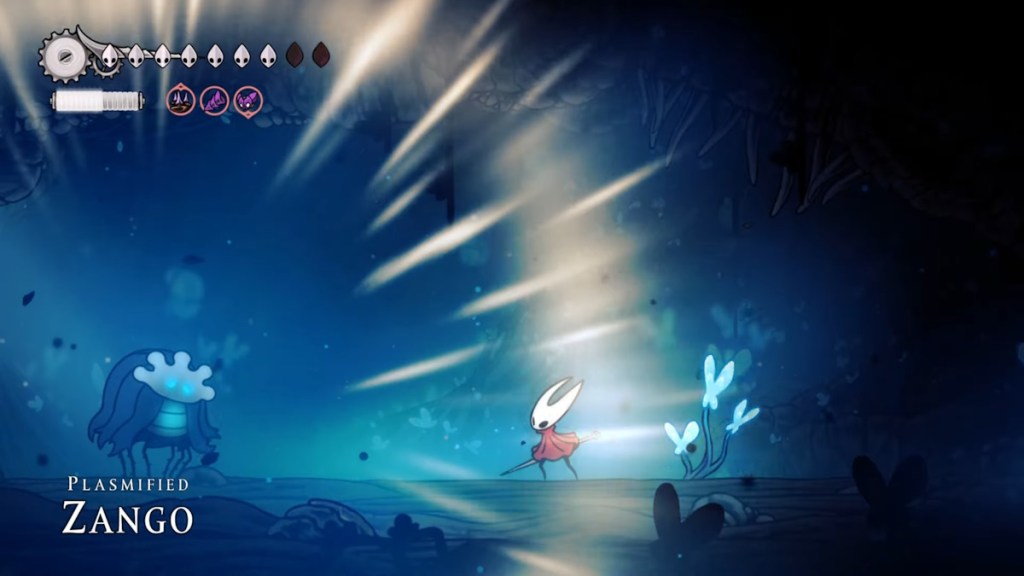
- This is one of the easiest Silksong bosses. Just strike forward and dodge two attacks. Yes, that’s all you need.
Shakra (Boss)
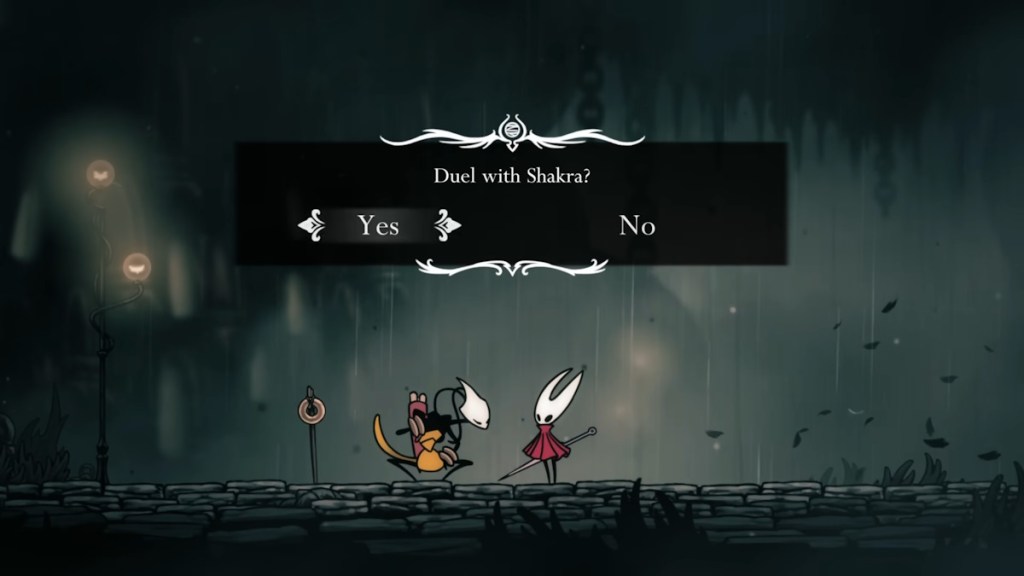
- Shakra will mostly spend time in the air, throwing rings and charge attacks. Focus on punishing her after the attack. Going first will move her away from you.
- Deflect her rings using your sword and pogo when she does the ground slam.
Skarrgard

- Do one slash and dodge back. Repeat this while staying behind the ledge in the middle of the arena.
- While you are behind the ledge, Skarrgard will not use the jumping slash, giving you a lot of room to dodge behind.
Craggler
- Stay under the platform to avoid the acid attack.
- After the acid spray is over, climb on the platform and do the up slash. You will get one slash every round, so make the most of it.
Choir Clapper
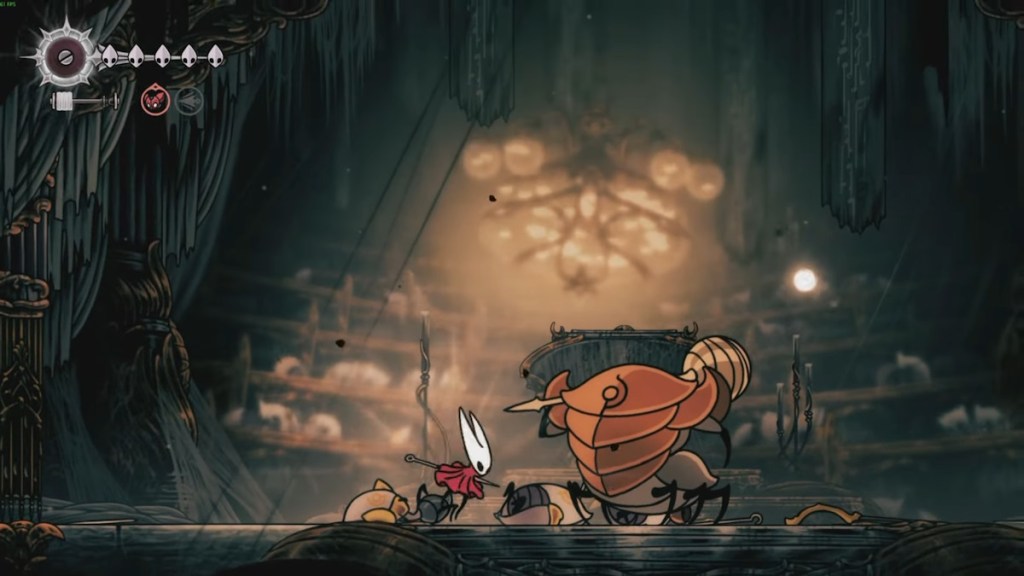
- Sub-bosses are easy to beat if you can deal with the summon without taking cheap damage.
- Choir Clappers deal heavy damage but can be slow after performing attacks. Take advantage of it by using the Dash and Sprint at the right time.
Summoned Saviour
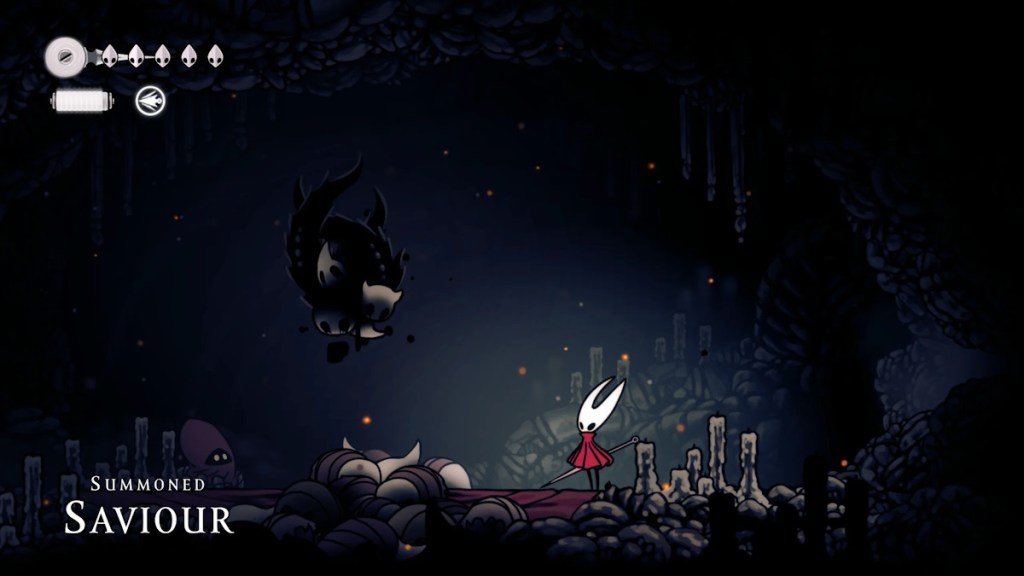
- Stay away from the enemy and let it use all its abilities. After the streak of ability is used, it does attack until the next combo.
- Only a jumping slash will work against the secret Steel Soul mode boss. Make sure you upgrade the needle in Silksong before going in against this enemy.
That ends our list of all Hollow Knight Silksong bosses, their locations, and a guide to defeat them. Which boss are you stuck on in Silksong? Let us know in the comments below.


 Ishan Adhikary