One of the biggest missing features of iCloud had always been the inability to share files with non-iCloud users. While cloud storage providers like Dropbox has always included an easy way to share files using public links, iCloud didn’t offer this feature in the past. Thankfully, it’s finally here, and now you can share files up to 5GB in size with anyone with a simple link. In this article, I am going to show you how you can share files using iCloud File sharing on Mac.
Note: For this feature to work, you need to be on macOS Catalina 10.5.4 or later.
Share Files Using iCloud File Sharing on Mac
We have already covered how users can share iCloud files and folders with other Apple users on iPhone in a previous article. If you are interested in that, click on the link to read it. Here, we are going to show the steps for sharing files using a public link. That will allow you to share files with anyone, whether they are using iCloud or not. With that, let’s get into our tutorial.
1. First, Open iCloud Drive on your Mac and go to the file you want to share. The easiest way to do it is by using Spotlight.
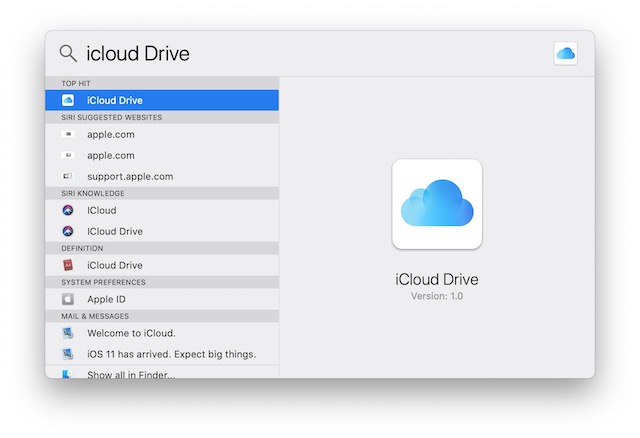
2. Now, right-click on the file you want to share and go to Share -> Add People, as shown in the picture below.
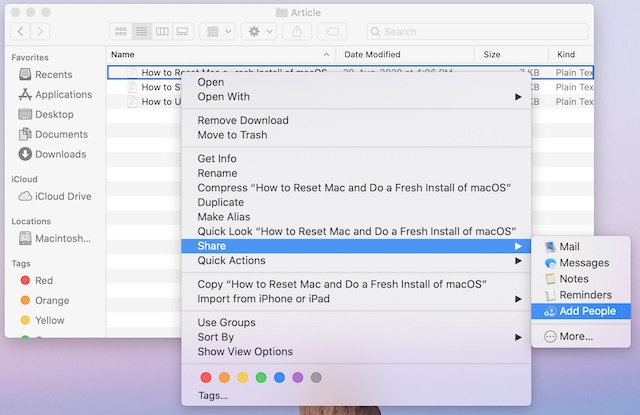
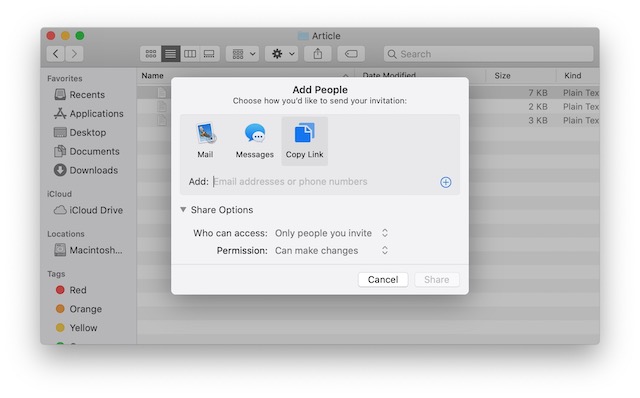
3. Here, you can either choose to share the file via email, messages, or link. If you choose the “Copy Link” option, you will be able to share the file using any messaging app or email client.
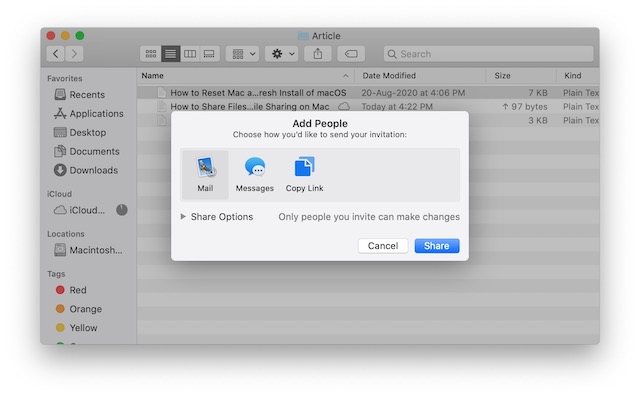
4. But before you share the file, let’s make sure that our permissions are right. To configure permission, click on the triangle to reveal the options.
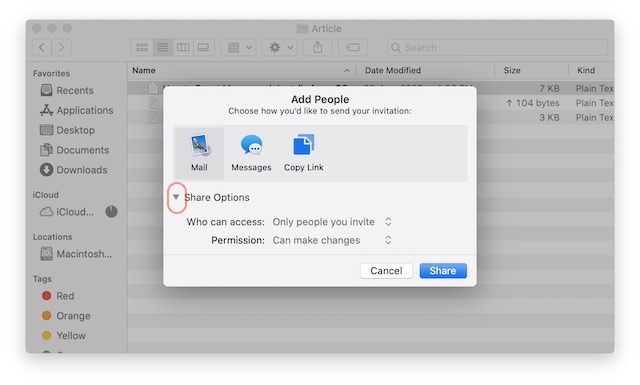
5. The first is the “Who can access” option. Click on the drop-down menu, and it will reveal two options. The first option — “Only people you invite” — ensures that only those people can download the file with whom you have shared the link.
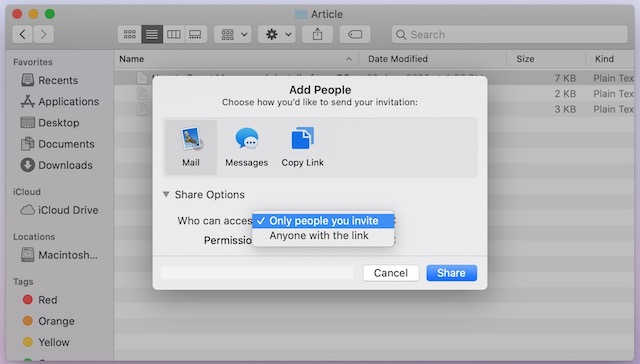
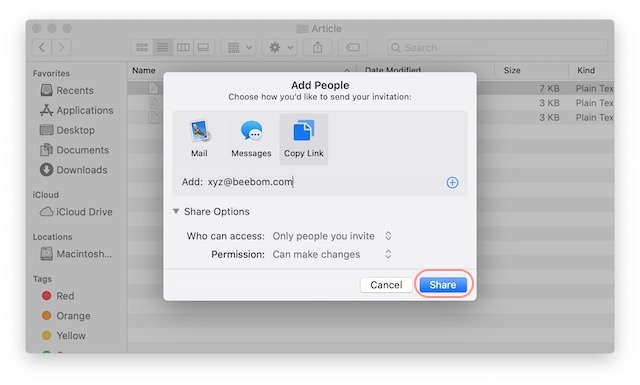
But for that to work, you have to either use Apple’s built-in sharing feature or enter the recipient’s email ID or phone number. You can choose the second option if you want to allow anyone with the link to download the file.
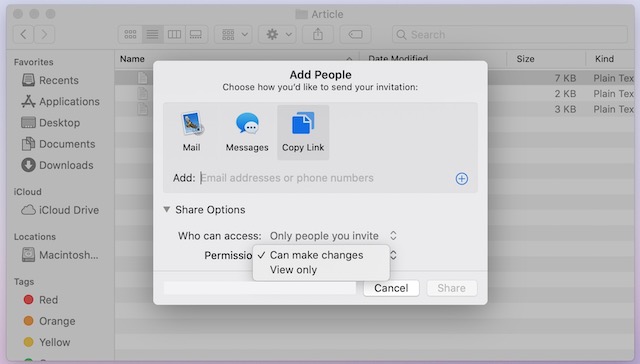
6. The second “Permission” option lets you give read and viewing rights to users. If you don’t want users to make any changes to the shared file, keep the “View only” option selected.
7. After deciding the permission, click on the Share button to share the file.
Share iCloud Files with Anyone
I am happy that Apple has finally decided to improve its iCloud storage service. Cloud Storage providers like Google Drive and Dropbox have leapfrogged iCloud in terms of features. Apple’s inability to improve iCloud has forced users like me to pay for multiple cloud storage services.
I hope that this is not a one-off feature addition, and Apple will keep on improving iCloud over the coming years. What do you feel about this new feature? Let us know in the comments below.


![How to Change MacBook Wallpaper [2024 Guide]](https://beebom.com/wp-content/uploads/2024/02/Macbook-wallpaper.jpg?w=300&quality=75)

Nice article it is very informative and helpfull.you are easy to explain how to Share Files Using iCloud File Sharing on Mac this article is so usefulll.thanks for sharing this.