
- To speed up Windows 11, open the Task Manager and move to Startup apps. Here, disable all non-essential apps.
- Next, you can debloat your Windows 11 PC using our script or change the power mode to improve Windows 11's performance.
- Apart from that, you can disable Restartable apps, delete temporary files, free up disk space, turn off animations, and more.
Windows 11 has been around for nearly four years now, and it has brought along a number of new features. Moreover, Windows 11 has seen some performance improvements as Microsoft has improved memory management, disk usage, app prioritization, and more. But not all’s well if you have an old laptop running Windows 11. Hence, there’s a need to optimize Windows 11. In this article, we bring you another tutorial on how to speed up Windows 11 and improve the performance significantly.
1. Restart and Update Your PC
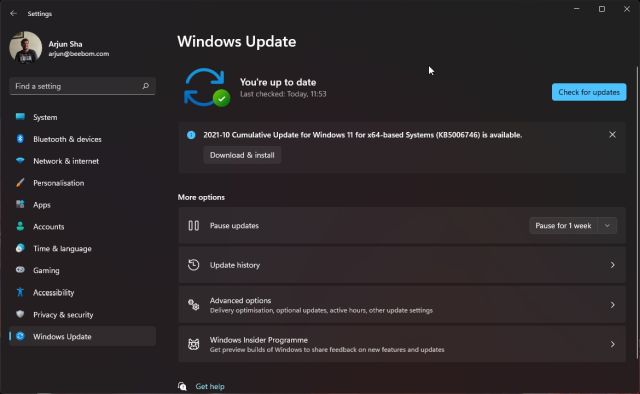
This is the easiest thing to do and it is one of those things that can help. First things first, check for any new updates by heading to Settings ->Windows Update -> Check for updates. If there’s anything new you need to get, install the update, and then restart.

In case the system is up-to-date, there’s no harm in restarting it. This can help with random one-off issues that sometimes slow down your PC. One thing worth noting is that this is a temporary fix and you might need to look into more settings to avoid these problems from occurring again.
2. Disable Startup Programs/Apps
You can start by disabling the startup programs to speed up the boot time on Windows 11. These are the programs that generally start when you turn on your PC. Here’s how to disable them:
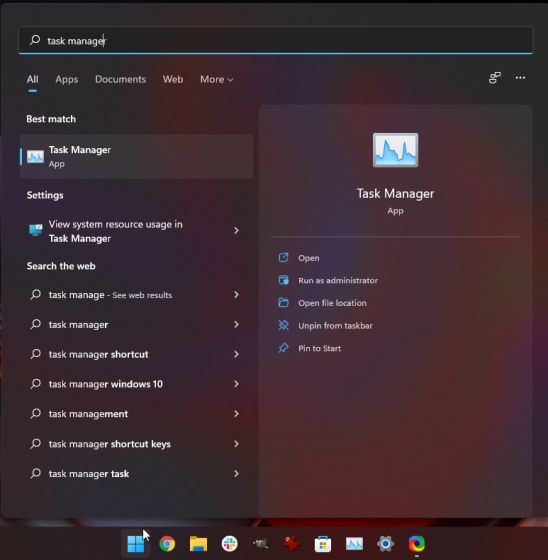
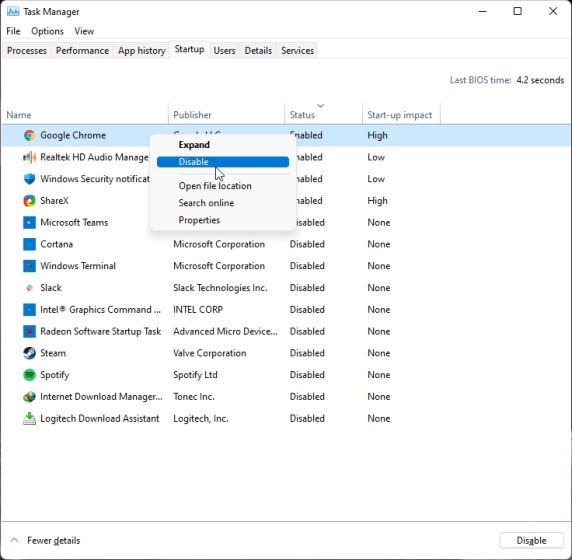
- Tap on the Start menu and select Task Manager. This can also be done by using the keyboard shortcut “Ctrl + Shift + Esc.”

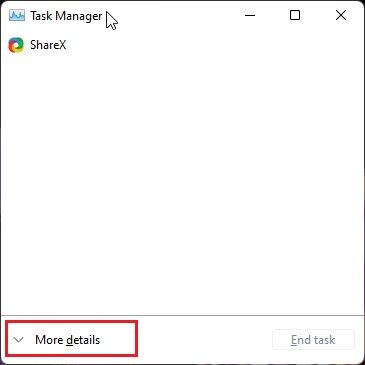
- Once the Task Manager menu appears, click on the “More details” option.

- Now, select the Startup option where you will find the programs that can be disabled.

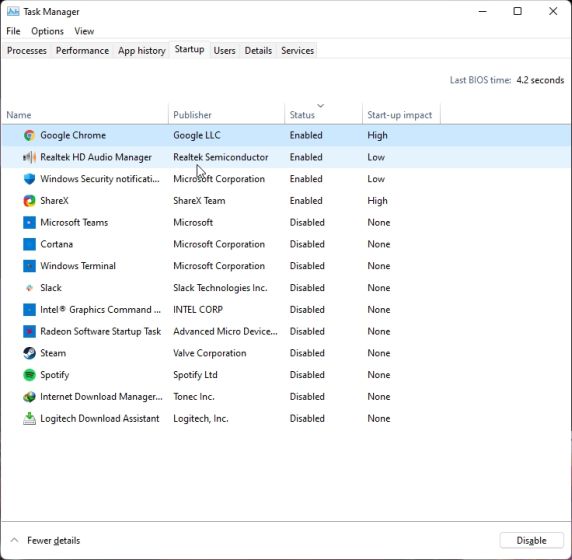
- Right-click on the program of your choice and then select the Disable option.
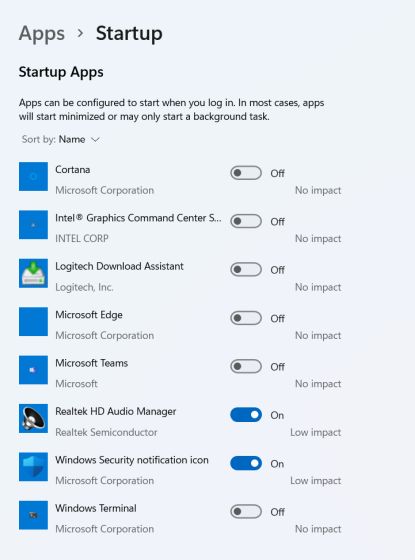
Apart from that, various startup apps such as Microsoft Teams, OneDrive, and Skype can hog the resources during startup. Here’s how to fix this:
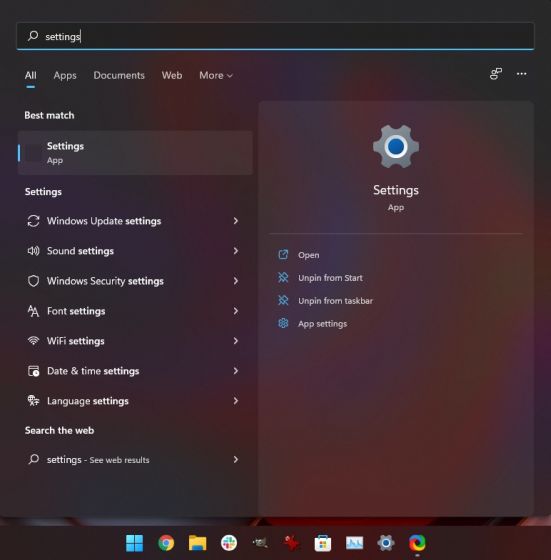
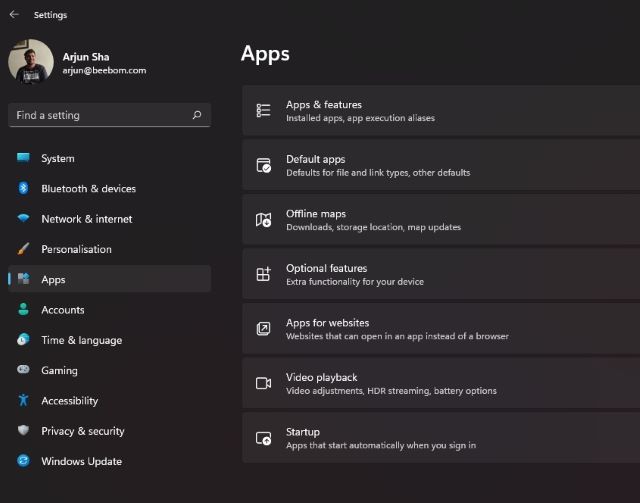
- Open Settings by clicking on the Windows button. You can also press the Windows 11 keyboard shortcut “Windows + I” to open Settings directly.

- After that, select the Apps options and then click on Startup.

- Once there, turn off all the apps that you don’t want to run during startup. It’s that simple.

As you install more apps over time, this list will keep growing. So, keep in mind that you should do this every so often to ensure no unwanted apps are launching at startup and slowing down Windows 11.
3. Debloat Windows 11
Debloating Windows 11 to improve the performance is another option you can try out. We already have an updated guide on debloating Windows 11 that uses the Win11Debloat script by Jeffrey Raphire. From disabling Bing in the Start menu to uninstalling unnecessary apps, removing telemetry services, it does everything in just a few steps.


The best part is that it also adjusts your privacy settings and stops all kinds of telemetry services in the background that are responsible for consuming most of the system resources. Having said that, we highly recommend users to create a system restore point and back up important files before debloating Windows 11.
4. Change Power Mode
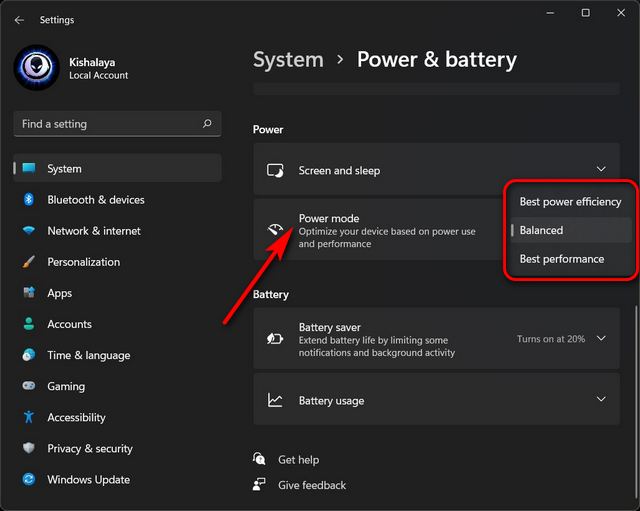
If you want the best performance on Windows 11 and don’t mind compromising on the battery life, you can change the power plans on Windows 11. It will optimize Windows 11 with the right settings so that you get the best performance out of your machine. We have written a dedicated tutorial on how to change power mode on Windows 11 so you can follow the steps from there. For more such Windows 11 Settings that you should change for a better experience, head over to our linked article.

5. Defragment Hard Disk
With time, files on the hard disk can become scattered and this can also slow down performance of your system. To solve the issue, you can defragment the hard disk via the defragment tool.
Note: Keep in mind, if you are using an SSD, defragmentation is not recommended. It will reduce your SSD’s life.
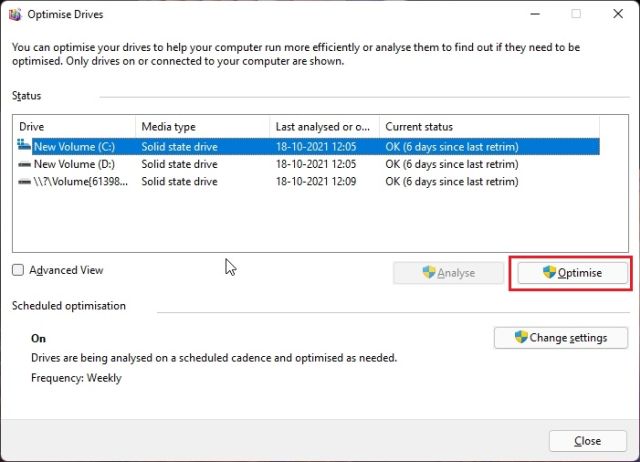
- Tap on the Windows icon and go for the Defragment and Optimize Drives option.

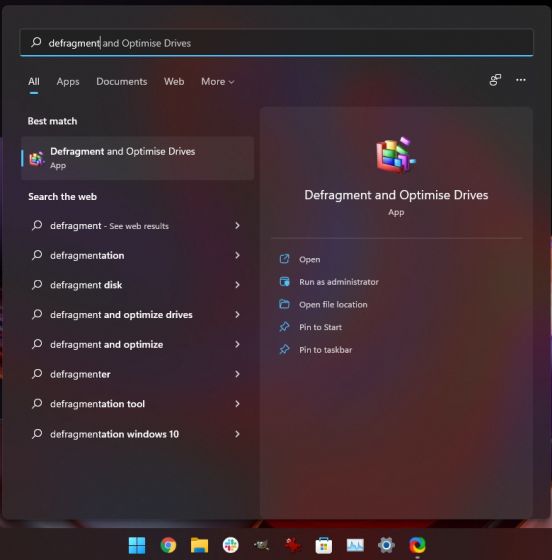
- Select the drive that you want to defrag. After that, tap on the Optimize option to complete the process.

6. Add More Memory (RAM/SSD Upgrade)
Increasing the RAM of a computer can help improve its performance and make it faster. You can also consider switching to an SSD if you are using a PC with a hard drive. Believe me, the difference in performance is simply day and night. I have been using an SSD on a 3rd-gen Intel i3 processor and Windows 11 runs flawlessly.
A typical 5400 RPM hard drive has a read/write speed of 100MBps whereas a SATA SSD offers a read/write speed of 500MBps. It’s a massive jump of 5x and you will experience the change in boot time, app opening, and overall interaction with OS elements.

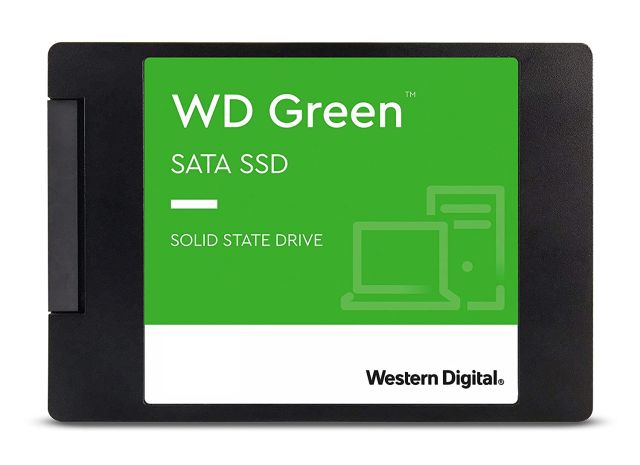
If you are using an older desktop or laptop then you can check out some of the best SSDs to buy. So, to make Windows 11 run faster after all the software optimization even on dated processors, you should get an SSD. I would go as far as to say that you should not be using Windows on an HDD!
7. Disable Restartable Apps
To make your experience faster and smoother, Windows 11 restarts some of the background apps once you sign in to your PC. If you have a powerful PC then this may prove to be a good feature. But for older computers, disabling it would help you speed up Windows 11.
So, to disable restartable apps, just follow the steps below.
- Open Settings and head to the Accounts section. Select the Sign-in options.

- Now, disable the toggle for “Automatically save my restartable apps and restart them when I sign back in” and it’s done.


8. Uninstall Unwanted Software (Bloatware)
Removing unwanted files and bloatware can also help you make Windows 11 fast. And this involves a few simple steps to follow.
- Tap on the Windows icon and go for the Settings option.

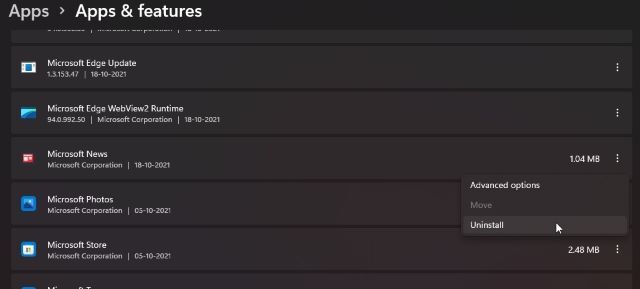
- Over there, head to Apps and then select Apps and Features. You can also right-click on the Windows icon to get to the Apps and Features option.

- You will now find the list of apps and remove the unwanted ones by tapping on the three-dotted menu and selecting the Uninstall option.

9. Delete Temporary Files
Another thing you can do is remove temporary files. These are the files that get stored on the PC or the laptop when apps perform tasks, for smooth functioning. However, these files aren’t too essential and can end up occupying a lot of space. You can follow these steps to remove them, and in turn, improve Windows 11 performance.
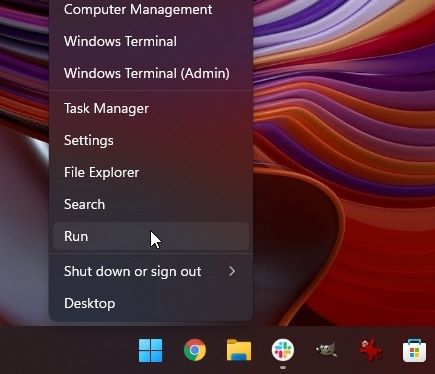
- Press ‘Windows+X‘ and tap on the Run option. You can also use the hotkey Windows+R to get the option directly.

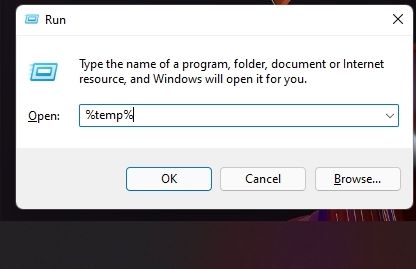
- Type “%temp%” and select OK.

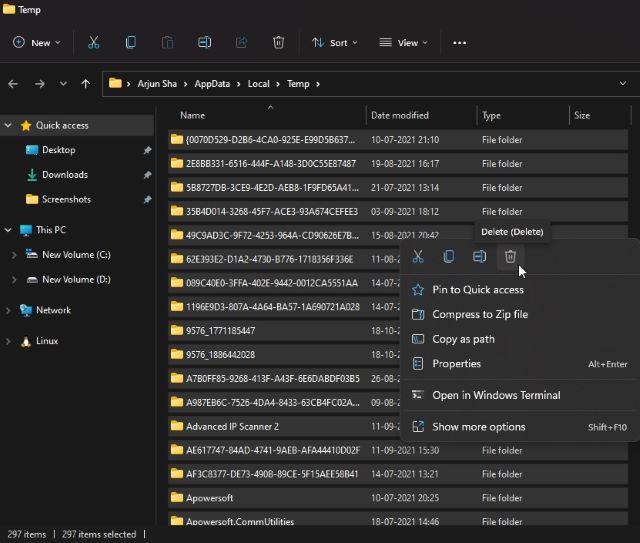
- You will now be taken to the temporary files folder. Just select them all and delete them.

Do note that you can also use the inbuilt Disk Cleanup app to easily clean temporary files off your hard disk.
10. Free Up Disk Space
If you have upgraded to Windows 11 from Windows 10 then chances are you may have leftover and temporary files from Windows 10 on your Windows 11 system. Those files don’t have any utility and needlessly reserve crucial space, thus, making Windows 11 devices slow. Another thing to note is that Windows keeps the old Windows 10 files for 10 days in case you want to roll back to Windows 10 from Windows 11.

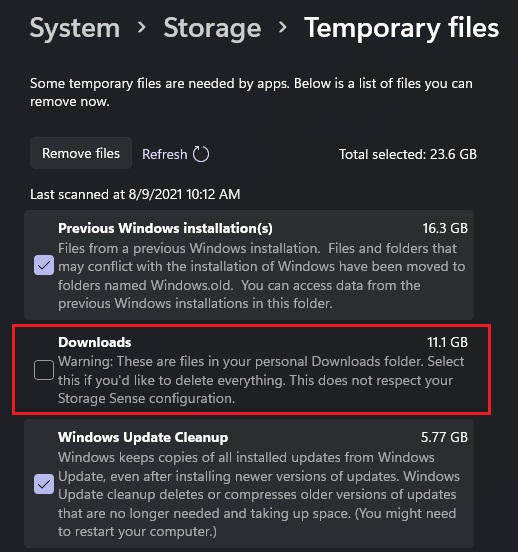
So if you have made up your mind and want to stick to Windows 11, you can follow our guide and free up disk space on Windows 11. Even if you don’t want to delete Windows 10 files, you can still remove temporary files that don’t have any use on Windows 11. Just follow our guide and you will find Windows 11 performance has improved by leaps and bounds.
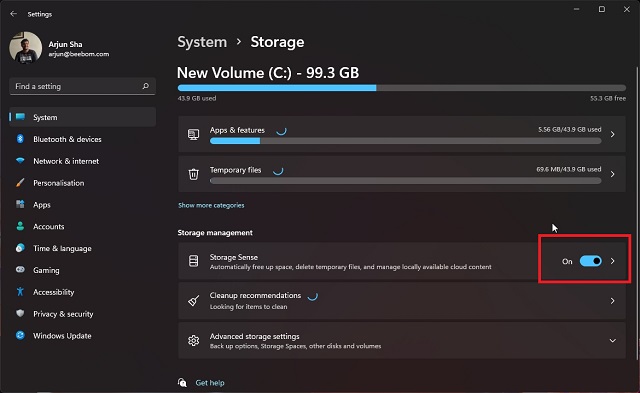
11. Use Storage Sense to Make Windows 11 Faster
In addition to this, you can also enable Storage Sense, which automatically cleans up Windows 11 from time to time. To enable it, follow the steps below.
- Open Settings, and click on System in the sidebar.

- Select the Storage option and then click on Enable Storage Sense.

12. Disable Animations and Visual Effects
We know some of the best features of Windows 11 are smooth animations, acrylic blur, transparent UI elements, etc. These new UI changes really give a fresh makeover to Windows 11. But again, all these fancy animations come at a cost, especially if you don’t have a dedicated GPU. So if you want Windows 11 to focus on performance rather than on looks, you can adjust the settings accordingly. Here’s what to do:

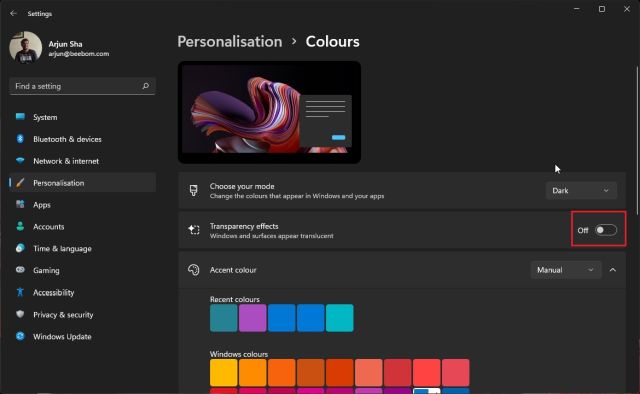
- Open Settings and navigate to Personalization.
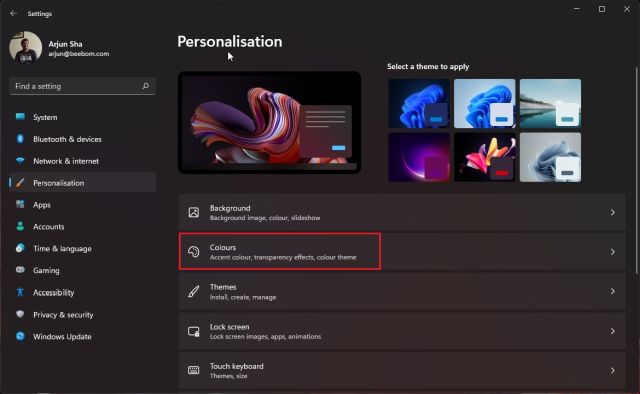
- Tap on the Colors options. Here, disable the toggle for “Transparency effects.”
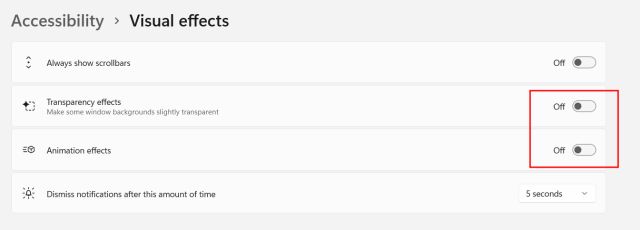
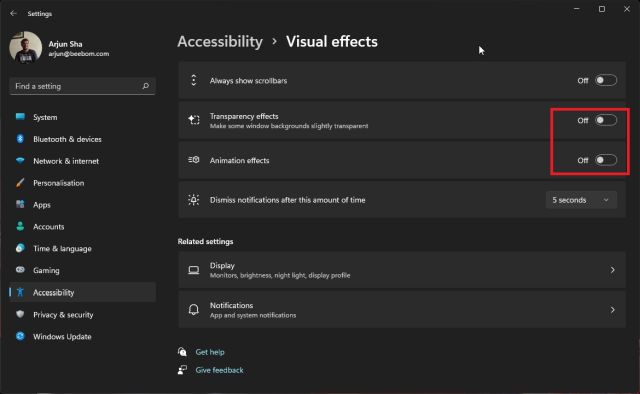
- After that, move to Accessibility from the sidebar.
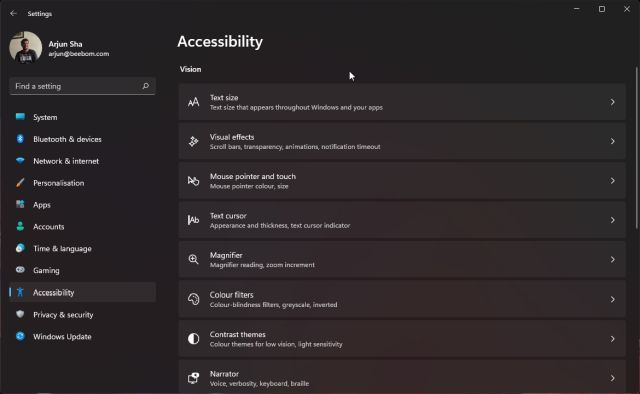
- Now, select the Visual effects option and disable “Transparency effects” and “Animation effects.”
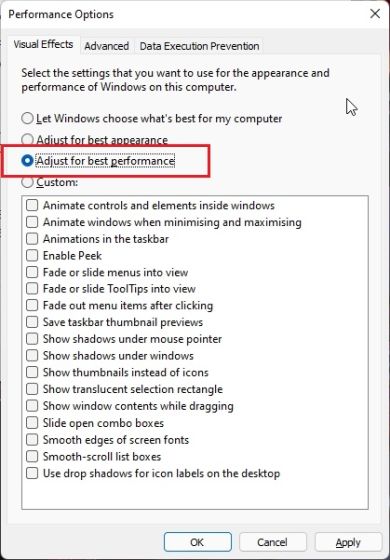
- Having done that, press the Windows key once and search for “View advanced system settings.”


- Open it and click on “Settings” under the “Performance” section. Here, choose “Adjust for best performance” and click on OK and it’s done.

13. Disable Notifications and Tips
To help improve your usage, you will often receive notifications and tips and tricks to go about. For this, the PC is scanned, which might end up impacting its performance. Disabling them can prove helpful. Here’s how to disable notifications and tips in Windows 11.
- Go to the Settings option (either by clicking on the Start menu or by pressing Windows+I).

- Select the Notifications option. There you will find two options: “Offer suggestions on how I can set up my device” and “Offer suggestions on how I can set up my device.” Disable both of them.

14. Disable Background apps
There are a number of apps that run in the background to stay updated. While mailing and calendar apps don’t pose a problem, there might be many unnecessary background apps that can make the device lag. To sort this out,
- Right-click on the Windows icon and click on the Apps and Features option.

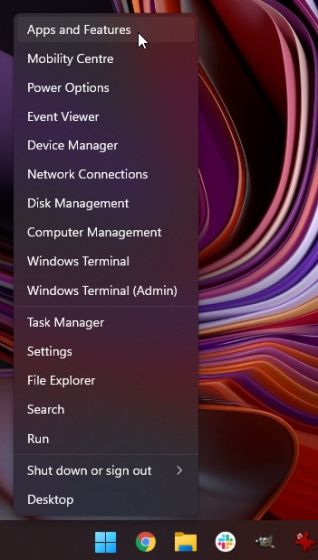
- You will find a list of apps. Here, just click on the three-dot menu icon next to the apps you want to disable from running in the background.
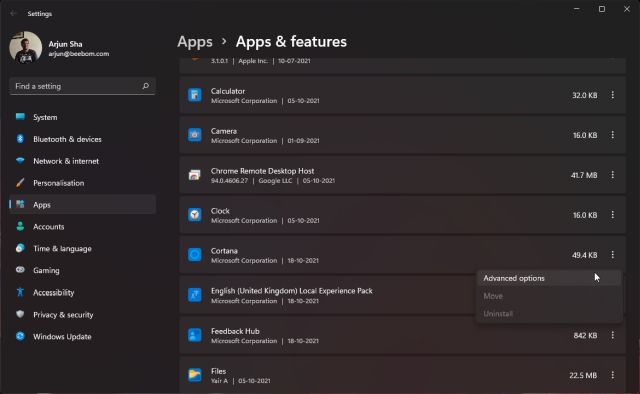
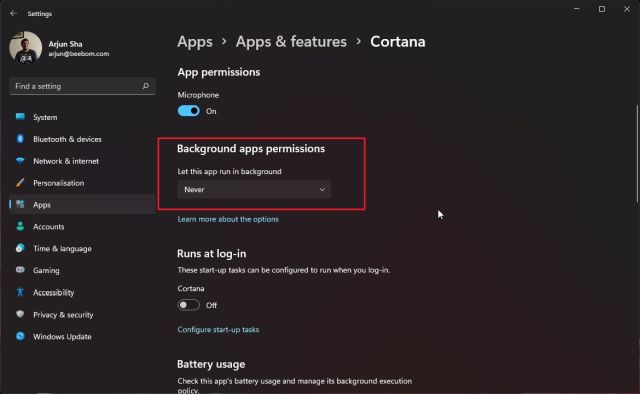
- Select “Advanced options” and scroll down a bit to get to the Background apps permissions option. Select Never to complete the task.
If you want to quit an app that’s already running in the background, just right-click on the Windows icon and select the Task Manager option. This can also be done by pressing Ctrl + Shift + Esc. Now, select the apps you don’t want in the background and then click the End Task option at the bottom.
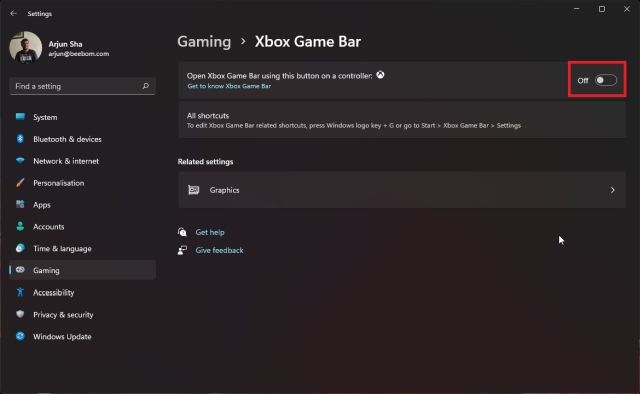
15. Disable Game Mode
If you are not a gamer, it’s best to disable the Game Mode altogether. It will stop DVR and other Xbox-related services in the background, speeding up your Windows 11 PC.
- For this, open Settings and head to “Gaming.”
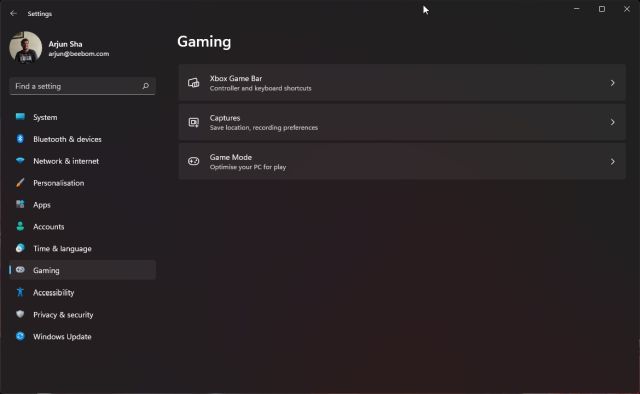
- Open “Game Mode” and disable the toggle.
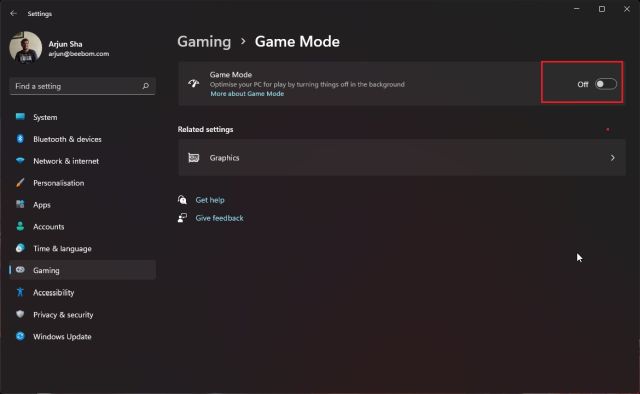
- Similarly, open “Xbox Game Bar” and “Captures” and disable all the toggles under both the menus.
16. Don’t Install Third-Party Antivirus Software
It’s a common misconception to install a third-party antivirus on Windows 11 and 10. Yes, there was a time when you needed a dedicated antivirus program to block malware and viruses. However, Microsoft has upped the game on the security front and its built-in Windows Security (also called Windows Defender) is more than enough to protect your Windows 11 PC. Microsoft updates the virus definitions regularly and in my usage, it has proven to be a reliable antivirus.
The problem with installing an alternative antivirus is that it really slows down your PC. Both the antivirus programs check file hashes, do integrity checks, and more. This can hamper your PC’s performance. To sum up, I would say, do not install a third-party antivirus to keep your Windows 11 PC snappy and responsive.

Note: Anti-virus software is useful in certain specific use cases. Moreover, if users are accessing shady websites, they should preferably use a good anti-virus software to protect their PC
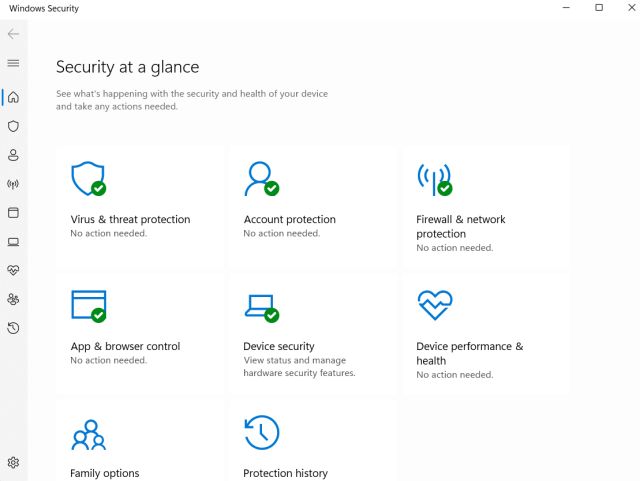
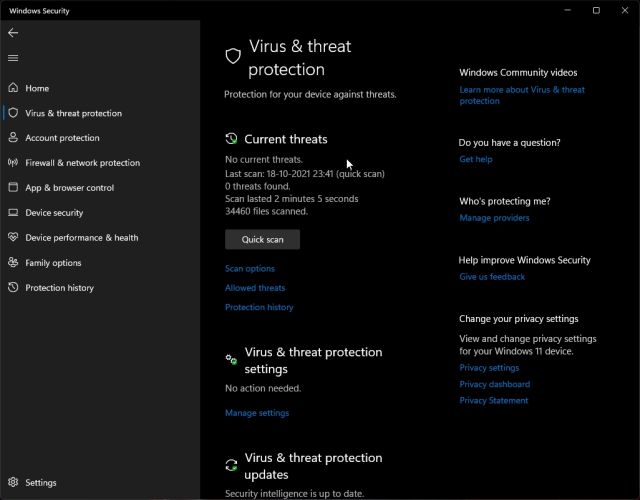
Meanwhile, make sure to check for viruses regularly, because they can hamper the performance of your PC and pose security risks. Windows 11 has built-in virus protection that can help you get rid of them.
- Head to the Start menu. Open Settings and then go to Privacy & Security.
- Click on the Windows Security option.
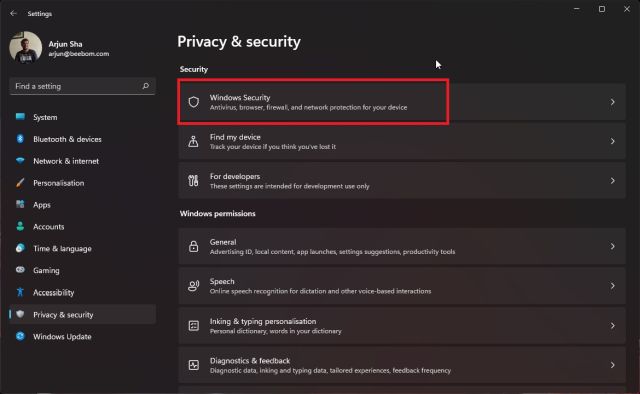
- Once opened, head to the Virus & threat protection option, check for updates, and run a quick scan. This helps in improving the PC performance and keeps you protected as well.

Why is Windows 11 Slowing Down?
There can be numerous reasons for a slowed-down Windows 11 PC or laptop despite the major Windows 11 upgrade. Whether it’s an old PC/laptop or issues with the hard disk, there are some things you can do to improve Windows performance on your computer. So, let’s take a look at how to speed up Windows 11.
There are a few other tips that you can follow to keep Windows 11 fast. This can be done by un-syncing OneDrive, troubleshooting Windows 11, and more. Note that I have not suggested modifying any Registry settings as they may break some of the Windows components. The Debloater script does most of the job and removes unnecessary packages without manually tweaking the Registry.
Meanwhile, if you are an old-school user and want to make Windows 11 look like Windows 10, follow our linked guide. And if you have any questions, do let us know in the comment section below.
If you’re a gamer and you want to speed up Windows 11 for gaming purposes, you should disable VBS on your PC. You can check out the steps to disable VBS on Windows 11 above.
If your Windows 11 PC is slow in start-up, you can turn off startup programs and apps. Apart from that, you should consider upgrading your hard disk to an SSD, and it will give your PC a huge boost in start-up speed.

