
There are many encryption software for Windows 11 that lets you safeguard volumes and drives. But what if you want to password protect files and folders in Windows 11 with iron-clad encryption? Well, in this article, we bring you six easy methods to protect your sensitive files, documents, and folders with a custom password. So without any delay, let’s go ahead and learn how to add password protection to files and folders in Windows 11.
Password Protect Files and Folders in Windows 11 (2022)
We have included six different ways to password-protect files and folders in Windows 11. You can password-protect documents like Word, PowerPoint, and PDF as well. Expand the table below and find all the solutions right here.
Password Protect Files and Folders in Windows 11 with 7-Zip
You may be familiar with 7-Zip as one of the best WinZIP and WinRAR alternatives, however, it’s much more than that. You can use 7-Zip to password-protect files and folders in Windows 11. Not just that. The tool also supports state-of-the-art AES-256 bit encryption to secure the files and folders in Windows 11 so no one can break the password and access your files. The only con is that encrypted files are visible to all users, which means anyone can delete them.
Nevertheless, even if you transfer the encrypted file to another computer and use another archiving software like WinRAR to open the file, you will still need to enter the password to decrypt it. Basically, the encryption is cross-compatible with other software and platforms as well. Having said that, let’s go through the steps.
1. First, go ahead and download 7-Zip from here. It’s a free and open-source app and is consistently ranked among the best Windows 11 apps. After downloading it, install the program.
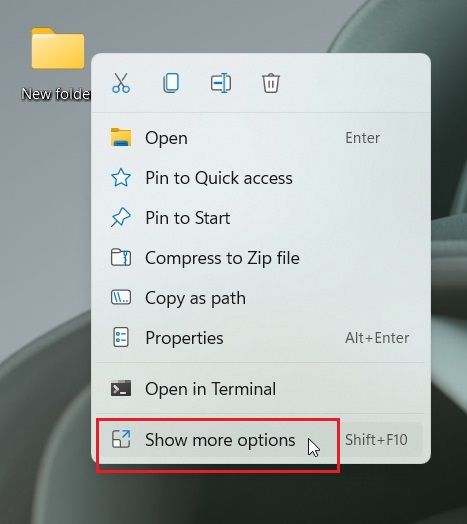
2. Next, to password-protect a file or folder in Windows 11, right-click on it and select “Show more options” from the context menu. For example, here I am choosing a folder.

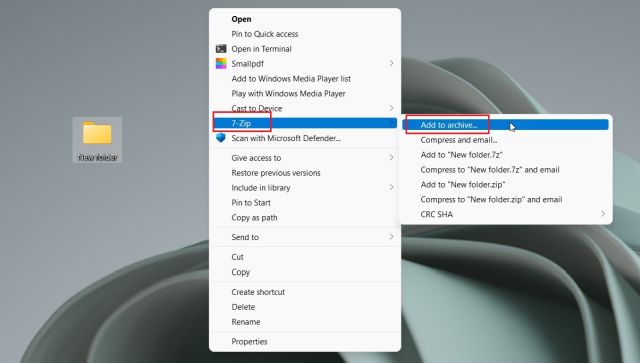
3. After that, move to “7-Zip” and click on “Add to archive“.

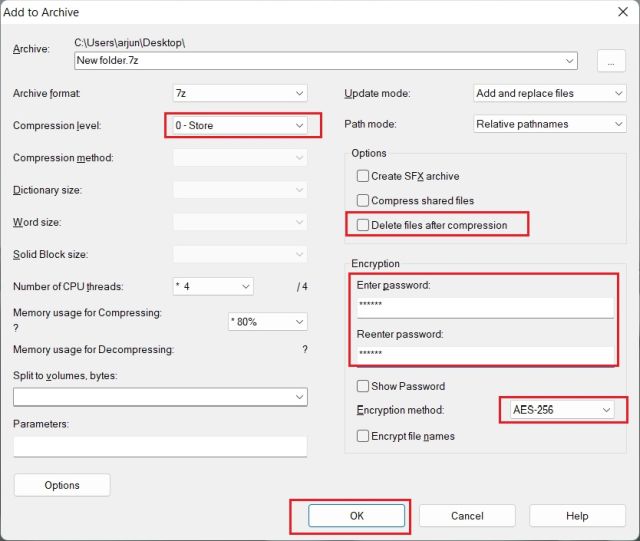
4. A new window will open up. Click on the drop-down menu next to “Compression level” and choose “Store“. On the right side, under the “Encryption” section, enter the password to secure the file or folder. You can also enable “Delete files after compression” in case you want to remove the regular file after encryption. Finally, click on “OK”.

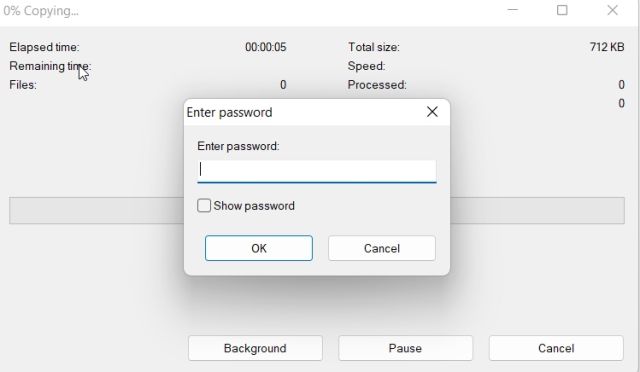
5. Instantly, a file with .7z extension will be created in the same folder. This particular file is password-protected and no one can access the content within the file. If you try to open the file, it will ask for the password to decrypt it. Even if you open it using another archiving program on another computer or platform, you will still require the password to open it.

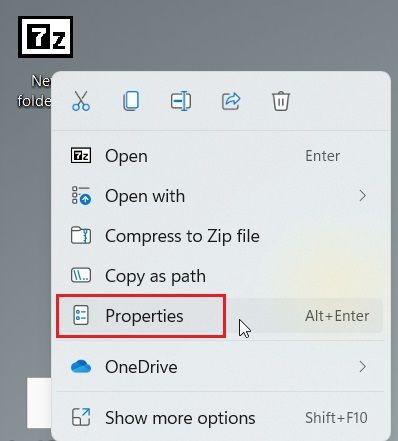
6. You can also hide it by right-clicking on the file and choosing “Properties“.

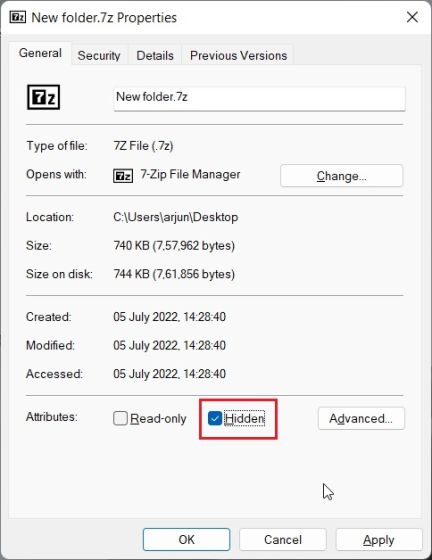
7. Here, enable the “Hidden” checkbox, and you are done.

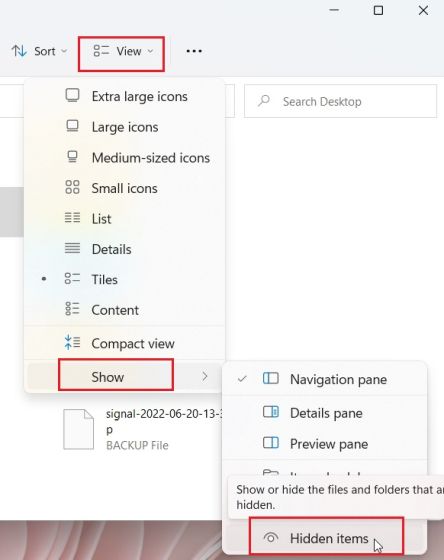
8. To show hidden files in Windows 11, click on “View” in the top menu bar and select Show -> Hidden items. That’s it.

Password Protect Files and Folders in Windows 11 with OneDrive
If you wish to password-protect files and folders both locally and on the cloud, I would strongly recommend using OneDrive. It supports a useful feature called “Personal Vault”, where you can store your important files, folders, and documents. Even if you don’t have a Microsoft 365 subscription, you still get the Personal Vault feature but it’s restricted to only 3 files. For paying users, there are no limitations.
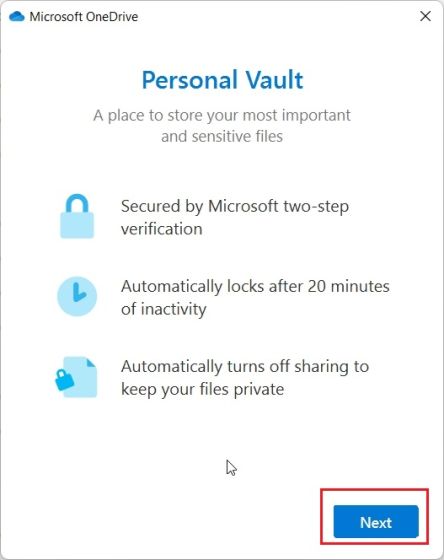
What I like about OneDrive’s Personal Vault is that whenever you try to access it, you will need to enter a 2FA code, which is sent to your email ID. Only after entering the code, you can access the files within Personal Vault. Not just that, it also uses Bitlocker to encrypt the files stored under Personal Vault and they are never cached. And after 20 minutes of inactivity, Personal Vault is automatically locked. All in all, OneDrive’s Personal Vault is an excellent feature to store sensitive files and folders in Windows 11 with a 2FA code.
1. OneDrive is generally installed on Windows 11 by default, but if you don’t have it, you can download and install it from here.
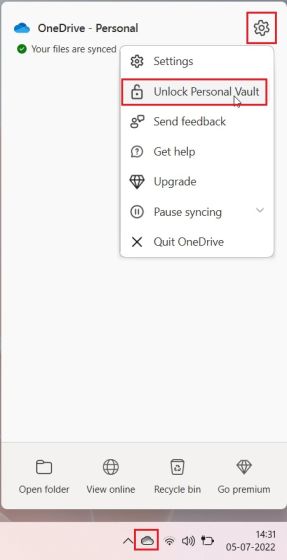
2. Next, move to the Taskbar and open OneDrive from the system tray. Here, click on the “settings” icon and choose “Unlock Personal Vault“.

3. Now, click on “Next” and set up Personal Vault within your OneDrive folder.
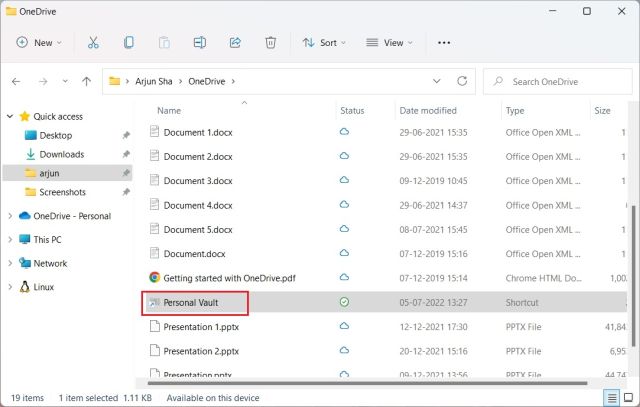
4. After it’s done, open OneDrive from your user profile, and you will find “Personal Vault” here. Open it.

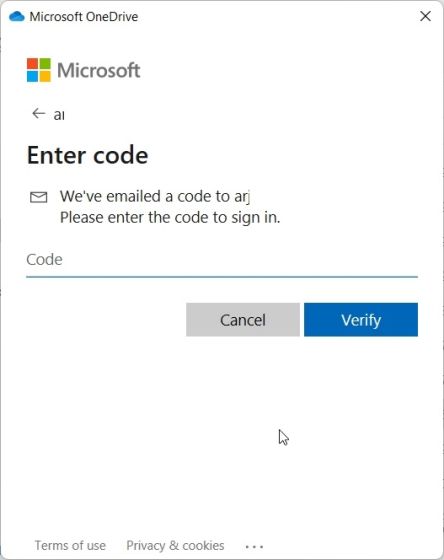
5. Now, enter the two-factor authentication (2FA) code sent to your email account, and you will be allowed to access the Vault.
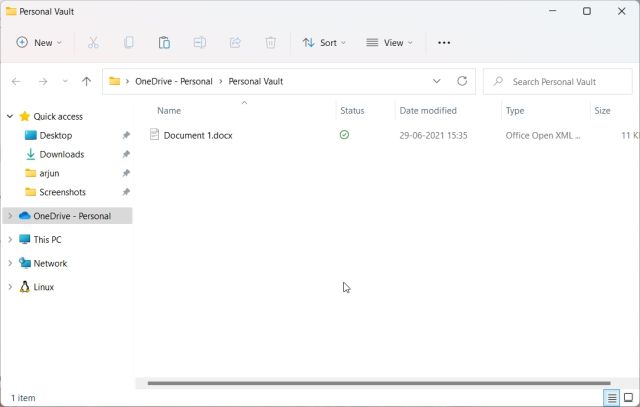
6. Here, you can store all your sensitive files, documents, and folders.
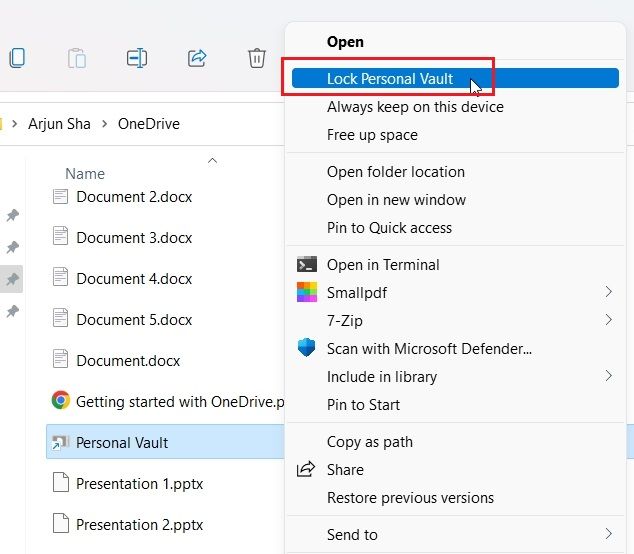
7. After 20 minutes of inactivity, the Vault will be locked automatically. You can also right-click on it in the OneDrive folder and go to Show more options -> Lock Personal Vault. So this is how you can password-protect files and folders in Windows 11 using OneDrive.

Password Protect Microsoft Office Documents in Windows 11
If you wish to password-protect your Office Word documents, PowerPoint presentations, and Excel sheets in Windows 11, you don’t need to install a third-party application. The security feature is built right into Microsoft Office, and you can set a password for each document with ease. Here is how to go about it.
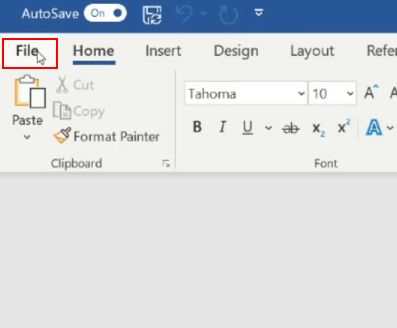
1. Open the Office document on your Windows 11 PC and click on “File” at the top menu bar.

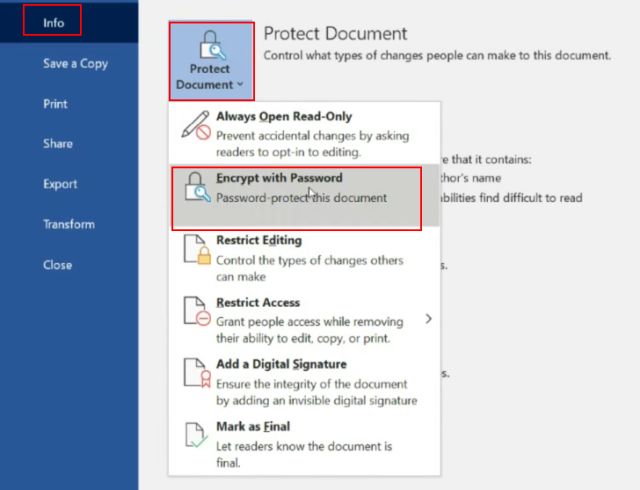
2. Next, move to “Info” and click on “Protect Document“. Here, choose “Encrypt with Password”.

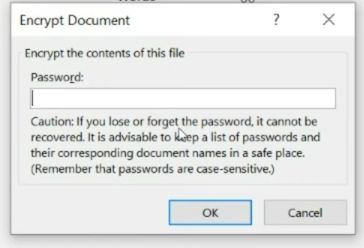
3. Next, enter the password and click on “OK”. Note that – if you forget the password, you can’t access the Office document by any other means. So write down the password somewhere safe for later use.

4. Now, when you open the Office document, you will have to enter the password. The password protection works even on other platforms.

How to Password Protect PDF Files in Windows 11
You can also password-protect your PDF files in Windows 11 using Smallpdf, which is one of the best PDF editors we listed in our roundup recently. This app allows you to quickly encrypt your PDF files with a password, and here’s how it works:
1. Download Smallpdf from the link here and install it on your Windows 11 PC.
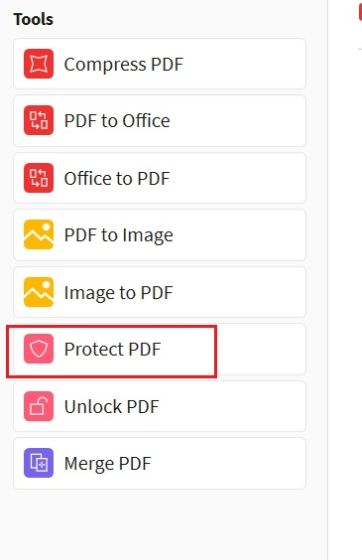
2. Next, choose “Protect PDF” from the left menu.

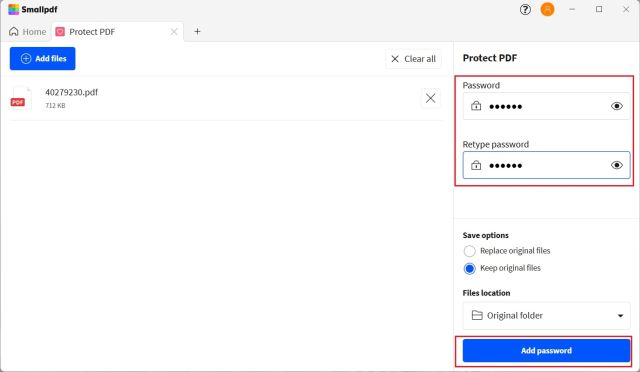
3. After that, add your PDF file and enter the password in the top-right corner. Next, click on “Add password” and a protected PDF file will be saved in the same folder.
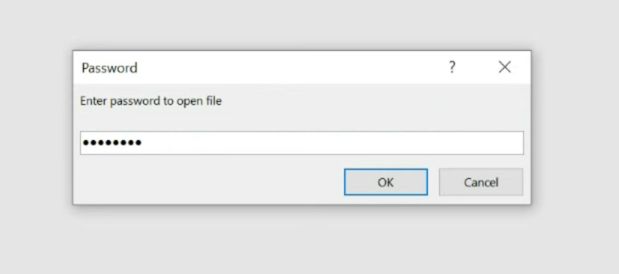
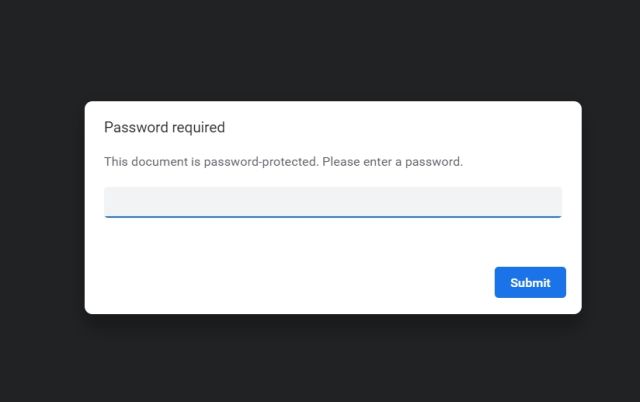
4. Now, open the PDF file, and it will ask you to enter the password. This is how you can password-protect PDF files in Windows 11.

Password Protect Drives in Windows 11 with BitLocker Encryption
Microsoft offers Bitlocker encryption for drives on some editions of Windows 11, including Windows 11 Pro, Enterprise, and Education. It’s a good security feature meant to prevent data theft through recovery in case your laptop or hard drive gets stolen. Since your drives will be encrypted with a password, no one can access data from any environment. Here is how you can password protect drives in Windows 11 with BitLocker encryption.
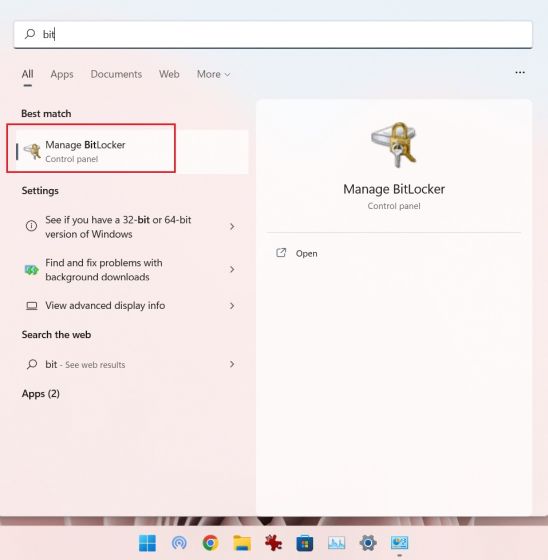
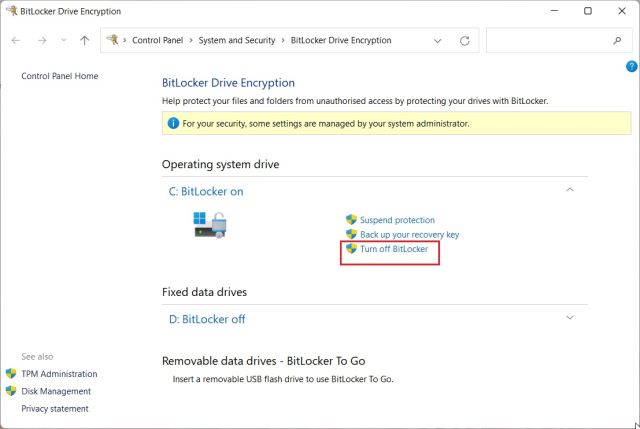
1. Press the Windows key and type “bitlocker”in the search bar. Now, open “Manage BitLocker“. This will take you to the Control Panel in Windows 11.

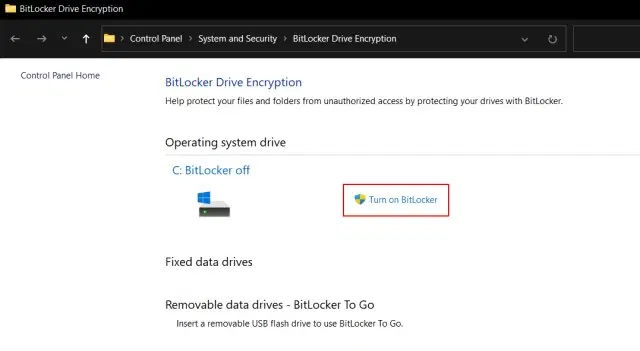
2. Next, click on “Turn on BitLocker” under the “C” drive. You can also do this for other drives, once the process is completed for the C drive.

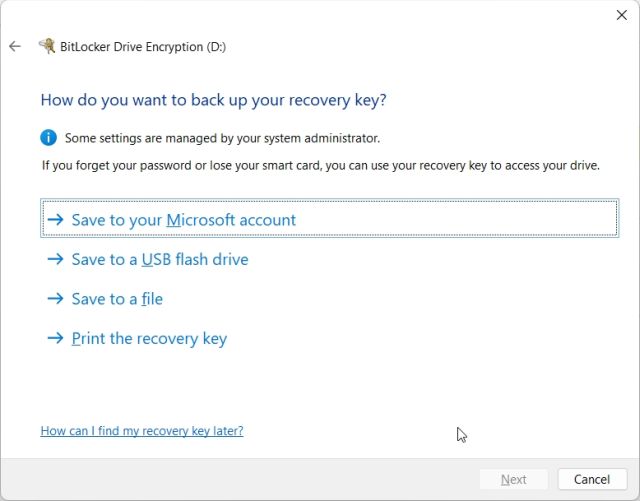
3. It will ask you to save the recovery key. I usually go with my Microsoft account, but you can save it to a file or print the recovery key as well. Note that, in case anything goes wrong, only the recovery key will allow you to access the computer, so keep it somewhere safe. After that, keep everything as default and click on “Next“.

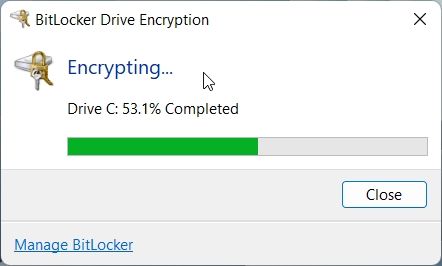
4. Finally, restart your computer, and Windows 11 will start encrypting the C drive. Once the process is complete, no one can access the C drive without having the password or encryption key. I suggest you follow the same step for other drives as well.

5. To disable BitLocker encryption, open the Control Panel again and click on “Turn off BitLocker“.

Password Protect Files and Folders From Other Users on Same PC
If you have multiple users on your PC and want to restrict access of some files and folders from other users, you can do so with a built-in Encryption option in Windows 11. Whenever another user would try to access the file or folder, Windows 11 will ask the user to enter the password of that particular user account. Then only, the files will be decrypted. Here is how you can password-protect files and folders in Windows 11 from other users.
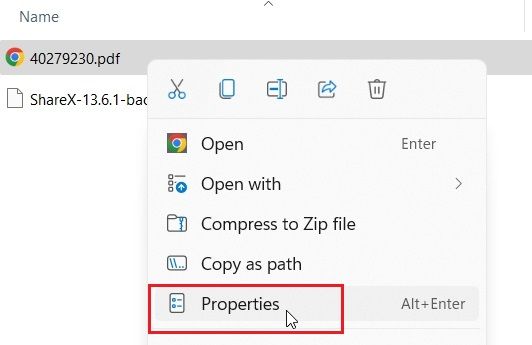
1. Right-click on any file or folder and choose “Properties“.

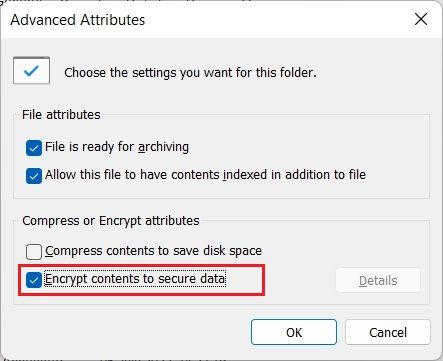
2. Here, click on “Advanced“.

3. Next, enable the “Encrypt contents to secure data” checkbox and click on “OK”.

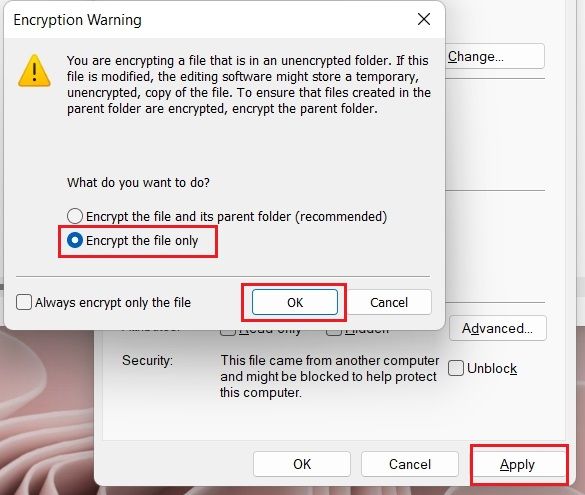
4. After that, click on “Apply” and choose “Encrypt the file only“. Next, click on “OK”.

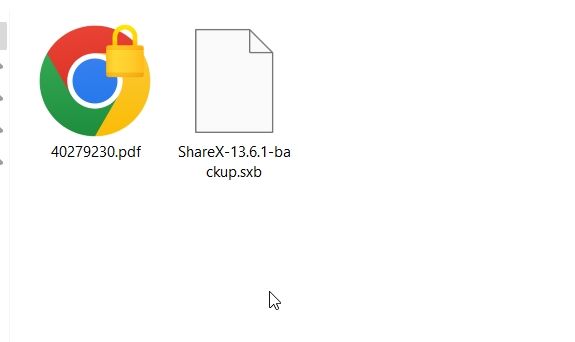
5. A lock sign will appear on the file, which indicates that it’s encrypted and can’t be accessed from another user account. You can repeat this process for as many files and folders as you want.

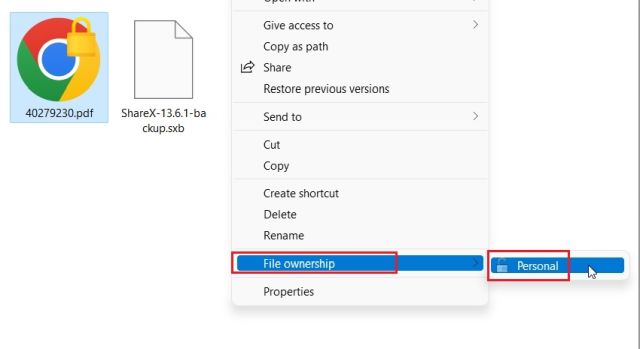
6. To remove encryption, right-click on the file or folder and select Show more options -> File ownership -> Personal.

Secure Your Files and Folders on Windows 11 With a Password
So this is how you can protect files, folders, and drives in Windows 11 with a password or a 2FA code. While there are several solutions out there, I would have loved it if Microsoft offered a simple file and folder encryption feature with support for custom passwords built into the OS. It would have made things so much easier. Anyway, that is all from us. If you want to improve your privacy on Windows 11, follow our linked guide. And to have the best experience on Windows 11, head over to our article on the best Windows 11 settings you should change right now. Finally, if you have any questions, let us know in the comment section below.

