
Minecraft is reaching its prime in terms of customization, and your armor is receiving the most benefits with the next major update. With Minecraft 1.20, you get the ability to color, design, and add patterns (or trims) to your armor in thousands of unique ways. All you need is the right method and the right equipment. So, without wasting any time, let’s learn how to customize your armor in Minecraft.
How Armor Customization Works in Minecraft
The customization of armor in Minecraft refers to changing its physical appearance, color, and design. It doesn’t affect the abilities of the armor. There are two main methods to customize your armor in Minecraft:
- Coloring: You can dye your armor in one of the 16 dye colors in Minecraft. This is an exclusive feature of leather armor.
- Trimming: You can add various patterns on top of your base armor using a Smithing table. Unlike dying, this does not change the color of the entire armor and only adds an overlay design. This feature applies to all types of armor including even colored leather armor.
Please keep in mind that you need to apply the best armor enchantments to the armor if you want to add special abilities to it. In terms of appearance, the enchantments only add a subtle glint to the armor but their supernatural abilities are game-changing.
What Is an Armor Trim and How to Find It


A part of the Minecraft 1.20 update, Armor Trims are a type of Smithing template in the game that allows you to add various patterns to your armor. There are 16 unique Armor Trims in Minecraft, and each one of them can be used with 10 distinct trim colors for each piece of armor, including the helmet, chest plate, leggings, and boots. Since there are six armor materials including heavily colorable leather armor in the game, you can create nearly limitless unique combinations of armor.
But, let’s not get ahead of ourselves. First, you’ll need to find and collect armor trim smithing templates in-game. They spawn throughout the world of Minecraft inside the chest of various in-game structures. While most of such structures spawn in the overworld, you can also find them in the Nether and the End dimension. To start your search, explore our guide for all Armor Trim locations in Minecraft.
Items Required to Customize Armor in Minecraft
You need the following items to trim and customize your armor in Minecraft 1.20:
- Smithing Table
- 4 Armor Trims (1 for each piece of armor)
- Pieces of Armor (Helmet, chest plate, leggings, and boots)
- Trim Color Materials
For the trimming colors, you can use several different materials, including iron, copper, gold, lapis lazuli, emerald, diamond, Netherite, Redstone, amethyst, and quartz. You can also use the same material that the armor itself is made of.
Use Armor Trims to Customize Minecraft Armor
Follow the steps below to customize your armor with the help of Armor Trim Smithing Templates:
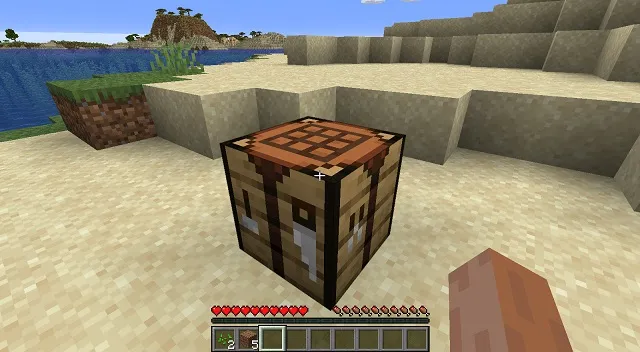
1. First, place a Smithing Table on the surface. Then, right-click or use the secondary action key to use it.


2. Next, place the Armor Trim Smithing Template in the leftmost cell of the Smithing table’s UI.


3. Then, place a piece of armor in the slot to the right of the template (middle slot).


4. Finally, place the color material in the rightmost cell of the Smithing Table UI.


How to Customize Leather Armor in Minecraft
Items Required to Dye a Leather Armor
You need the following items to color and customize a leather armor in Minecraft:
- Pieces of Leather Armor (Pants, tunic, cap, and boots)
- Dye (one for each piece of armor)
- Crafting Table (Java only)
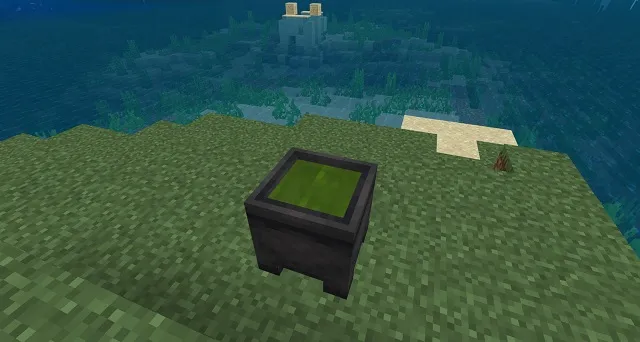
- Cauldron (Bedrock only)
- Bucket with Water (Bedrock only)
You can use any of the 16 in-game dye colors, including white, red, orange, pink, yellow, lime, green, light blue, cyan, blue, magenta, purple, brown, gray, light gray, and black.
How to Dye Leather Armor in Java Edition
Follow these steps to dye and customize leather armor in Minecraft Java Edition:
1. First, place the crafting table on a solid surface, and then right-click or use the secondary action key on it.

2. Then, place one piece of leather armor in any slot in the crafting area. You can only dye one piece of armor at a time.


3. Finally, place the dye of your choice in any other slot in the crafting area. You can even place two dyes to create a new color by combining them.


How to Dye Leather Armor in Bedrock Edition
Unlike the Java edition, you have to put in slightly more effort to dye your leather armor. Here’s how to color and customize your leather armor in Minecraft:
1. First, place down a cauldron on any solid surface.

2. Then, empty a bucket of water into the cauldron by right-clicking or using the secondary action key.


3. Next, use any dye of your choice on the cauldron’s water. The color of the water will change based on the dye you add. You can use more than one dye to create new colors.

4. Finally, use the piece of leather armor on the cauldron to make it absorb the color. Even though this process takes longer than the Java edition, you can use one piece of dye to customize multiple pieces of leather armor.

Whether you want colorful gear or a truly stylish set of armor, you now have the know-how to customize your armor in Minecraft Java and Bedrock Edition. But this is the most basic level of customization you can do in-game. To truly push it to the limits, we suggest you explore some of the best Minecraft skins to change your appearance. Not to forget, you can also use some of the best Minecraft texture packs to get entirely new designs for your armor. With that said, what design are you going to use for your armor? Tell us in the comments below!


