Resident Evil Requiem has an incredibly hard challenge, known as the ‘Final Puzzle,’ which only appears after you complete the game once. Solving this puzzle by yourself is nearly impossible, as it requires not just critical thinking but a ton of trial and error. Thankfully, the puzzle was finally solved, and we now know how to solve it. Here is how you can solve the Resident Evil Requiem Final Puzzle.
How to Solve Resident Evil 9 Final Puzzle – Easy Steps
The Resident Evil 9 Final Puzzle is quite long and has a ton of extremely complicated steps to figure out. Now, for anyone who is just looking for the solution without learning how it was figured out, here is a step-by-step guide for you. Also, take a look at our complete Resident Evil Requiem puzzle guide to learn the answer to other puzzles.
- First, you need to either start a new playthrough or load a save at the meat grinder.
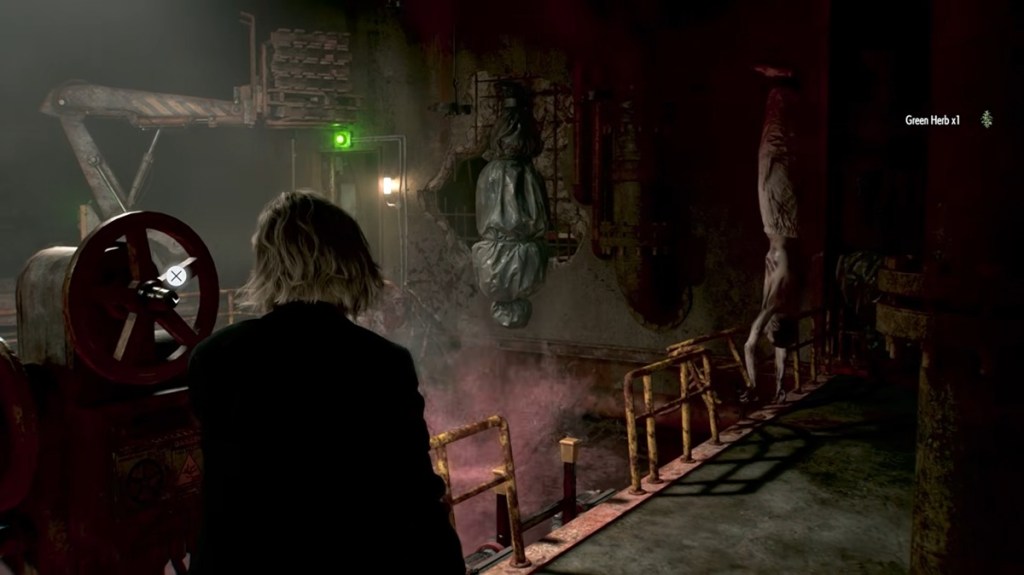
- As usual, you will find the hanging bodies there. Use the lever that turns to change the rotation of the hanging bodies, so that they start falling into the processing pool of blood.
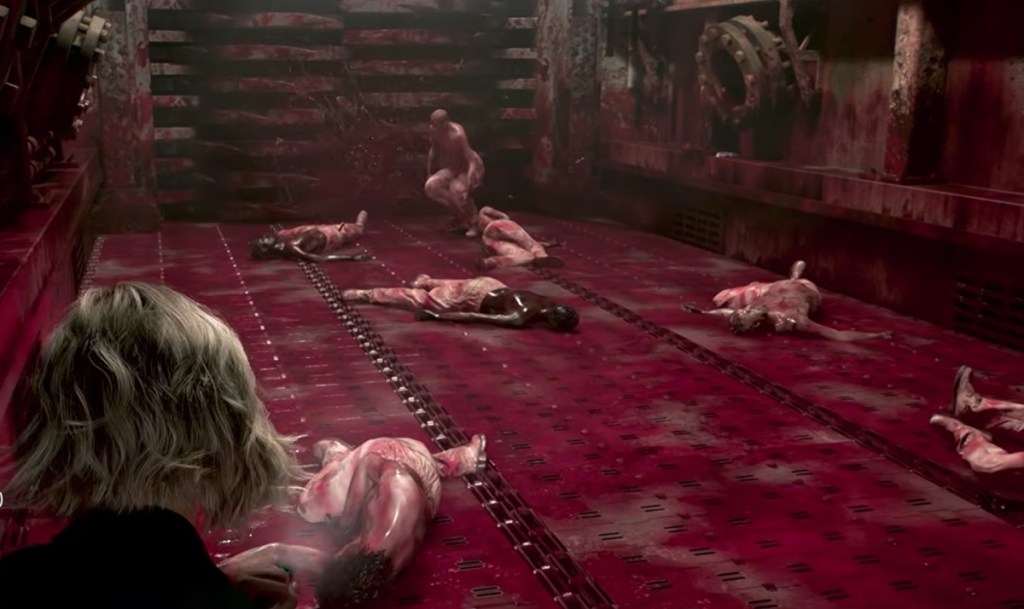
- Now, you will have to wait for 15 minutes, watching the bodies fall into the pool of water. There would be a typewriter nearby, so save the game to reload if the challenge is not complete.
- You now need to wait for 15 minutes, as mentioned before, or for 115 bodies to fall into the pool of blood. Instead of counting the bodies, simply start a timer and wait.

- After you have waited long enough, drain the pool of blood and drop down into the grinder. Now, do not kill or hit any of the zombies. Simply wait for the zombies to be sucked into the grinder.
- You can run around avoiding the zombies and use heals. If you are having trouble doing that, make sure to play in a lower Resident Evil Requiem difficulty.
- After some time, the grinder will stop, and that’s when you will have to leave the meat grinder. Get the generator plug and continue as usual.

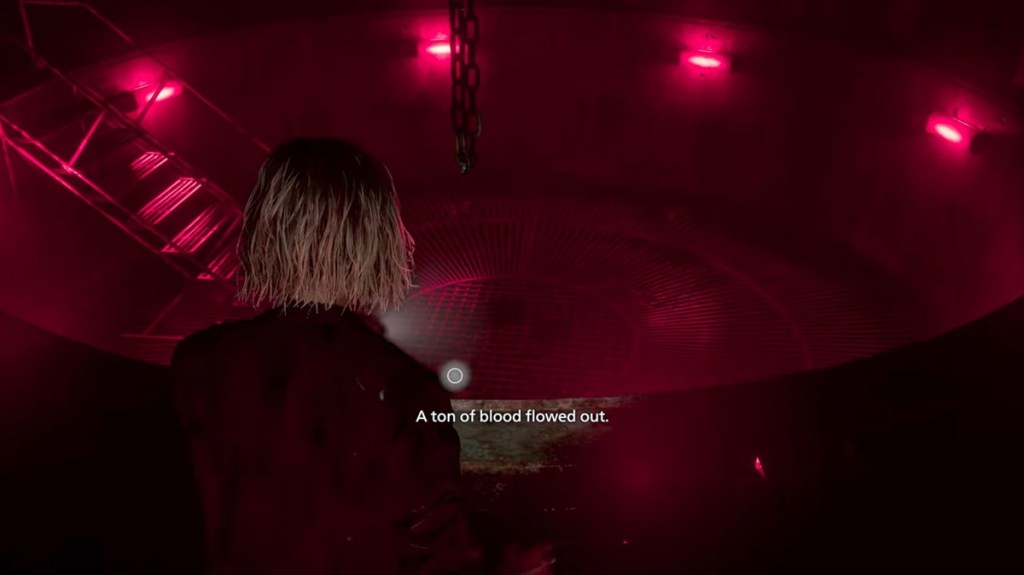
- Now, when you get to the area where Grace slides through pipes into a pool of blood, make sure to flush that pool of blood using the lever on the left.
- Here, you will get a message, ‘A ton of blood flowed out,’ once you look at the flushed pool. If you don’t get this message, then you didn’t wait enough back at the meat grinder. Load back to the meat grinder section, do all the steps again.
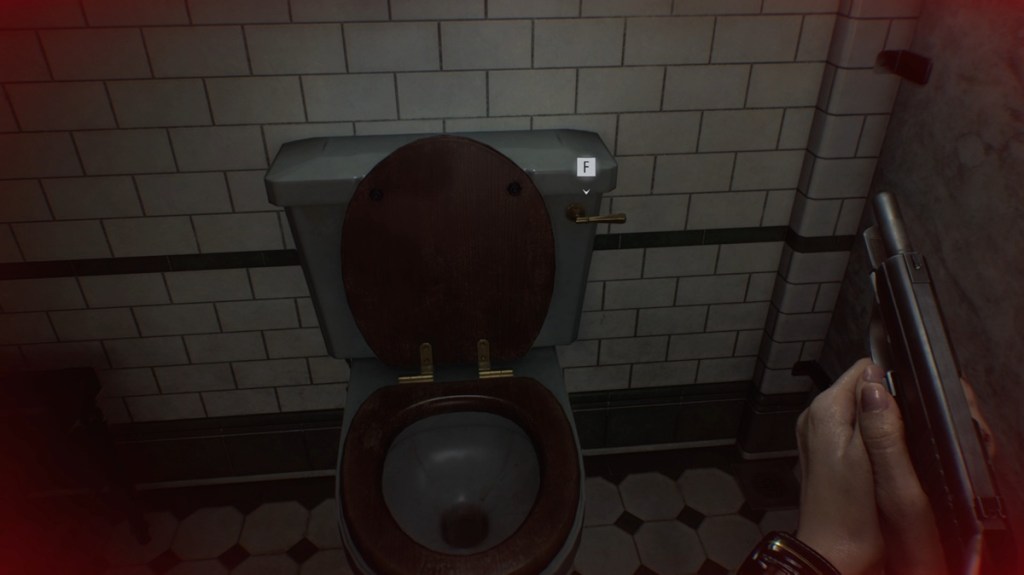
- Now, continue going through the story as usual until you exit the basement with Emily. When you return upstairs, head into the toilet area and flush the first toilet eight times.
- Continue the story after that until you reach the big facility, where the entire area erupts. Here you will suddenly find Marie’s Doll at the bottom of the stairs. Pick it up and keep Marie’s doll in your inventory for the rest of the game. Complete the game with Marie’s doll to have it with you in the next playthrough.


- Now, start a new playthrough normally and reach the Rhodes Hill area again. Now, you will find Marie’s doll in the storage at the save points. Add Marie’s doll again to your inventory and continue the story until you free Emily from her cell.
- Carry Emily to the Lead Researcher’s Office in the East Wing. Here you will find one of the Sun, Star, Moon safes. Press the following combination to complete the puzzle — Sun, Sun, Star, Sun, Moon, Star, Sun, Moon, Sun, Moon, Star, Moon.
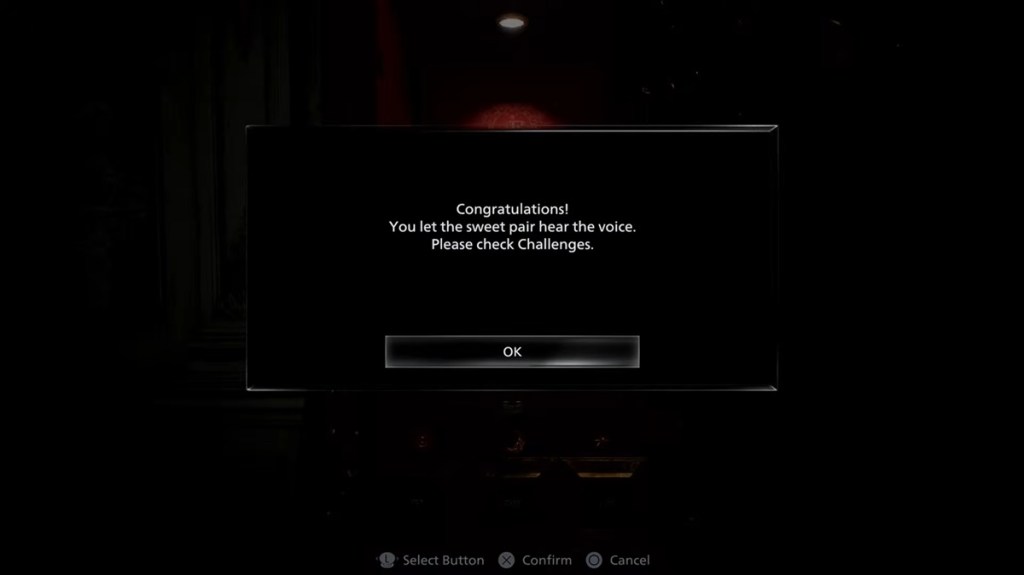
- You will hear a baby’s laughter now, and a message will appear on your screen that the puzzle has been completed.
As you can see, the puzzle is very complicated and hard to figure out. You may be wondering how it is possible to find any of this information in the game. Capcom has actually given clues in the game that lead to this solution. For those who are not satisfied with just the solution, here is how you can get the clues to solve the Final Puzzle in Resident Evil Requiem.
Resident Evil Requiem Final Puzzle Steps Explained
The above solution has likely raised more questions for you. If you are wondering how we figured out that you have to wait 15 minutes for the bodies to fall into the pool, or how we got the Sun, Star, Moon, combination, then this section should explain it for you.
115 Bodies or 15 Minutes in the Meat Grinder Explained
The solution to the Final Puzzle may have been in the dark since the game’s release, but everyone had a suspicion that it had to be related to Marie and Emily. Marie is the other girl who was supposed to be in the room next to Emily. This is also where we find Marie’s Doll first, but it cannot be picked up into the inventory.

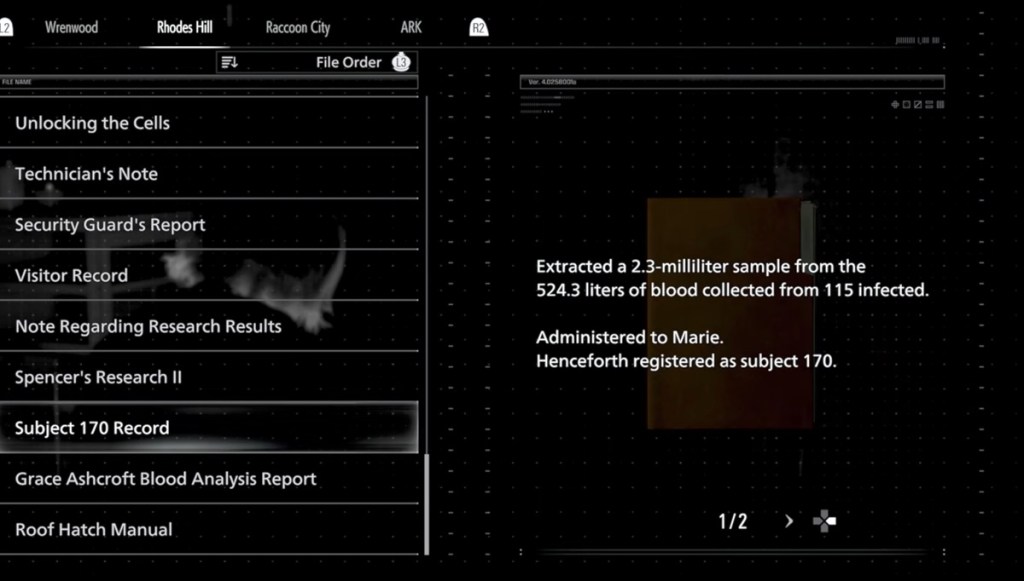
So, a common way to solve the puzzle started by scouring all the files related to Emily and Marie. One such file, ‘Subject 170 Record,‘ mentioned that a 2.3 milliliter sample from the 524.3 liters of blood collected from 115 infected individuals was administered to Marie. That’s where we got the clue that you need to wait for 115 bodies to drop into the meat grinder, which otherwise takes around 15 minutes.
RNA of the Severed Hand
Players would remember picking up a Severed Hand of the mother monster after the horrifying elevator scene. This Severed Hand can be added to the inventory, but it appears to have no role in the actual main story.
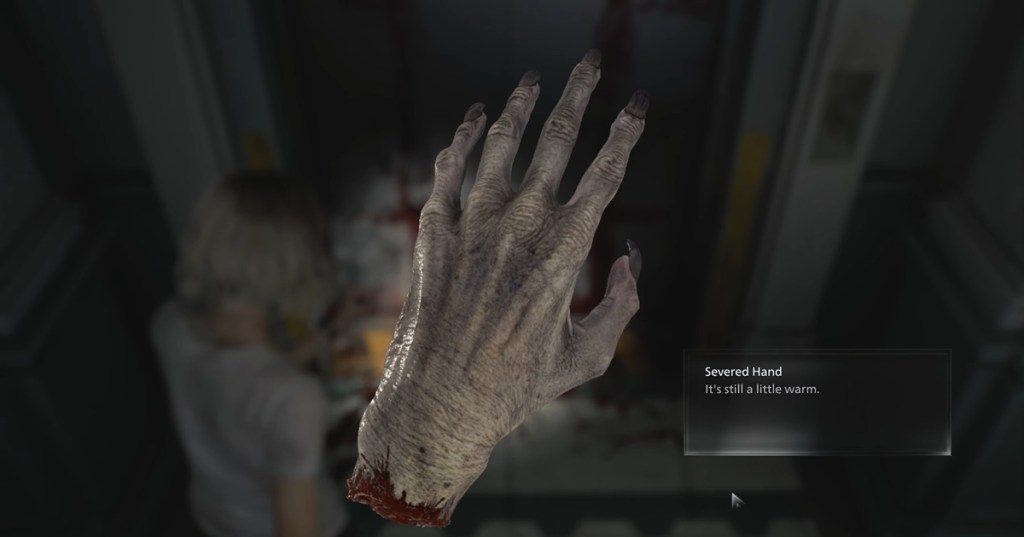

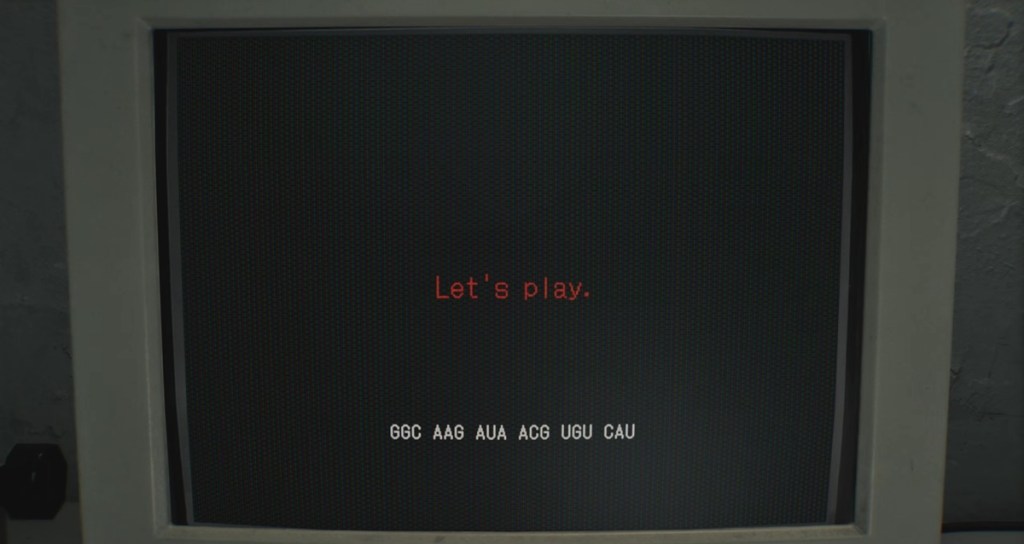
That’s because it needs to figure out the Sun, Star, and Moon code of the Final Puzzle. Take the Severed Hand to a Blood Analyzer, and you will get the following RNA code:
- GGC AAG AUA ACG UGU CAU
Alongside the code, you will get the message Let’s Play on the screen. This code by itself won’t make sense to you. To solve it, you need to learn what each of the individual letters means. There are four letters in the sequence — G, C, A, and U. However, there are only three combinations for the Sun, Moon, Star puzzle. Keep that in mind for the next part.

Deciphering the Code
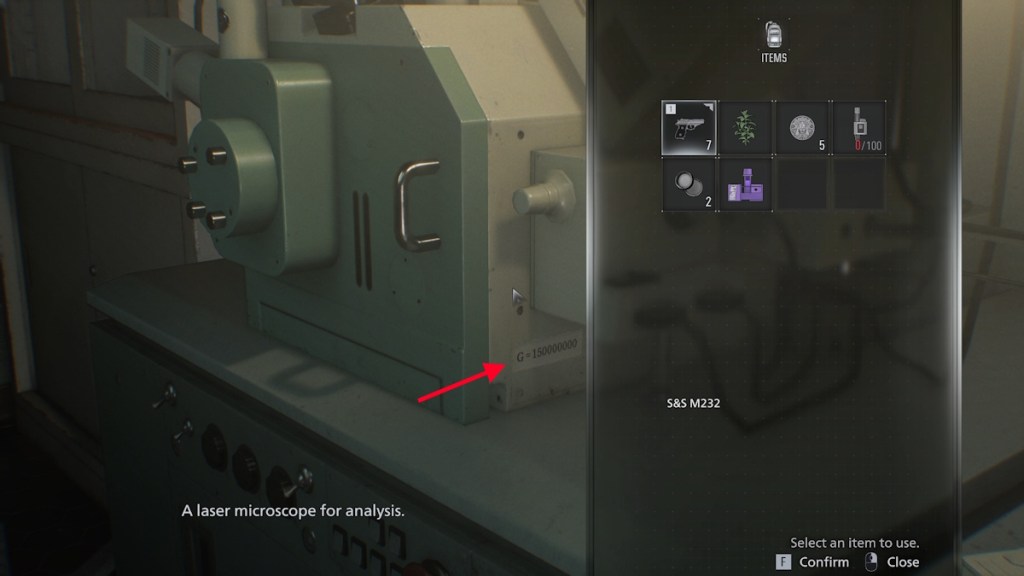
In the Blood Lab of Rhodes Hill Care Center, you will find the Blood Analyzer. Now, you don’t have to use it, but instead look at its body. You should be able to spot a label with the following code:
- G = 150000000
What does this mean? Well, the Sun is 150 million miles away from Earth, so we can deduce that the letter G = Sun for the puzzle.

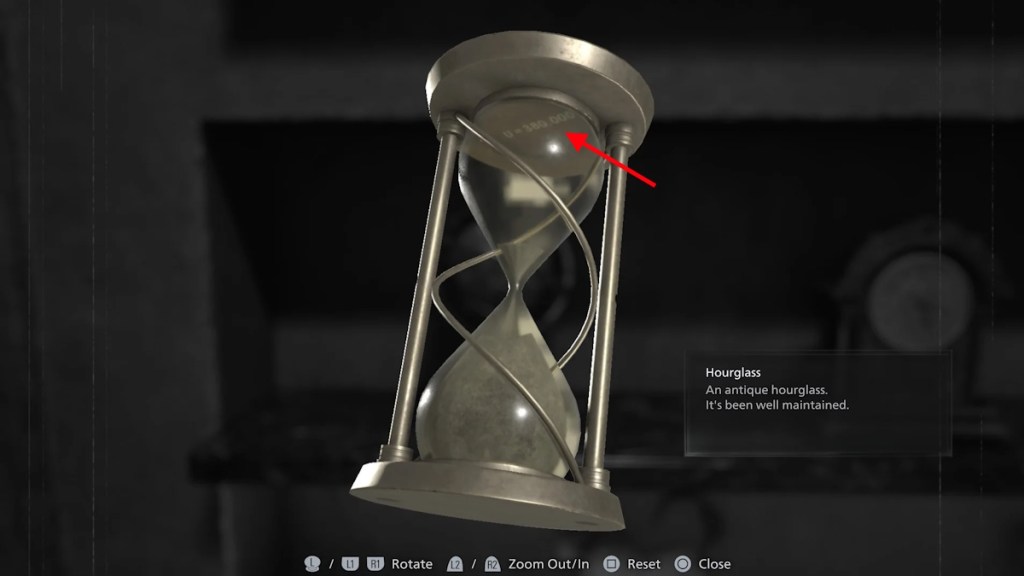
Next, remember the Hourglass you could pick in the VIP Suite while solving the double helix puzzle? You can pick up this hourglass and add it to your inventory, but it is not related to the puzzle at all. However, if you turn the hourglass upside down and look at the bottom after the sand has fallen away, you will spot the following code:
- U = 380,000
Using the same logic as earlier, we know that the Moon is 380k km away from the Earth. So, we can also safely deduce that U = Moon for the puzzle.
This leaves only the letters A and C. Either of them could be Star, while the other is not required. Now, you can simply do trial and error, substituting both letters to solve the puzzle, but there is another clue to get a definite answer.
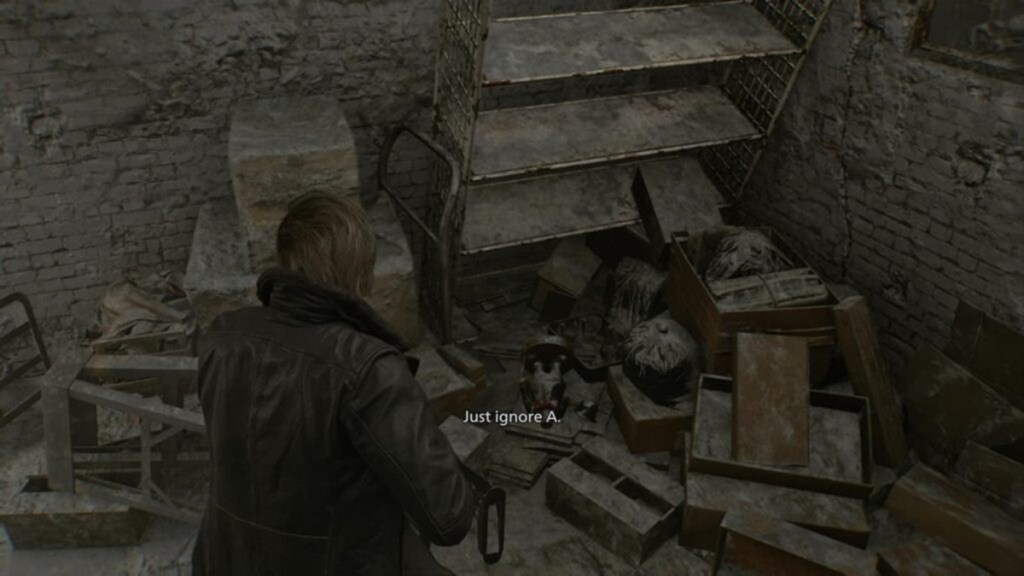
After fighting the Tyrant boss as Leon, you will eventually reach a caged-off basketball court. Here you will find an Uncle Toy Bobblehead. Kicking this Bobblehead through the fallen hoop will cause a slight noise. Head to the Kendo’s Gun Shop, and you will find the body of Uncle Toy Bobblehead lying in a pile of trash. Interact with it to get the message:
- Just ignore A
So, we can safely deduce that C = Star in the puzzle, as the message tells you to ignore the letter ‘A’.
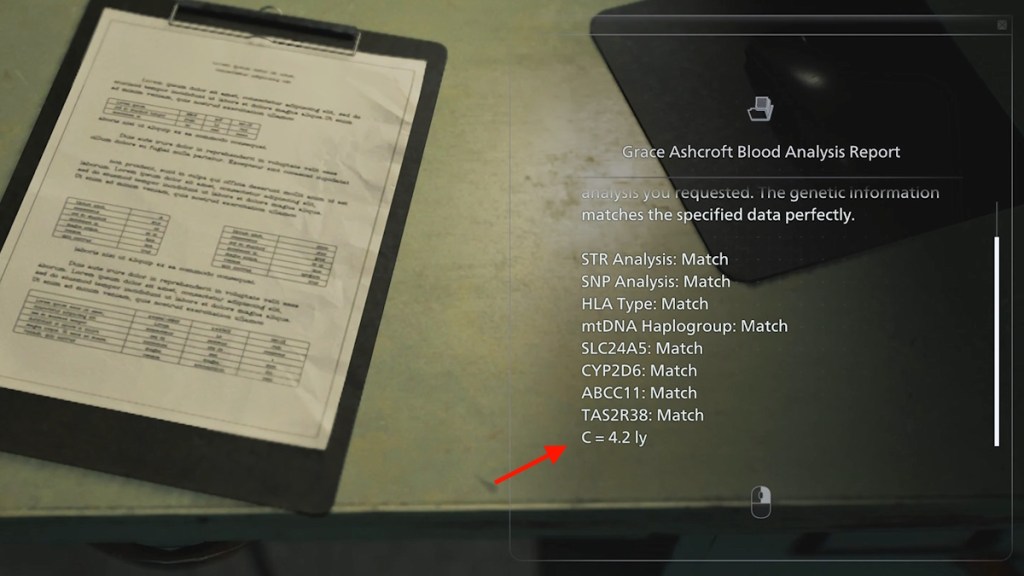
Another clue to this is Grace Ashcroft’s Blood Analysis report, which you can find in a document beneath the Helipad in Rhodes Hill Care Center’s grounds. The report mentioned that ‘C = 4.2 ly.’ Now, the closest star to Earth is also 4.2 light-years away, ignoring the Sun, of course. This confirms that C means Star in the sequence.
Making Sure Emily and Marie Hear the Sound
Knowing that the puzzle asks you to ‘Let the Sweet pair hear the voice’, the sweet pair could only be Emily and Marie. Now, Marie cannot be found in the game, so it was clear that we needed to have her Doll somehow in the Inventory, while also having Emily with us when we do the puzzle.
There were only a few moments in the Care Center where you could walk around with Emily in tow, so the correct timing was easy to realize. Also, as the RE9 Final Puzzle itself appears after completing the game, it makes it clear that you will need to complete the game first by triggering certain objectives to complete this challenge.


So, that sums up the entire Resident Evil Requiem Final Puzzle challenge. Were you able to complete this challenge by yourself? Let us know in the comments below.