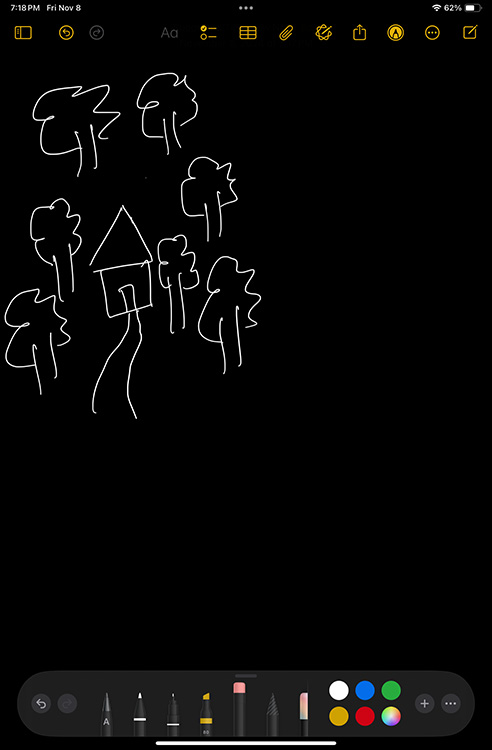
Among the many new Apple Intelligence features in iOS 18 and iPadOS 18 is the new Image Wand. This tool is supposed to be able to help you convert your rough sketches within the Notes app into realistic and beautiful images. And now, with the iPadOS 18.2 beta, you can finally check out the tool in action. So, if you are ready to take your note taking to the next level, here is how to use image wand on iPad with iPadOS 18.
Use Image Wand on iPad Notes App with a Rough Sketch
You can use the Image Wand to create realistic sketches from your rough ideas within the notes app. Here’s how to do it:
- Create a rough sketch of your idea with the Apple Pencil in the Notes app.

- In the Apple Pencil tools, select the new “Image Wand” tool (highlighted below)

- Circle your sketch and write a basic description of your sketch.

- You will see a number of sketches based on your idea. Choose one you like and tap on “Done”.

Pro-tip:
You can add more descriptions to further fine-tune the output image.
Use Image Wand without a Rough Sketch
If you are really bad at sketching, like I am, you can even use the Image Wand without a rough sketch to start with.
- Simply select the Image Wand tool and circle an empty area in your note.

- Then, write a description of the image you want to generate.

- Choose the sketch that best suits your preference and tap on “Done” to insert it into your note.

Note:
You can even use Image Wand without an Apple Pencil by just drawing with your finger and using the Image Wand tool to generate a realistic sketch from it
Edit Images Generated with Image Wand
Images that you add by using the Image Wand feature can also be edited later on. That means, if you think you want to further edit the image that you generated earlier, you can do so and get a new image instead. Here’s how to do that.
- Tap on the image you had added with Image Wand in your Notes app, and tap on the “Apple Intelligence” icon in the toolbar.

- You can now add more details to the description or remove details from the description to change the image.

- Choose a new generated image, and tap on “Done” to add it to your note.

Use Image Wand on iPhone
If you don’t have an iPad, but you use the Notes app on your iPhone with iOS 18.2 installed, here is how you can use Image Wand on your iPhone.
- Open the Notes app and draw a sketch with your finger. Then, select the Image Wand tool and circle your sketch.

- Add a description of your image. From the generated images, choose the option that best meets your needs and tap on “Done” to add it to your note.

That’s pretty much it. You can use the new Image Wand feature as long as you have iPadOS 18.2 Developer Beta installed on your iPad. If you’re wondering whether your iPad supports the feature, we have a dedicated list of devices that support Apple Intelligence that you can check out. Also, if you have any questions, do let us know in the comments below.


