- You can unzip a file on Windows by right-clicking it and clicking Extract.
- The TAR utility can also help you zip and unzip files on Windows using the command line.
- Third-party apps such as PeaZip and WinRAR have lots of functionality built-in for advanced users.
Unzipping files on Windows is one of the fundamental things you’ll see yourself doing often. Windows has a straightforward approach with features thanks to its great graphical user interface and cues, and unzipping files is no different. Besides the GUI, there are several tools that can help you unzip files with ease, and then there’s the command prompt as well. Here’s how to unzip files on Windows.
Unzip Files on Windows
There are a multitude of different ways you can explore to unzip files on your Windows PC. Here, we’ll take you through some of the easiest ones to get the job done.
Method 1: Using File Explorer
- Launch the File Explorer app from the Start menu.
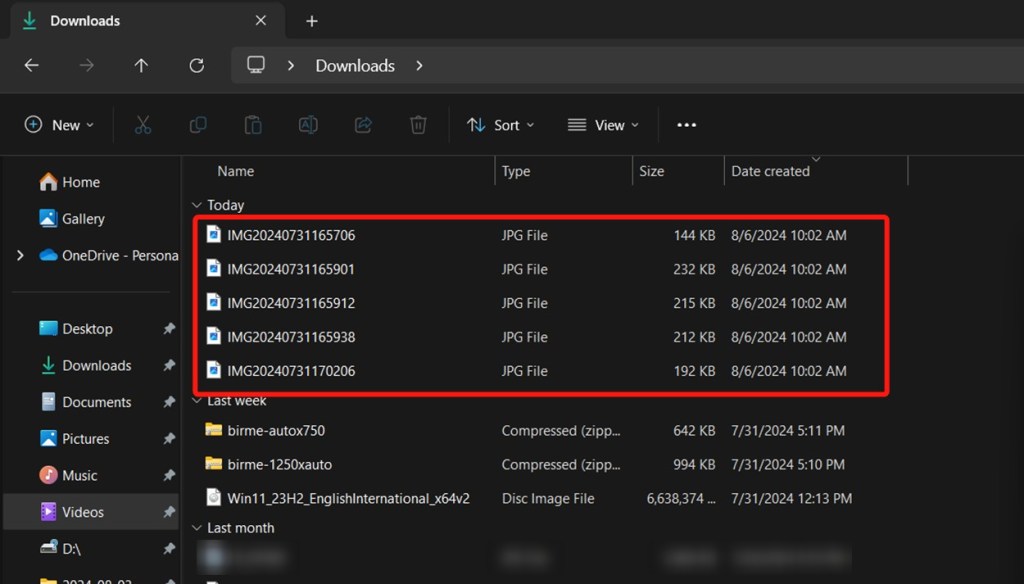
- Go to the location of the Zip file you downloaded. These files are usually located in the Downloads folder.
- Once you find the file, right-click to open the context menu and click on Extract All.
- Choose a location where you want to extract the file and click on Extract.
- Go to the location where you chose to extract and double-click on the folder to open its contents.
This is the easiest way to unzip files on Windows. However, if it doesn’t work for any reason, there are a few other ways you can try.
Method 2: Using the Command Prompt
The Command Prompt on Windows can do anything when you input relevant codes. Here’s how you can unzip files using the Command Prompt.
- Go to the location of the zip file you want to extract and right-click the empty space to open the context menu.
- Select Open in Terminal to open the directory inside a terminal window.
- Use the following TAR command with an identifier to extract the contents of the zip file.
tar -xf zipname.zip- Replace the “zipname” with the name of the downloaded zip file and hit the Enter key.
Method 3: Using PeaZip
PeaZip is a free and open-source application that works surprisingly well. It also comes with tons of features and can act as a good replacement for the File Explorer app if it’s not cutting it for you.
- Install PeaZip by downloading the Windows installer from the official PeaZip GitHub page.
- Go through the installation process and launch the app.
- Navigate to the location of the downloaded Zip file.
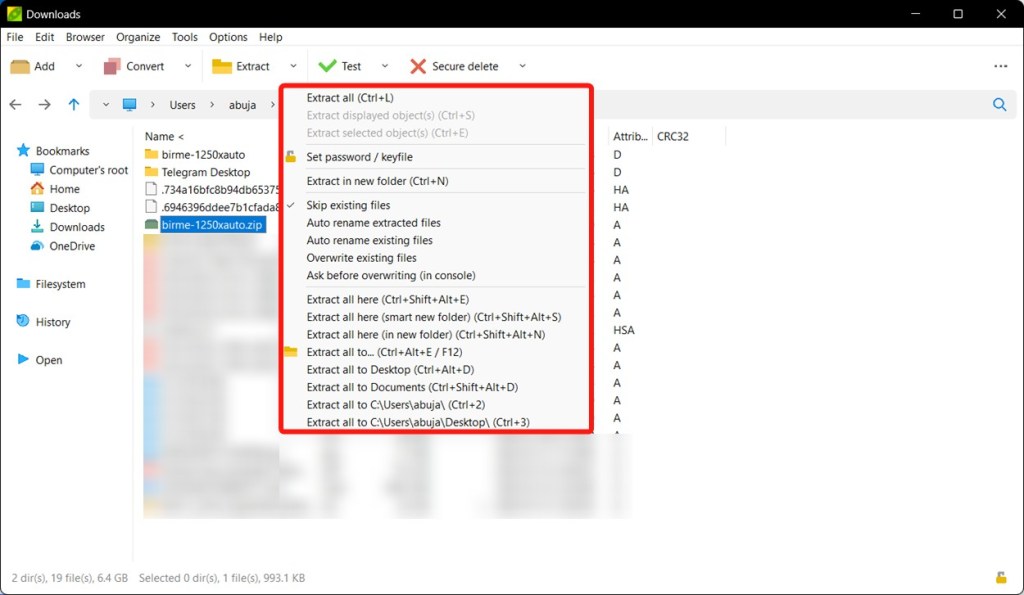
- Select the zip and click Extract in the top bar.
- You can also use the shortcut Ctrl + Alt + E or F12 to extract the files.
- Click Ok in the new window that pops up.
When extracting a zip file, you can click the small arrow beside the Extract option to see more options like Extract all here, Extract all to, etc.
Alternative Apps You Can Use to Unzip on Windows
Windows has basic Zipping/Unzipping abilities and that’s enough for most, but if you’re someone looking for advanced zipping/unzipping features such as adjusting the compression rate, converting to a different archiving format, or analyzing the contents of the archive, you may need a dedicated archiving tool or app.
Fortunately, there are a few great, completely free-to-use tools that work exceptionally well. We’ve already mentioned PeaZip in this guide, here are some more:
Were you successfully able to unzip files on Windows by following this guide? Drop any questions that you may have, in the comments section below.


