Thanks to the efforts of the developers of an open-source camera app, it is now possible to record RAW videos on Android. To be more specific, developers have made it possible to shoot 10-bit CinemaDNG RAW videos on your Android phone. If that’s something you are interested in, read on to find out how you can shoot RAW videos from your smartphone.
Record RAW Videos on Android (2021)
As PetaPixel reports, Motion Cam is the first app on Android to enable RAW video recording. However, it is experimental at the moment, and using the feature requires a smartphone with decent hardware. Moreover, the app doesn’t record audio for now. Overlooking these limitations, here’s how to get started:
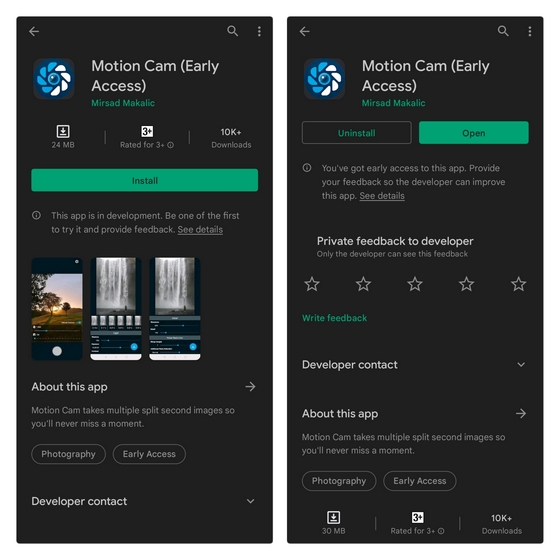
1. Download and install Motion Cam from Google Play Store (Free). Since it is an open-source app, you can also choose to sideload the app from its GitHub page.
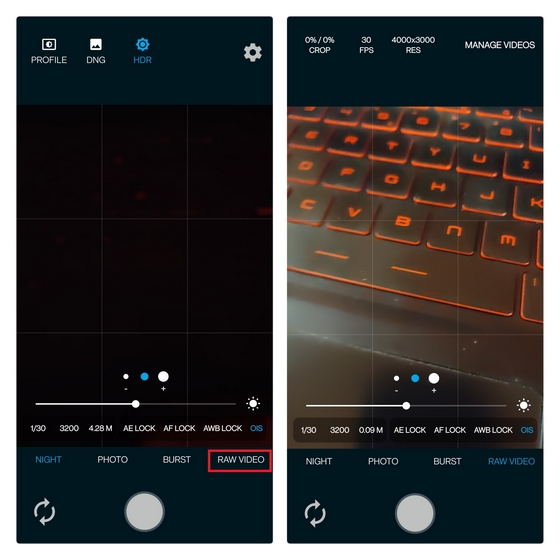
2. Once the app opens, switch to the “RAW VIDEO” section from the bottom navigation bar. You now get access to RAW video mode along with options to control the FPS, resolution, ISO, stabilization, and more. Choose the appropriate resolution and FPS based on your phone’s hardware and hit the record button to shoot the footage.
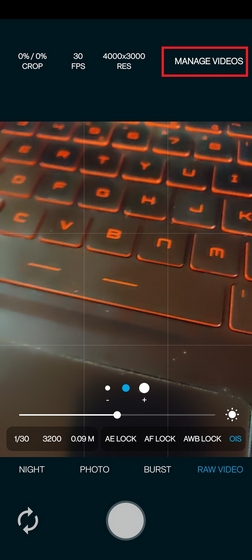
3. Once you have recorded the video, the app stores it as a ZIP file. You should tap the ‘Manage Videos’ button at the top-right corner to convert the ZIP file to DNG format.
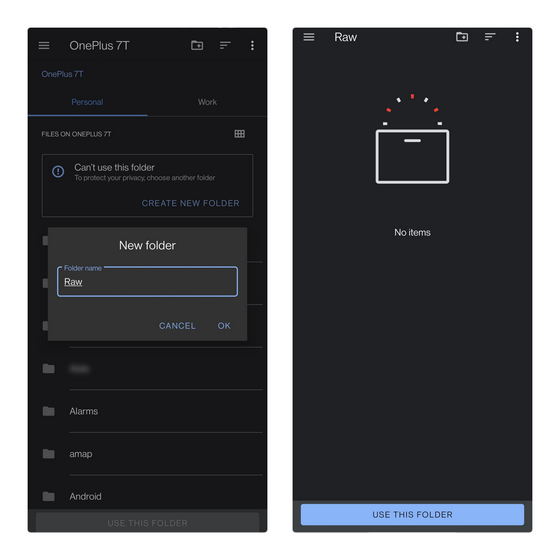
4. You will see the recorded RAW video file in ZIP format on your Android phone. Next up, you should create a path to store the processed DNG file. Press the “Queue” button, and the app will automatically take you to your phone’s system file picker. Here, you should create a new folder to save the DNG files.
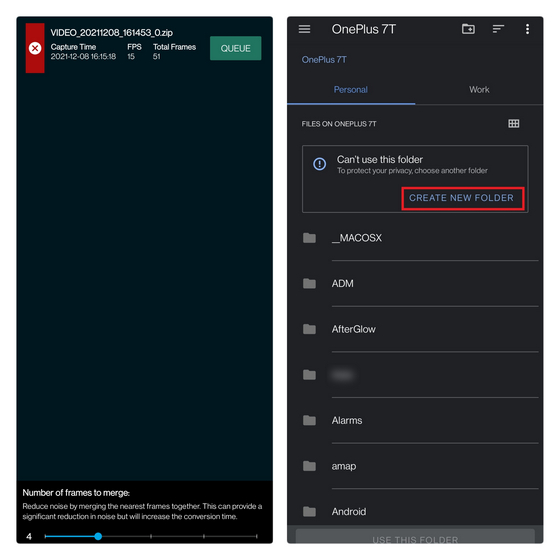
5. Name the folder and press “Use this Folder” to define the destination location of processed DNG files.
6. After selecting the folder, the app will take you to the video management screen and start processing your video. This should take a few seconds or minutes based on the video duration and your phone’s processing capabilities.

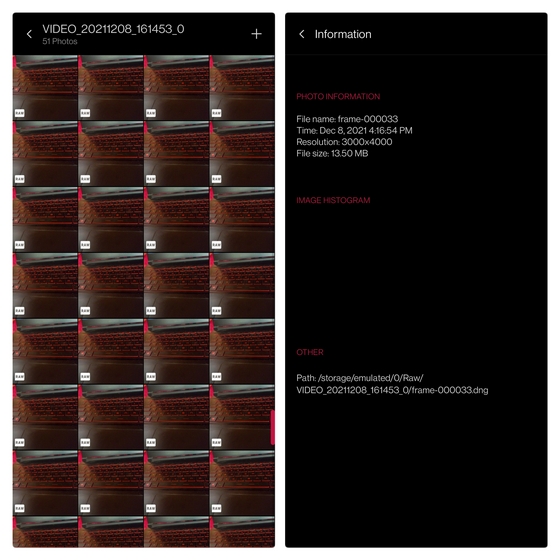
7. After the processing is done, you will find multiple DNG files in the folder you created for storing these files. You can then import these CinemaDNG files to a professional video editing software that supports the format, like DaVinci Resolve.
There were frame drops when I tried recording a RAW video on a OnePlus 7T in the default settings. If you’re facing the same issue, reducing the resolution should help. In case you’re skeptical of the results, check out a sample RAW video shot from a smartphone below:
Record 10-Bit CinemaDNG RAW Videos From Your Android Phone
While RAW video recording is still somewhat buggy at the moment, it’s a fascinating development and something creative professionals are likely to appreciate. Try out Motion Cam’s RAW video recording, and let us know how it goes for you in the comments. Meanwhile, if you’re an iPhone user, you might find our list of the best RAW photo editing apps for iPhone and iPad helpful.