- Hibernate mode on Windows 11 lets you quickly resume your previous session with all your open files and apps active in the background.
- You can enable hibernation from the Power Options setting under the Control Panel.
- You can also enable it from Command Prompt or Registry Editor.
Microsoft no longer shows the hibernate option on Windows 11’s Start menu. It’s because the feature is disabled by default. Windows laptop users might want to enable hibernate on Windows 11 as it can save the current state and resume the session quickly while consuming almost no power. You can instantly access your active files and apps on your computer. So to enable or disable hibernation on Windows 11, follow our guide below.
Adjust Hibernate Mode From Control Panel
- Press “Windows + R” to open the Run prompt. Here, type
powercfg.cpland hit Enter.

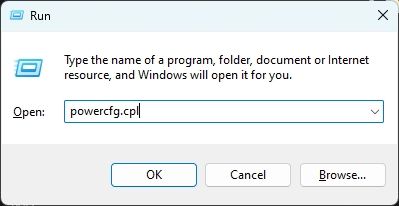
- This will directly open the Power Options setting in the Control Panel. Here, click on “Choose what the power buttons do” in the top-left corner.


- Now, click on “Change settings that are currently unavailable” to adjust the hibernation setting.

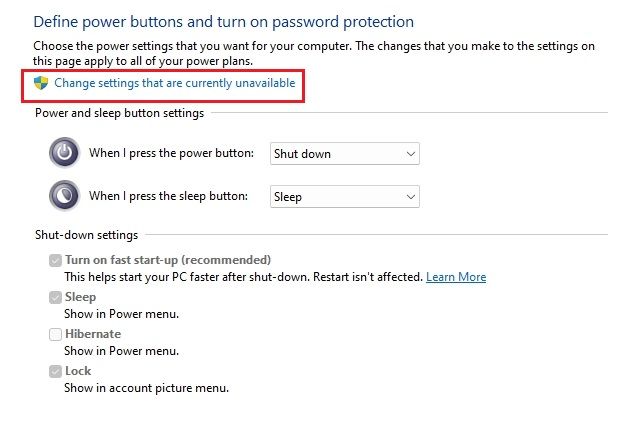
- Finally, turn on “Hibernate” and click on “Save changes”. You can uncheck the box to disable it.


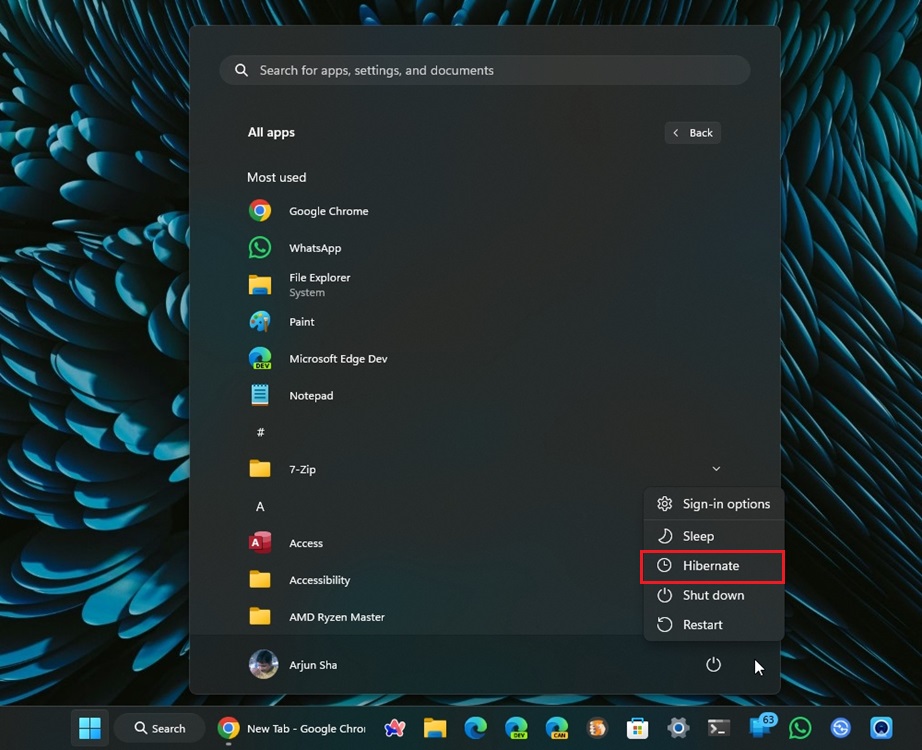
- Now, open the power option from the Start menu and you will see the “Hibernate” option.

Enable Hibernate Mode on Windows 11 via CMD
- Open the Start Menu and search for “CMD”. Now, click on “Run as administrator” in the right pane.

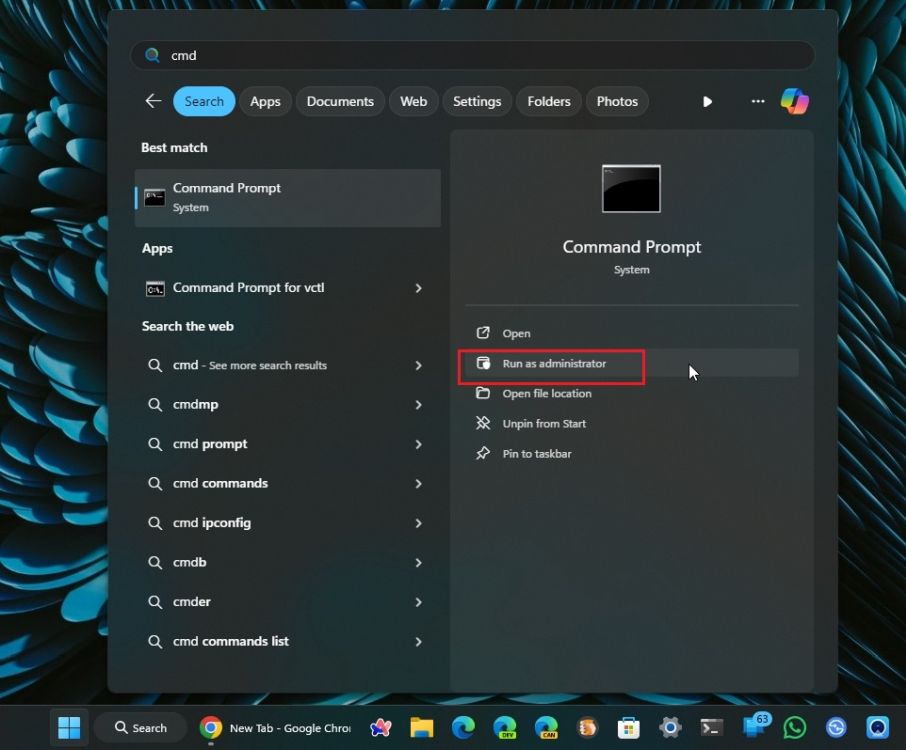
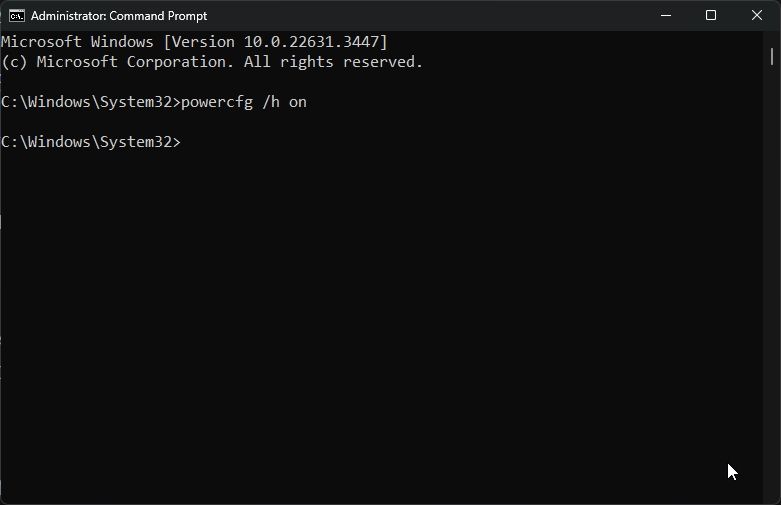
- After that, run the below command in Command Prompt to enable the Hibernate mode on Windows 11.
powercfg /h on

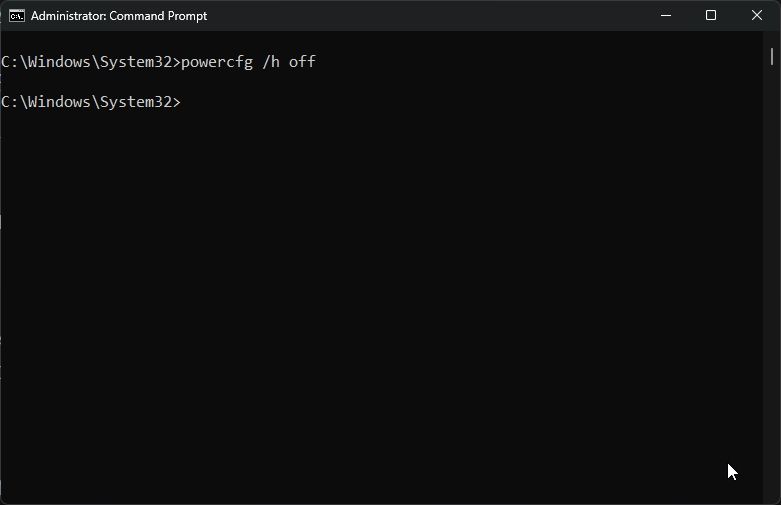
- And to disable hibernation, simply run the below command. You are done.
powercfg /h off
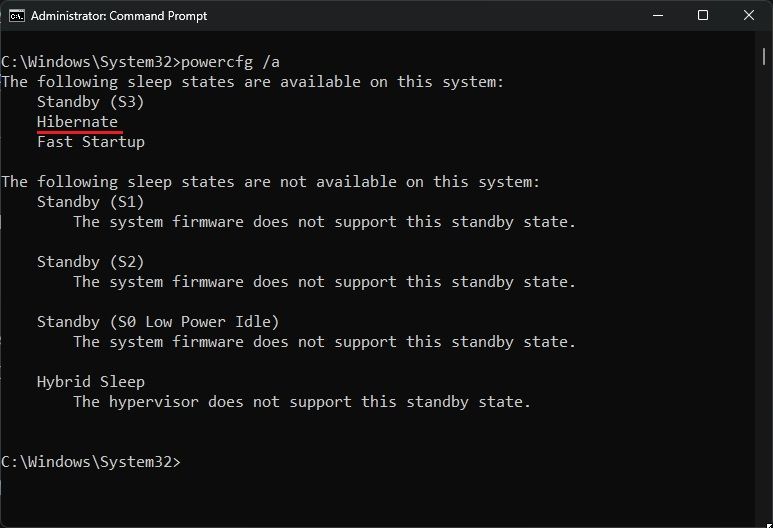
- To check whether hibernation mode is enabled, run the below command. The “Hibernate” sleep state should appear in the output.
powercfg /a

Enable Hibernation From Registry Settings
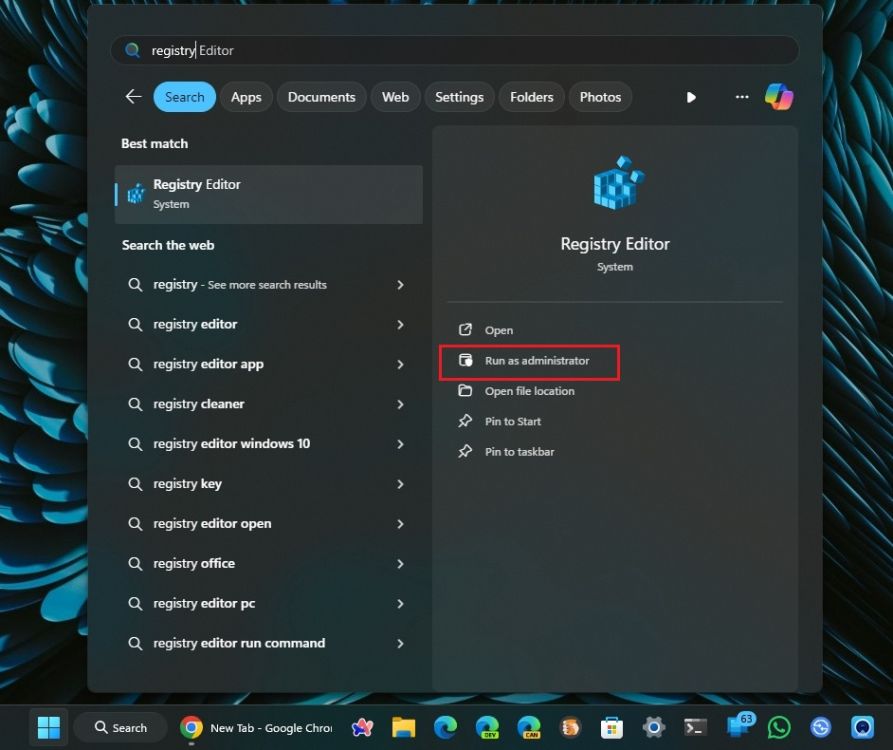
- Launch the Start Menu and search for “Registry Editor”. Now, click on “Run as administrator“.

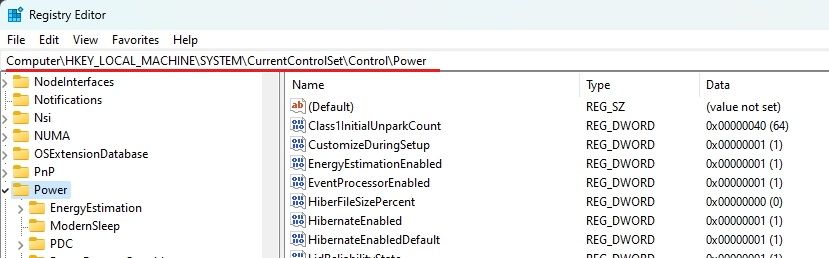
- Here, copy and paste the below address into Registry’s address bar and hit Enter.
Computer\HKEY_LOCAL_MACHINE\SYSTEM\CurrentControlSet\Control\Power

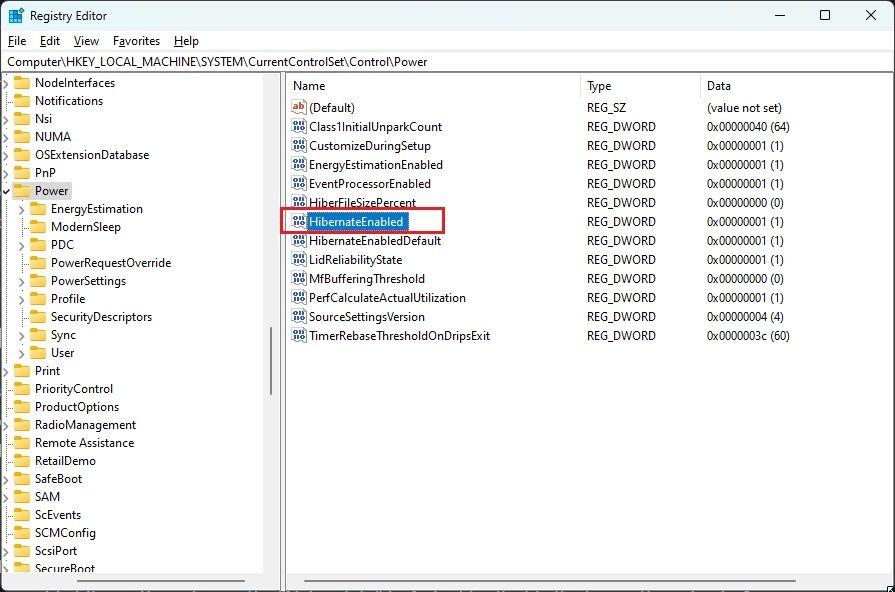
- Here, look for “HibernateEnabled” and double-click on it.

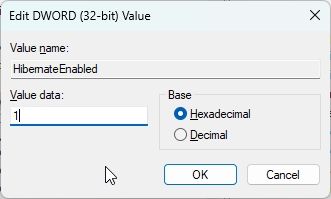
- To enable hibernation, change the “Value data” to
1. And to disable it, change the value to0.

- Now, restart your PC and hibernation should be enabled on your Windows 11 computer. You can find many such Registry hacks to improve your PC experience.
So these are the steps you need to follow to enable or disable the hibernate mode on Windows 11. Hibernation can help you quickly resume your previous session while minimizing power consumption. Anyway, that is all from us. If you are looking to enable Group Policy Editor on Windows 11 Home, head to our linked guide. And if you have any questions, let us know in the comment section below.