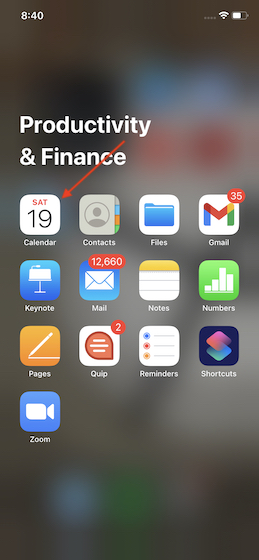
Managing an ever-hectic schedule doesn’t have to be a tedious affair when you have an efficient calendar app like Apple Calendar always ready to keep you updated. The stock calendar app has added several useful features recently to help you keep a track of upcoming events with ease. What’s more, you can add or remove calendars on your iPhone and iPad depending on your needs for a simplified event or schedule tracking experience. Let me help you get started!
Add or Delete Calendars on iOS and iPadOS
Why Should You Have Multiple Calendars?
To strike a fine balance between personal and professional life, I prefer to have multiple calendars to keep appointments and schedules perfectly organized. As a result, I am able to monitor upcoming events or check what is lined up for me without having to dig deep.
After all, a messed up calendar tends to declutter the whole thing rather than making your already hectic life easier, doesn’t it? That’s where the flexibility to have separate calendars becomes the need to the hour. Here is how you can add multiple calendars to Apple Calendar and remove them with ease at your own will:
Add a Calendar to Apple Calendar on iOS
- Launch the Calendar app on your iPhone or iPad.

2. Now, tap on the Calendars tab at the bottom center.
3. Next, select the Add Calendar option at the bottom left corner of the screen.
4. Next up, give a suitable name and customize your calendar. For instance, you can choose the desired color code and select the preferred account.
5. In the end, make sure to hit Done at the top right corner of the screen to finish.
That’s it! You have successfully added a calendar to the stock calendar app on your iOS device. If you ever want to edit the newly added calendar, tap on the “i” button right next to the calendar and then edit everything as per your needs.
Delete Calendars from iPhone and iPad
If you no longer want to keep a specific calendar, you can remove it with ease. The process of deleting a particular calendar in Apple Calendar for iOS is just as straightforward.
- Launch the Calendar app and tap on the Calendars tab at the bottom.
2. Now, tap on the “i” button right next to the calendar you want to delete.
3. Next, tap on the Delete Calendar option located at the bottom. Now, a menu will pop up from the bottom saying, “Are you sure you want to delete this calendar? All events associated with the calendar will also be deleted.” Tap on Delete Calendar again to confirm the deletion.
Add/Delete Calendars with Ease on iOS or iPadOS
So, that’s how you can add or delete calendars in Apple Calendar on your iOS device. As I said above, it’s better to have multiple calendars to manage both personal and professional schedules or events. Apart from making it easier to track events, multiple calendars also play a vital role in keeping the calendar neat.
It’s worth noting that you can also sync Google Calendar with Apple Calendar to keep a track of all of your events right from one spot. If you use Google Calendar, make the most of it to keep an eye on all the events more conveniently. By the way, what’s your take on the stock calendar, and what are the features you would like to add to it?