Archiving and unarchiving files in Linux is an essential feature that every Linux user should know for efficient file management. When it comes to compressing both files and directories, the “tar command” in Linux can prove to be a lifesaver. Whether you are a beginner or a seasoned Linux user, having a good know-how of the tar command with its options can be useful for various tasks. In this article, we will show you how to use the tar command in Linux; complete with its syntax, options, and examples.
What is the tar Command in Linux
Before we talk about the tar command, let’s understand what is an archive file. It’s a file type that comprises multiple files and directories in a compressed form. This compressed form can then be stored or transferred using little bandwidth due to its small file size. There are many different file archive formats such as .gz, tar.bz, .zip, etc. If you want to know how to handle zip files, read our extensive guide on how to zip and unzip files in Linux.
As for the tar command, short for “Tape Archive”, it is a Linux utility tool that’s used to create and manage archive files of various types. The tar command is a collection of many different types of tools with which you can create and modify archive files. With the tar command, you can create various different types of archive files like .tar, .tar.gz, and .tar.bz2 comprising both files and directories. All these file types have different types of compression rates and overall file sizes.
Tar Command in Linux: Syntax and Options
The tar command in Linux is pretty simple to use and has a straightforward syntax. Here’s the basic syntax to use the tar command:
tar <options> <archive_file_name> <files_to_archive>
In the above syntax, <archive_file_name> is the name of the archive file that will be created, <files_to_archive> specifies the list of files and directories to archive. Some of the options you can use with the tar command are:
| Options | Descriptions |
|---|---|
| -c | used to create a new archive |
| -f | used to specify the archive filename |
| -d | compares an archive file and, the file system and lists the differences if any |
| -r | adds a new file to the archive file |
| -t | lists the contents of an archive file |
| -u | adds only the updated files |
| -x | extract files from the archive file |
| -j | extract from the .bz2 file |
| -z | extract from the .gz file |
| -v | show information about each operation taking place |
How to create a .tar Archive File in Linux
When files and directories are compressed into a .tar file, such an archive file is known as a tarball. It has a moderate level of compression, but definitely a higher compression level than .zip. The syntax to compress files and directories into a tarball is:
tar -cvf <archive_filename>.tar <file_or_directory_to_archive>
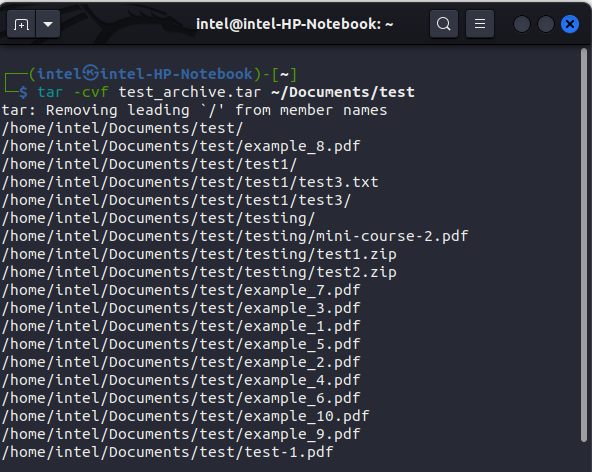
For example, to compress the directory named “~/Documents/test” into an archive file with the name “test_archive.tar”, you need to use this command:
tar -cvf test_archive.tar ~/Documents/test
How to Create a .tar.gz Archive File in Linux
Gzip, another data compression utility, uses the “Deflate Algorithm” to compress files. It has a higher compression level as compared to files that are compressed into a tarball. Gzip creates smaller file sizes with the extension .tar.gz, so it is the most commonly used format. But when it comes to extracting the files compressed using Gzip, it takes a long time compared to .tar files. To compress files or directories into a .tar.gz file, use this syntax:
tar -cvzf <archive_file_name> .tar.gz <file_or_directory_to_compress>
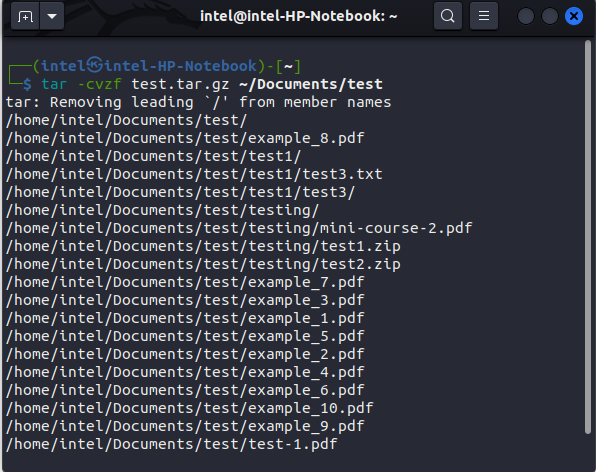
Suppose, you want to create an archive file with the name “test.tar.gz” of the directory “~/Documents/test”, you can use this command:
tar -cvzf test.tar.gz ~/Documents/test
How to Create a .tar.bz2 Archive File in Linux
If you want an even smaller size of archive files, use the bzip2 compression format with the tar command. The bzip2 format uses the “Burrows–Wheeler Algorithm” that helps to create very small files with the extension .tar.bz. Although you get smaller file sizes, both compressing and decompressing take a long time compared to gzip. The main disadvantage of compressing files using bzip2 is that it’s not supported in some stripped-down Linux systems, unlike gzip which is supported on all Linux systems.
To compress a file/ directory in the bzip2 format using the tar command, you need to use this syntax:
tar -cvjf <archive_file_name>.tar.bz2 <file_or_directory_to_compress>
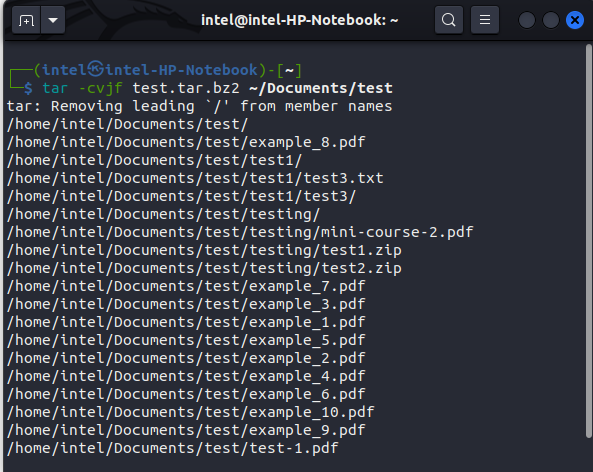
For example, to compress the entire ~/Documents/test directory into a “test.tar.bz2”, use this syntax:
tar -cvjf test.tar.bz2 ~/Documents/test
How to View Archive File Contents Using tar command
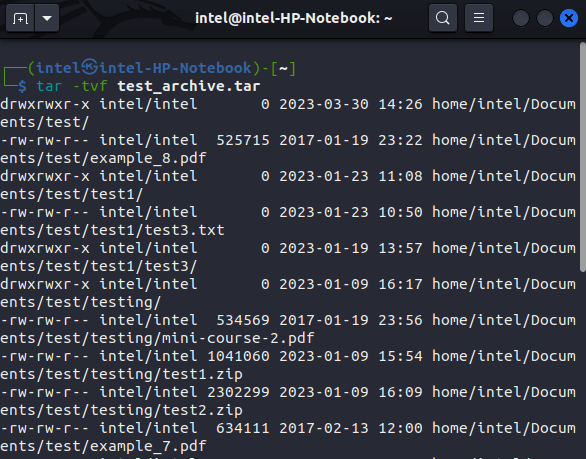
So now you know how to create an archive file, you may need to view the file contents in order to verify that all necessary files have been archived. To view the contents of an archive file, replace the -c flag with -t flag in the syntax above:
tar -tvf <archive_file_name>
This syntax will work for all the above three types of archive files vis-a-vis .tar, .tar.gz, .tar.bz2. For example – if you want to view the contents of the file “test_archive.tar.gz”, use this command:
tar -tvf test_archive.tar.gz
Extract Files from an Archive File Using tar command
Next, let us now see how you can extract all files from an archived file in Linux. To extract files from an archived file or directory, use this command:
tar -xvf <archive_file_name>
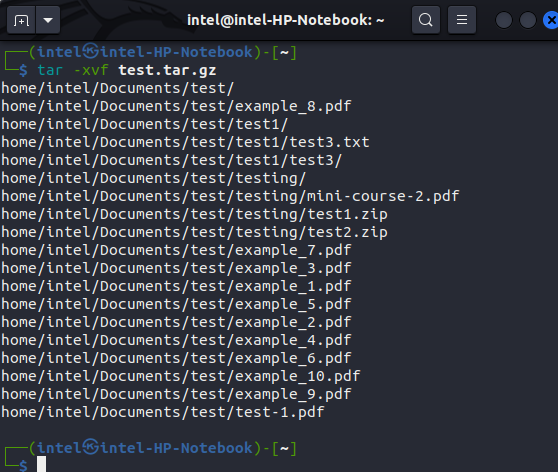
With the above syntax, the files get extracted in the same directory. For example – use this command to extract the test.tar.gz file:
tar -xvf test.tar.gz
If you want to extract the files to a separate directory, you need to use this syntax:
tar -xvf <archive_file_name> -C <target_directory_name>
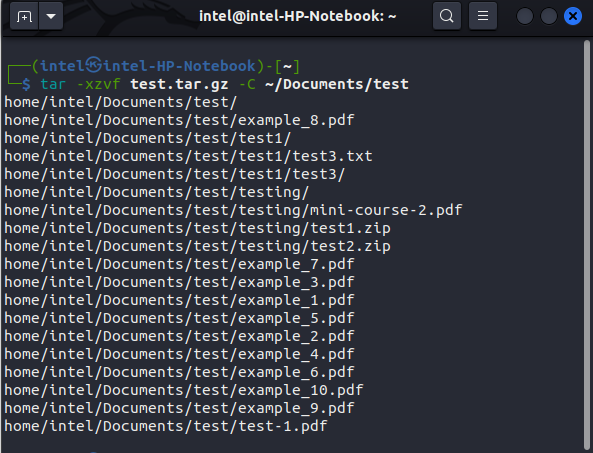
For example – if you want to extract the file ” test_archive.tar.gz” to the “~/Documents/test” directory, then use this command:
tar -xvf test_archive.tar.gz -C ~/Documents/test
Extract Selected Files from an Archive File in Linux
In addition to extracting all files from an archive file, the tar command also gives the added advantage to extract only selected files. Depending on your archive file type, use either of the syntaxes to extract selected files from the archive file:
- For .tar files:
tar -xvf <archive_file> <file1_to_extract> <file2_to_extract> <file3_to_extract>
- Extract from .tar.gz files:
tar -xzvf <archive_file> <file1_to_extract> <file2_to_extract> <file3_to_extract>
- For .tar.bz2 files:
tar -jxvf <archive_file> <file1_to_extract> <file2_to_extract> <file3_to_extract>
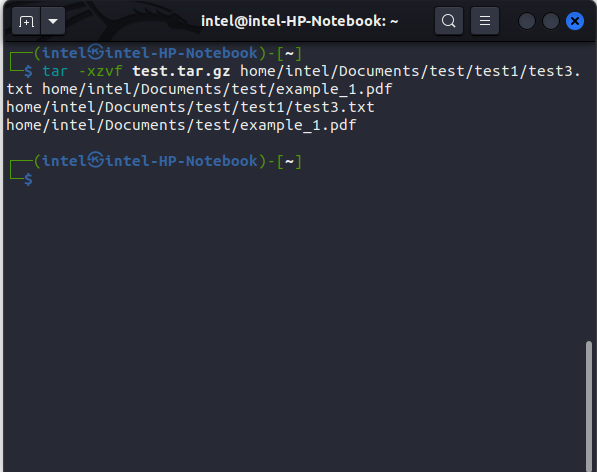
For example, if you want to extract the files “test.py” and “test.png” from the “test_archive.tar.gz” file, use this syntax:
tar -xzvf test.tar.gz home/intel/Documents/test/test1/test3.txt home/intel/Documents/test/example_1.pdf
Extract Files with Matching Pattern Using tar Command
Suppose you want to extract files of only one type but don’t want to write the file names one by one. For such a case, you can use a common wildcard pattern to match the files you want to extract. The syntax to extract files with a pattern using the tar command is:
- For .tar files –
tar -xvf <archive_file> --wildcards '<wildcard_pattern>'
- Extract from .tar.gz files –
tar -xzvf <archive_file> --wildcards '<wildcard_pattern>'
- For .tar.bz2 files –
tar -xjvf <archive_file> --wildcards '<wildcard_pattern>'
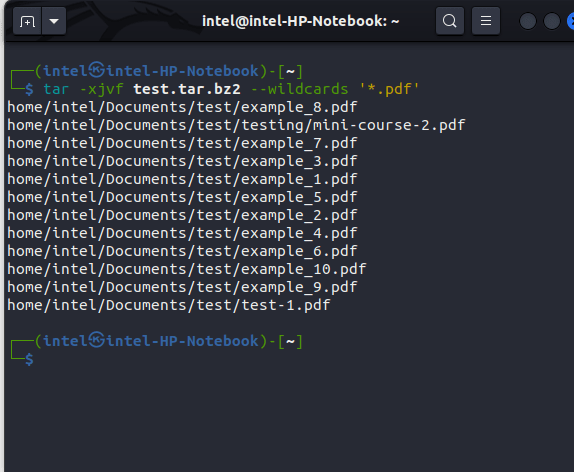
For example, if you want to extract all .png files from the “test_archive.tar.bz2” file, use this command:
tar -xjvf test_archive.tar.bz2 --wildcards '*.png'
Add File to Archive File Using the tar Command
There may be times when you forgot to add a file to the archive file mistakenly. In such a situation, you can either start afresh by making the archive file with all the required files or simply use the -r flag to append the file you missed. Most users will agree that the second method is more feasible! Use this syntax to add a new file/directory to a tar archive:
tar -rvf <archive_file> <file_or_directory_to_add>
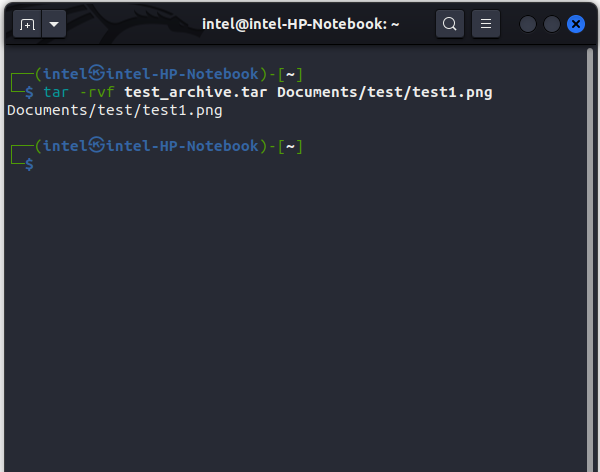
Let’s say you want to add the file “test1.png” to “test_archive.tar”, you can use this command:
tar -rvf test_archive.tar Documents/test/test1.png
Note: The above syntax will only work for .tar files and not for .tar.gz or .tar.bz2 files.
Delete File from An Archive File Using tar Command
Just like you can add a file to an archive file if you missed it somehow, likewise you can also delete a file from an archive file with the –delete flag. To delete a file from an archive file, use this syntax:
tar --delete <file_to_delete> -f <archive_file_name>
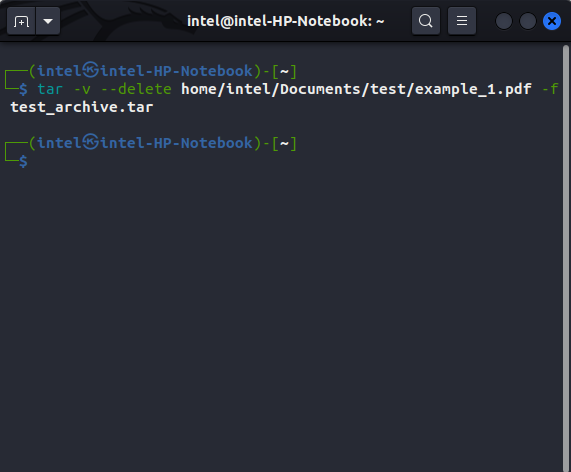
For example, to delete the file “test.txt” from the archive “test_archive.tar”, use this command:
tar -v --delete home/intel/Documents/test/example_1.pdf -f test_archive.tar
Frequently Asked Questions
The tar command only archives the files and directories but doesn’t compress them by default. When combined with -z or -j flags for gzip or bzip2, the tar can achieve a great level of compression. The zip command, on the other hand, can both compress and archive the files/directories.
Yes, you can use the tar command in combination with SSH to archive and transfer remote files. For example, to archive and transfer files from a remote server to your local machine, use the command ssh user@remote_host "tar -czvf - <path_to_remote_files>" | tar -xzvf - -C <path_to_local_directory>.


