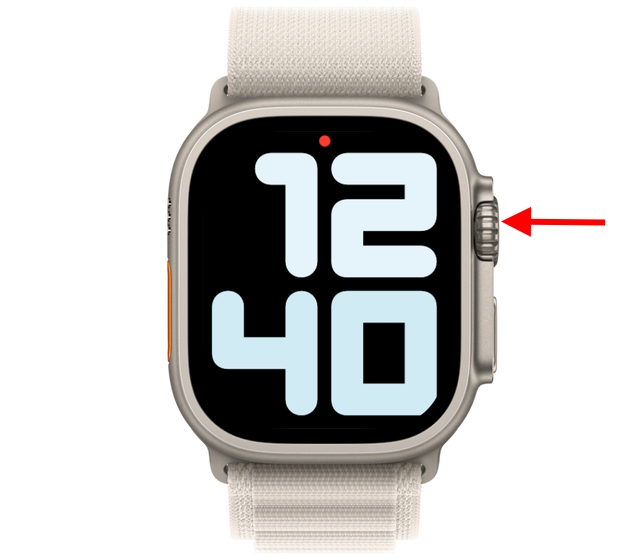
So you know how you can take screenshots on your Apple Watch, but did you know that you can also use your Apple Watch as a remote shutter button for your iPhone camera? The Camera Remote app turns your Apple Watch into a viewfinder and remote control for your iPhone camera. Keep reading to learn how you can leverage the full potential of the Camera app on your Apple Watch.
How to Click Photos Using Apple Watch Camera Remote App
The Camera Remote app on Apple Watch lets you capture photos and record videos remotely. Once connected, you can adjust the various camera settings, preview the photos, and adjust the exposure and focus automatically from your Apple Watch itself. Here’s how it works:
1. Unlock your Apple Watch and launch the “App Menu” by pressing the digital crown.

2. Next, locate and open the “Camera Remote” app (camera icon).
3. The app may take a few seconds to connect to your iPhone and access the camera.
4. Once ready, you can use your Apple Watch screen as a viewfinder to position your iPhone for framing the shot.
5. After that, tap the “shutter” button at the bottom of your Apple Watch’s screen to take a photo.
6. To record a quick video, press and hold the shutter button to start recording a video with your iPhone camera. However, if you wish to record longer videos, move to the next section.
How to Switch Camera Modes on Your Apple Watch
Apple doesn’t allow you to switch camera modes from the watch. You can instead switch camera modes on your iPhone, and it will reflect on the watch right away. Here’s how you can cycle through the different camera modes:
1. Open the “Camera Remote” app on your Apple Watch.
2. Now, change the camera modes using your iPhone, which will reflect on your Apple Watch.
3. Using this method, you can also shoot videos using your Apple Watch with just a tap. You can not only switch to video but also portrait, time-lapse, slo-mo, and other modes to remotely use them via the watch.
How to Use Apple Watch As A Viewfinder for iPhone Camera
So now you know how to use your Apple Watch as a remote shutter for your iPhone camera. But did you know that you can also turn your watch into a viewfinder for your iPhone rear camera in a few simple steps? Let me show you how it works:
1. First, take off your Apple Watch and strap it to the back of your iPhone, as shown below.
2. Next, open the Camera app on the Apple Watch.
3. Then, choose the preferred “Camera Mode and Settings” on your iPhone, as explained in the previous section.
4. Now, you can now use your Apple Watch as a viewfinder to frame yourself.
5. Press the iPhone’s volume button or tap the “Shutter” button on your Apple Watch to click a selfie or record a high-res vlog through your iPhone.
How to View the Captured Photos Directly on Apple Watch
In addition to turning your Apple Watch into a viewfinder, the Camera Remote app also gives you a preview of the clicked photos in the app itself. Here’s how you can access the photos clicked via the Apple Watch.
1. First, open the Camera app on your Apple Watch.
2. Click a picture by tapping on the “Shutter” button.
3. Finally, tap the photo preview on the bottom left corner of your Apple Watch screen to see recently clicked pictures and videos.
Note: You can only preview the pictures taken through the Camera Remote app, which means you can not edit or delete them from the watch. You will need to use your iPhone to do so.
How to Change Apple Watch Camera Remote App Settings
While you cannot edit or delete a photo or video through the Apple Watch Camera Remote app, you can change certain camera settings to click better photos and videos. Here are all the camera settings you can change on your iWatch:
1. Disable Timer
By default, the camera remote app comes with a 3-second timer. While it may come in handy when you want to take a perfect shot of yourself, this feature can also get annoying. Here’s how you can disable it:
- Launch the Camera Remote App.
- Tap the ellipsis (three-dot) button at the bottom right corner to open the settings menu.
- Locate and tap the “3 sec” toggle to turn it off.
2. Switch Between the Rear & Front Camera
On your iWatch, locate the camera section under the settings menu, and choose between the “Front” or “Rear” Camera.
3. Turn Flash On/Off
- First, tap the three-dots button in the camera app to open the settings menu.
- Next, scroll down to locate the “Flash” section and choose between the three available options: Auto, On, and Off.
4. Turn HDR On/Off
- Tap the three-dot button in the Camera Remote app on your Apple Watch to open the settings.
- Scroll down to find the “HDR” setting. Here, choose between the “On” or “Off” option.
5. Live Photo On/Off
Finally, you can choose to enable or disable the Live Photo setting from the watch itself. Here’s how it works:
- Visit the settings menu in the Camera Remote app
- Here, go to the “Live Photo” menu and choose from “Auto”, “On”, or “Off” options.
So that’s how you use the Camera Remote app to capture stunning photos and videos via your Apple Watch. While you are here, we suggest you can learn how to use Assistive Touch on Apple Watch, along with more tips and tricks for Apple Watch.
While Apple is yet to introduce an Apple Watch with a built-in camera. You can use a third-party watch band like Wristcam ($299 on Amazon), which has a built-in camera on the band itself.