
If you want to download and install Microsoft Store on Windows 10, you have come to the right place. You don’t need to join the Insiders Program and move to an unstable build to try out the new Microsoft Store on your Windows 10 PC. In 2026, you can install the new Microsoft Store on Windows 10 in just a few steps, and we will teach you just that in this article.
Install the New Microsoft Store on Windows 10
Although Windows 10 is dead, you can still install the new MS Store and use it without any issues. You can also extend security updates on Windows 10 by following our tutorial. With that out of the way, here are the steps to follow.
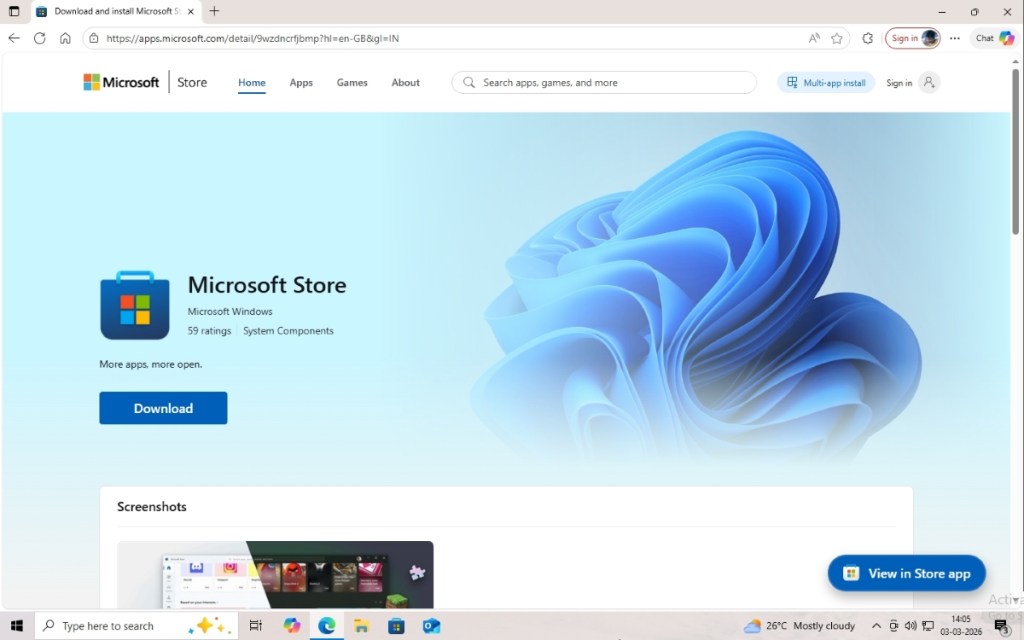
- On your Windows 10 PC, head to the Microsoft App Store page and click on Download.

- Next, run the Microsoft Store installer and click on Update.

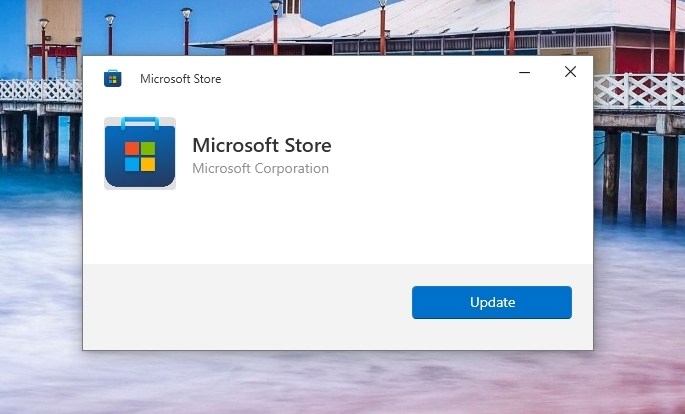
- It will download all the new packages, and the new Microsoft Store will be installed on your Windows 10 PC.
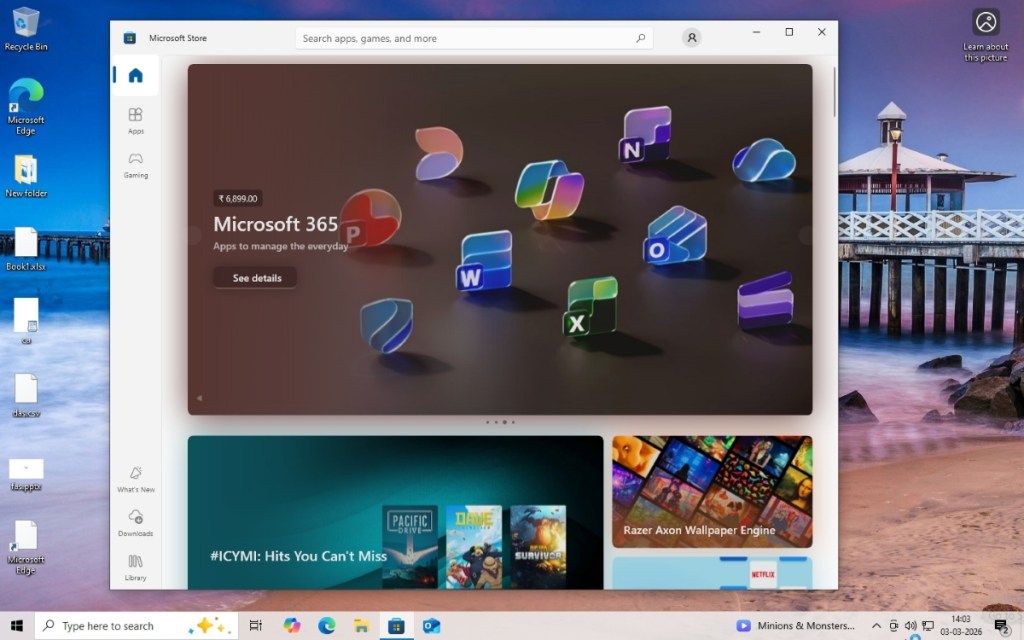
- Now, launch the app, and there you have the new MS Store running on Windows 10.
Get the New Microsoft Store on Windows 10 via Winget
Besides that, you can run the MS Store on Windows 10 via Microsoft’s built-in Winget tool. It’s a command-line tool, but with just one command, you can get the latest version of Microsoft Store.
- Launch the Start menu, search for “CMD” and open the Command Prompt program from the search results.

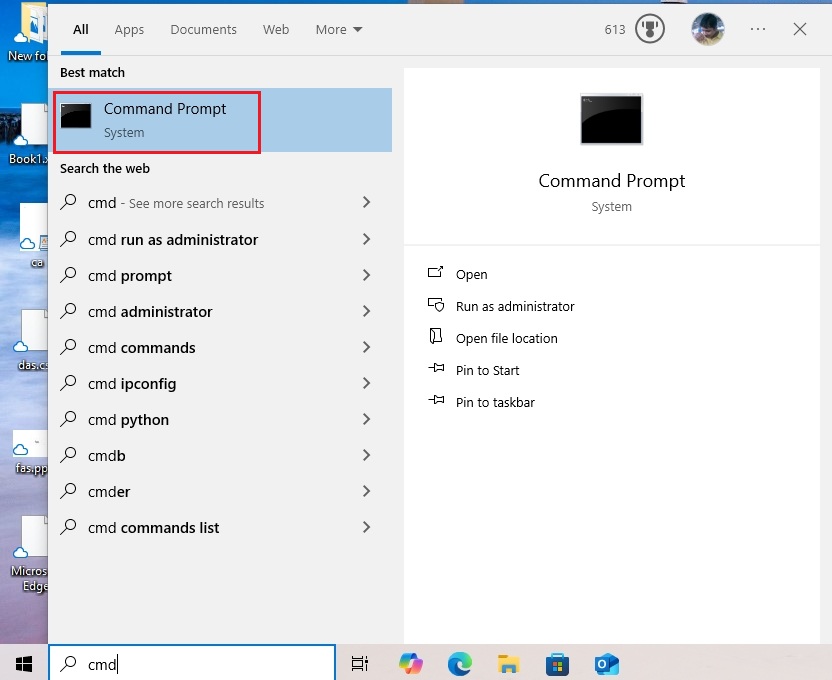
- Now, in the Command Prompt window, paste the following command and hit Enter.
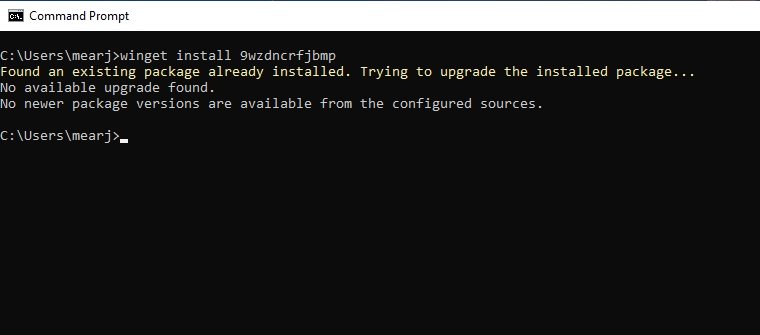
winget install 9wzdncrfjbmp
- It will now look for the MS Store package and install the app for you in no time.
- Since I have already updated to the latest version, it shows that there is no newer package.

Microsoft Store on Windows 10: What You Get
The first thing you will notice with the new Microsoft Store on Windows 10 is that it’s fast and smooth. Microsoft says they have completely redesigned the app using modern frameworks, and that has resulted in an impressive 35% performance improvement. So, the days of the Microsoft Store having sluggish and poor performance are gone.


Another great aspect of the new Microsoft Store is that you can find and install traditional Win32 apps such as 7-Zip, WinZIP, Zoom, Acrobat Reader DC, and more. No need to download the legacy EXE file and keep the program updated through manual installation. That becomes easier with the new Store.
Apart from that, the library of games has also been expanded with the Windows 11 Microsoft Store. Now, you can install casual games like Candy Crush to heavy games such as Microsoft Flight Simulator from the Store itself. It also supports in-app purchases and handling subscriptions for Microsoft Office, Xbox Pass, and more.
Yes, despite that Windows 10 is no longer supported, you can install the new Microsoft Store on your PC in just a few steps. Simply download the web installer and run it.
After installing the updated Microsoft Store, you can access all the exclusive apps and games on Windows 10.
Yes, Microsoft Store operates independently and if an app developer pushes an update, you will get it on Windows 10 as well.

