Live Tiles was one of the niche features on Windows 10, and a very tiny section of users found it productive. With the release of Windows 11, Microsoft chose to ditch Live Tiles completely in favor of the new modern-looking centered Start menu. However, people who used live tiles extensively are unhappy about the change and want to get Live Tiles back on Windows 11 in some way or another. So we did our testing and found quite a neat way to use Live Tiles on Windows 11. So without further ado, let’s go ahead and find out how to create and get live tiles back on Windows 11.
Get Live Tiles on Windows 11 (October 2021)
In this article, you can learn everything about live tiles, including what they are and how to use them on Windows 11. We have also included additional steps in case the simple method doesn’t work out in the guide below.
What are Live Tiles?
Microsoft introduced Live Tiles with the release of Windows 8.1 back in 2021 and pushed developers to implement the feature as a part of the new Start menu design.
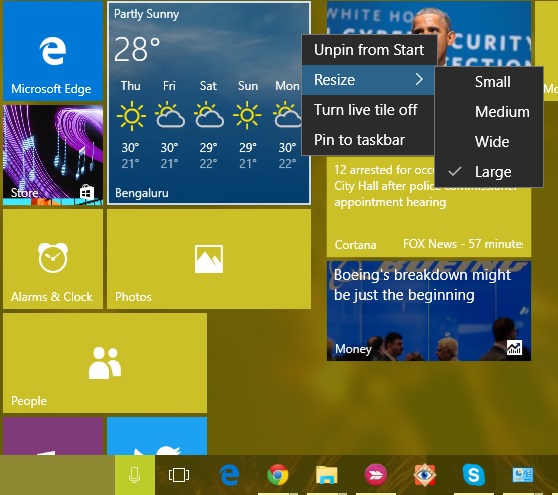
When you press the Windows button or open the Start menu on Windows 10/ 8.1, Live Tiles allow you to view glanceable information without opening the app. For example, Live Tiles enable you to check the current weather or pending emails from your inbox, read news quickly, or view your next calendar appointment from the Start menu. All of this could be done with Live Tiles, and it helped people stay on top of everything.
However, just like other less-used Microsoft features and services, Live tiles remained a favorite feature among a very small section of users. Sure, the feature was helpful, but not many used it. It’s similar to Android’s Snapshot feature that Google pushes hard on its users, but again, not many rely on it for information. Maybe that’s the reason Microsoft chose to do away with Live Tiles on Windows 11.
But worry not, for those avid users who want to get back their informative animated tiles, we have discovered a nifty way to add Live Tiles on Windows 11.
How to Create and Add Live Tiles in Windows 11
As you may already know, Microsoft blocked access to the classic Start Menu and Live Tiles way back in July. So we won’t be tweaking any Registry settings or modifying system settings to bring back Live Tiles on Windows 11. Instead, we will rely on a third-party app called Live Tiles Anywhere that brings the same functionality but in a slightly different UI. Here is how to go about it.
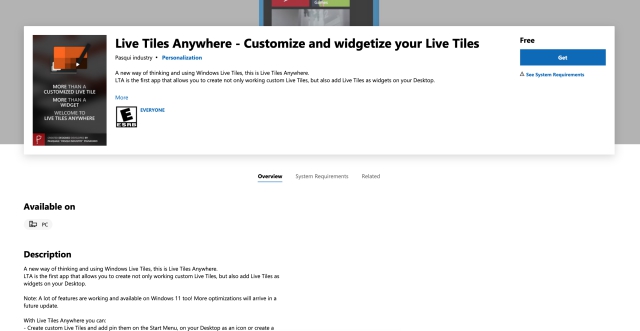
1. First, open the Microsoft Store and install Live Tiles Anywhere (Free) on your Windows 11 PC or laptop. It’s a free app, does not bug you with in-app purchases from time to time. It does not embed ads, though, which is awesome.
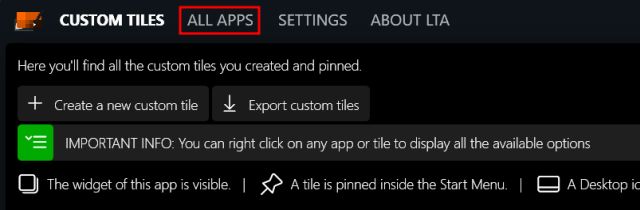
2. Next, open the program. To add a live tile of any installed program, click on “All Apps” at the top.
3. Now, look for your favorite app, right-click on it and choose “Create a widget“.
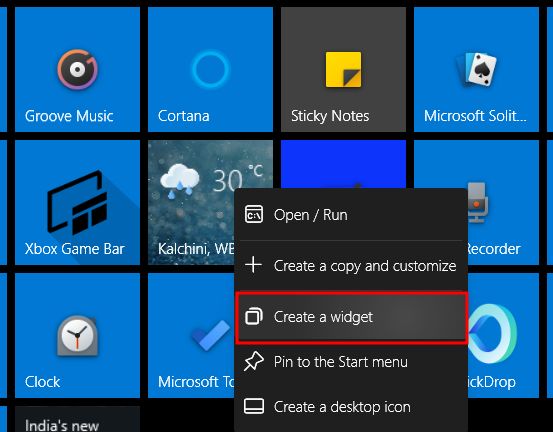
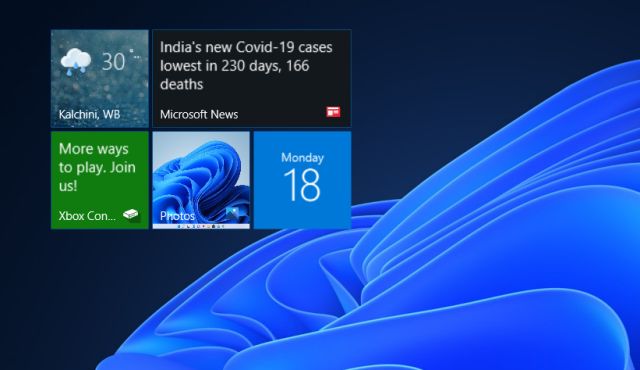
3. This will create a live tile widget on your Windows 11 desktop. You can move the tile anywhere you want on the desktop and resize it in four different sizes – just like you can do with Windows 10 Live Tiles. So instead of the Start menu, all of your Live Tiles reside on the desktop. Press the “Windows + D” Windows 11 keyboard shortcut to glance at all the tiles and move back to your active window by pressing the same key combination once again.

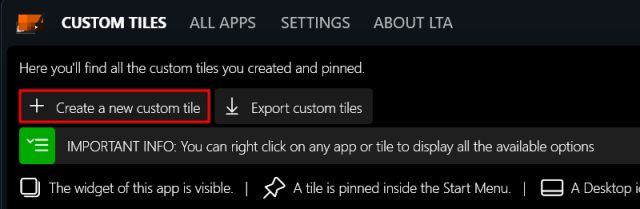
4. While the above steps should work for most users, they do not work for all apps. In case a particular app does not support Live Tiles, you will have to create a custom tile. Click the “Create a new custom tile” button to get started.
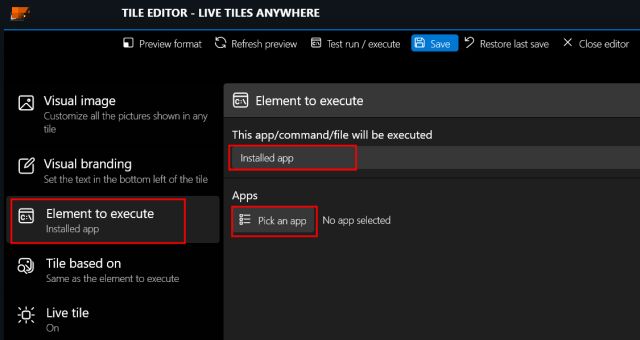
5. After that, move to the “Element to execute” section from the left pane and choose “Installed app” from the drop-down menu under the “This app/ command/ file will be executed” option. Next, click on “Pick an app“.
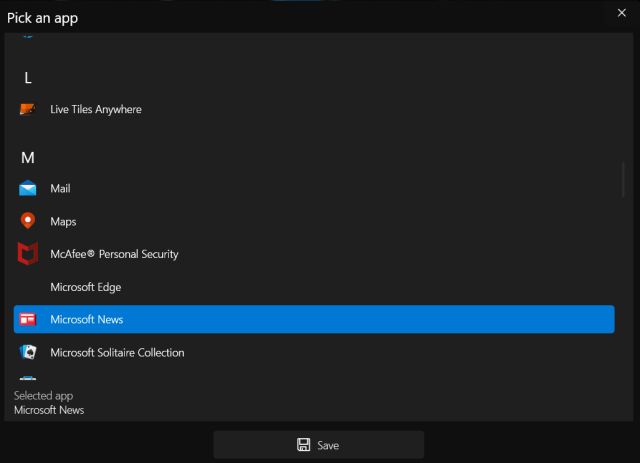
6. Here, choose the app for which you want to show Live Tiles on your Windows 11 desktop. For example, let’s select “Microsoft News” for the sake of this tutorial. After that, hit the “Save” button.
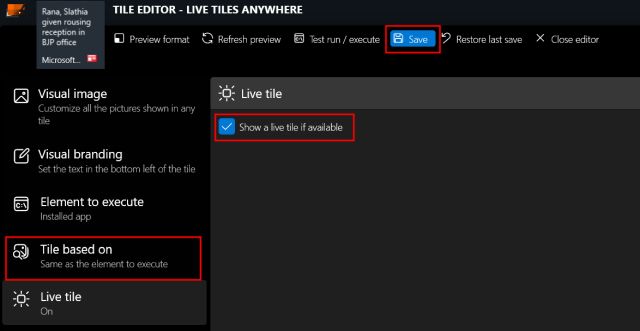
7. Now, move to the “Tile based on” section from the left pane and ensure the “Show a live tile if available” toggle is turned on. Finally, click on Save -> Save and close.
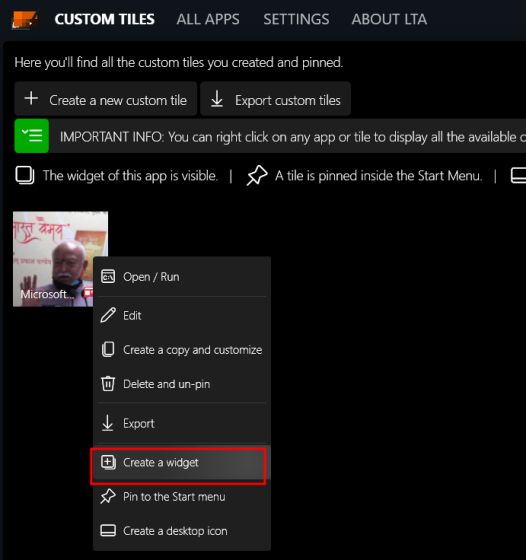
8. Next, right-click on the custom tile and click on “Create a widget“.
9. You will now find the Live Tile for that app working fine on your Windows 11 desktop. If you face any issues, I recommend restarting your PC.
Experience Live Tiles on Your Windows 11 Desktop
So that is how you can enable and use Live Tiles on Windows 11. In my testing, I found that the third-party Live Tiles Anywhere app worked well for most of the apps, including Your Phone and Finance apps. However, for some apps, I had to create a custom tile to see the feature in action. So if you are also facing issues, take the manual route and create your own Live tile. Anyway, that is all from us. If you are looking for ways to customize the Windows 11 taskbar or wish to get back the old context menu on Windows 11, follow our linked guides. Finally, if you have any questions, let us know in the comment section below.