Windows 11 does not have a built-in screen recorder, but there are many third-party apps that allow you to record the screen in Windows 11 with audio recording, webcam view, and more. But what if you wish to only record audio in Windows 11? Well, that’s where Windows 11 has not faltered and shipped a native Sound Recorder app, which lets you seamlessly record audio. The app lets you choose the bitrate, save the recorded audio in your choice of media format, import recorded audio files, and more. That said, check out this step-by-step guide to learn how to record audio in Windows 11.
Record Audio in Windows 11 (2022)
We have added two easy methods to record audio in Windows 11. You can either use the built-in Sound Recorder app or go for a third-party app like Audacity to record sound on Windows 11. But before we begin, don’t forget to check our guide to set up and test the microphone in Windows 11.
Record Audio with Native Sound Recorder App in Windows 11
In case you’re unaware, Windows 11 comes with a built-in Sound Recorder program that works really well and is easy to use. Microsoft only recently updated the Voice Recorder app, which was based on UWP. It has now been rebranded to the Sound Recorder app and comes with the new design language, in line with Windows 11’s aesthetics.
The best part about the new Sound Recorder app in Windows 11 is that it now supports recording in multiple formats, including MP3, M4A, WAV, FLAC, WMA, and more. Not to mention, you can choose the audio quality as well, ranging from auto, medium, and best to high. You can also change the recording device (microphone) within the app, which is great. So to record audio in Windows 11, go ahead and try the native Sound Recorder app. Here is how to use it.
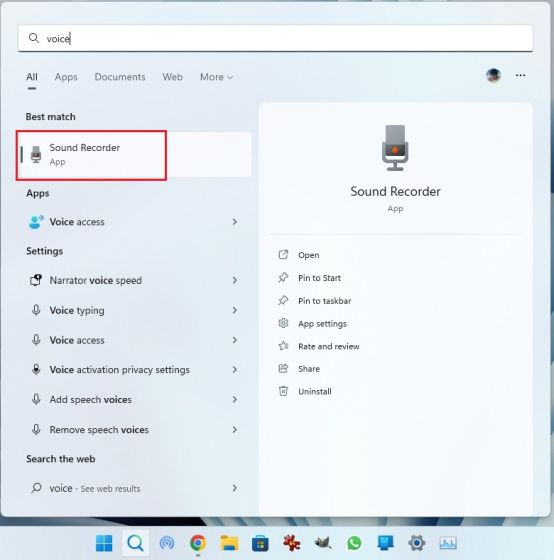
1. First, press the Windows key and type “voice” or “sound“. Click on “Voice Recorder” or “Sound Recorder”.
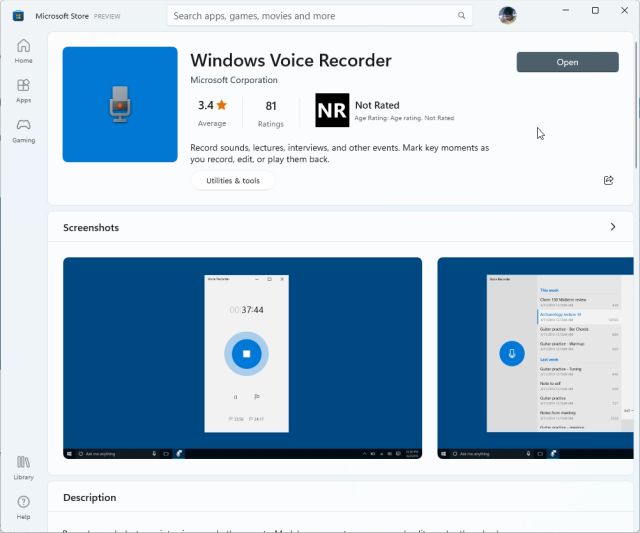
2. Next, the app will update itself to the latest Voice Recorder version. If for some reason, it’s still the old app, open this link and update the app via the Microsoft Store.
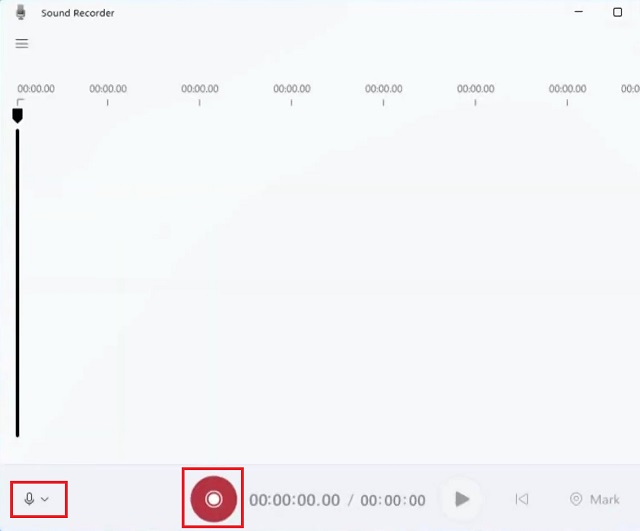
3. Now, launch the Sound Recorder app. At the bottom-left corner, you can choose the recording device from the drop-down menu. Now, you can click the big red “Record” button at the bottom to start recording audio. To stop the recording, click on the same button again. It will have turned into a red “Stop” button.
4. After that, you can simply right-click on the recorded audio and open the file location to instantly locate the file.
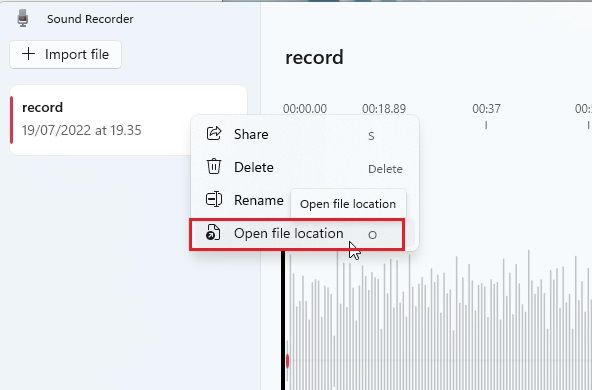
5. The recorded audio in Windows 11 will be saved in the “user profile -> Documents -> Sound recordings” folder.

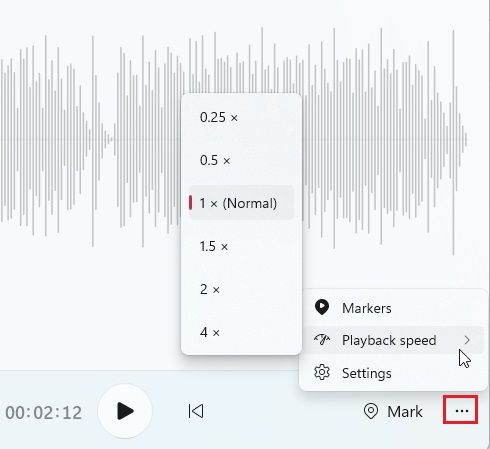
6. You can also mark the audio intervals with timestamps and change the playback speed from the 3-dot menu at the bottom-right corner.
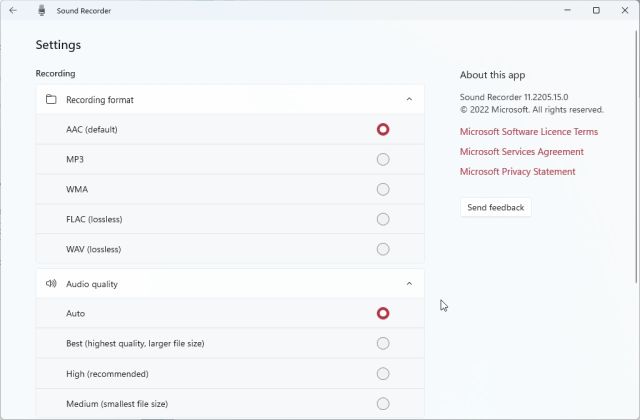
7. And to change the recording quality in Windows 11, open “Settings” within the app. The Settings are also accessible from the three-dot menu at the bottom right corner. Here, you can choose the audio format you prefer. So, this is how you can record audio clips in Windows 11 with the Sound Recorder app.
Record Audio with Third-Party App Audacity in Windows 11
In case you are looking for an advanced program to record audio in Windows 11, let me introduce you to Audacity. It’s ranked among some of the best Windows 11 apps for its laundry list of features. You can record system sound, audio being played via the speakers, microphone audio, etc. The best part is that Audacity is open-source, and it’s completely free to use. So both general users and professionals can take advantage of this awesome audio recording app. Here is how to use Audacity to record audio in Windows 11.
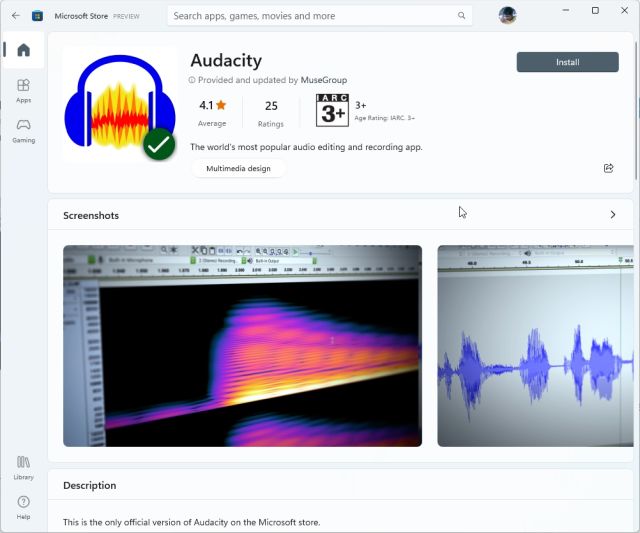
1. Head over to this link and download Audacity. You can also install Audacity in Windows 11 via the Microsoft Store.
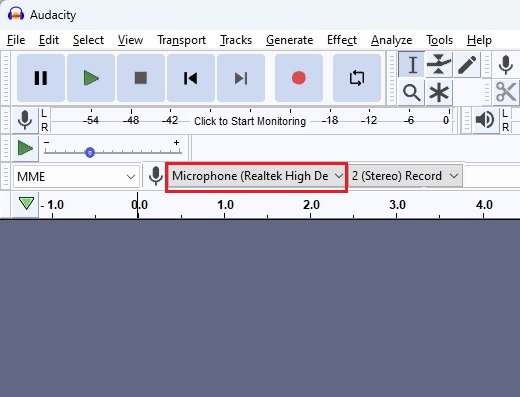
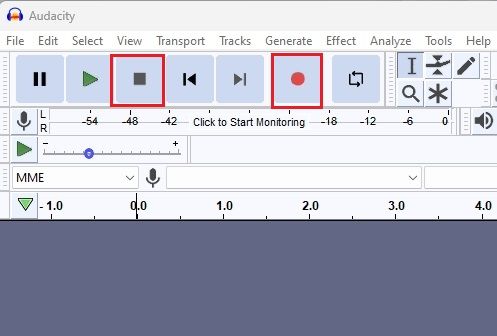
2. Once installed, open the audio recording app to learn how to use it. First, next to the microphone icon at the top, you can choose the input source for recording the audio.
3. Finally, click on the red recording button at the top. To stop the recording, click on the grey “Stop” button.
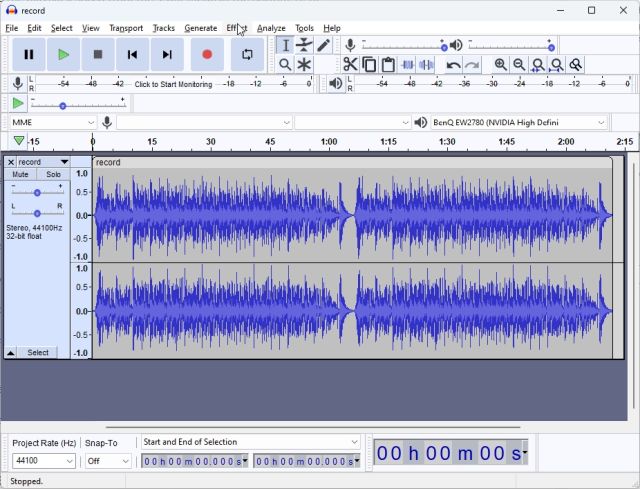
4. You can now click the green play button to listen to the recording. You can also edit the audio recording, along with mixing, removing noise, trimming, changing speed, etc.
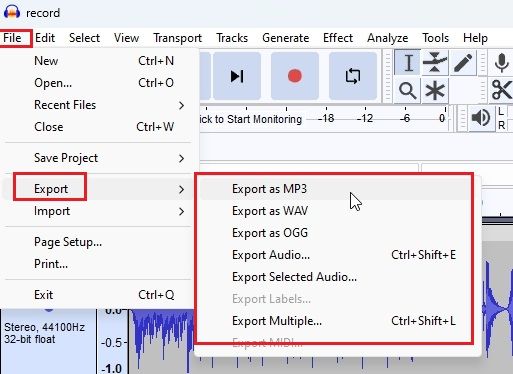
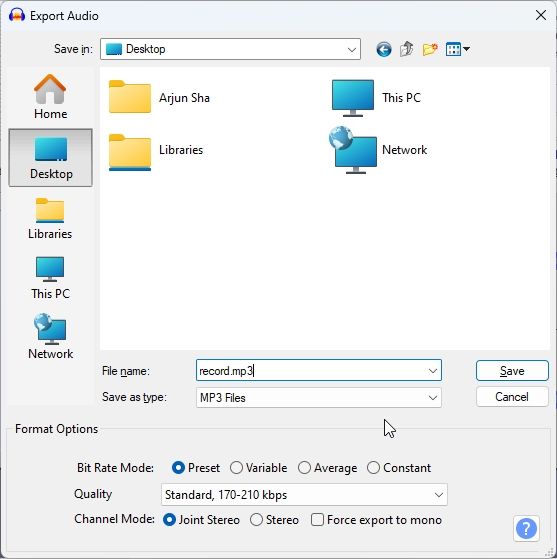
5. To save the audio recording, click on “File” and choose “Export“. Here, select your desired file format.
6. Choose the folder where you want to save the audio recording, and there you have it. There are endless possibilities with Audacity, which you can explore in the app. But this is how you can record audio in Windows 11 using a third-party program like Audacity.
Record Sound in Windows 11 in Two Easy Ways
So there are two ways to record sound in Windows 11. The native Sound Recorder app is excellent, but if you want more features, you can always go for Audacity. Anyway, that is all from us. If you are having issues with the microphone on your Windows 11 PC, head over to the linked guide for an instant fix. Finally, if you have any questions, let us know in the comment section below.