
After the release of Windows 11, Microsoft has moved to a yearly update cycle for Windows 10. However, before that change goes into effect next year, it has released the Windows 11 November 2021 (21H2) update to users. If you are running Windows 10, you can update to the latest Windows 10 November 2021 build right away. Generally, Microsoft rolls out major updates in a phased manner, and it might take some time before the update reaches your PC. So if you want to jump the line and try out the latest Windows 10 21H2 update right now, follow the instructions below. We have included two methods to install the Windows 10 November 2021 update on your PC.
Install Windows 10 November 2021 Update (2021)
In this article, we have mentioned two ways to install the Windows 10 21H2 build on your PC. Based on your expertise, you can move to the desired section from the table below. Also, we have listed all the new features in Windows 10 November 2021 build. So without further ado, let’s dive right in!
What’s New in Windows 10 November 2021 Update?
The Windows 10 November 2021 release is a feature update, but there are not many user-facing additions to this build. Except for the fact that you get WPA3 H2E standard support for better security while connecting to a Wi-Fi network. WPA3 brings enhanced security than the traditional WPA2 security protocol used on routers, even when you are using a simple password for your Wi-Fi.
Apart from that, users who are on Windows 10 version 2004 or later will be able to install the November update much faster. Besides that, Microsoft has mentioned these changes in its official blog post.
- Adding WPA3 H2E standards support for enhanced Wi-Fi security
- Faster update installation for users who are on Windows 10, version 2004 or later
- Windows Hello for Business introduces a new deployment method called cloud trust to support simplified passwordless deployments and achieve a deploy-to-run state within a few minutes
- GPU compute support in the Windows Subsystem for Linux (WSL) and Azure IoT Edge for Linux on Windows (EFLOW) deployments for machine learning and other compute intensive workflows
Get the Windows 10 November 2021 Update via Windows Settings
Before we move to manual installation methods, let’s first check if your PC has (or not) gotten the Windows 10 21H2 update officially. This way, you won’t have to download programs and apply the update manually. Here are the steps to follow.
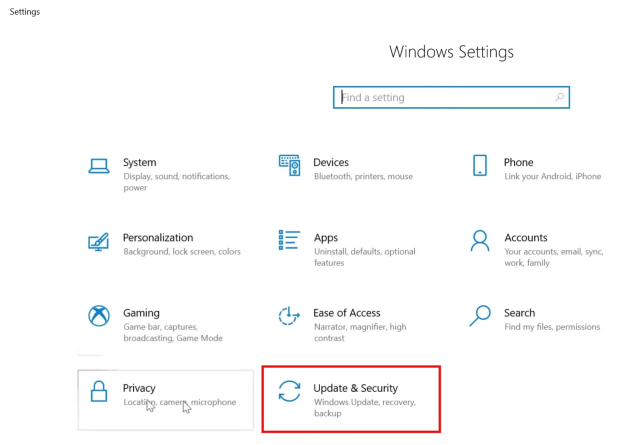
1. Open the Settings page using the Windows 11 keyboard shortcut “Windows + I”. Then, move to “Update & Security“.

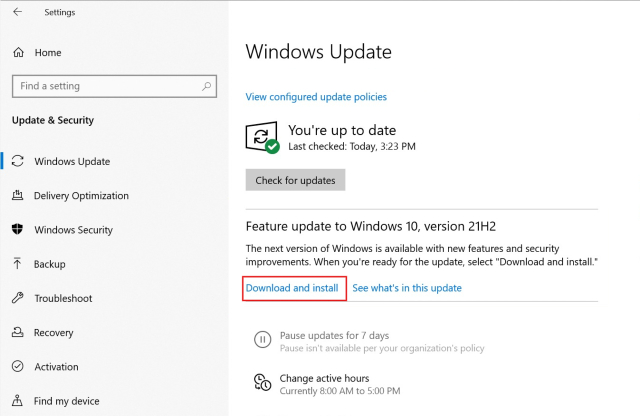
2. Here, click the “Check for updates” button. If your PC has received the update, you will see a banner below saying, “Feature update to Windows 10, version 21H2“. Click the “Download and install” button.

That’s it. After downloading the update, restart your PC, and you will move to Windows 10 November 2021 build. If you have not gotten the 21H2 update yet, move to the next section.
Install Windows 10 (21H2) November 2021 Build With Update Assistant
The easiest way to update your PC to the latest Windows 10 21H2 build is through the official Windows Update Assistant. You don’t need to create any bootable USB or worry about wiping data. This method installs the update over your existing Windows 10 build and keeps files and programs intact. Here is how you go about it.
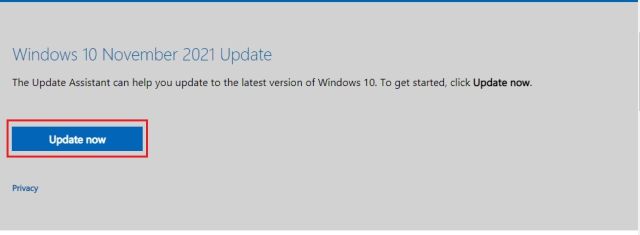
1. First off, open this page and click on “Update now“. This will download the Windows Update Assistant.

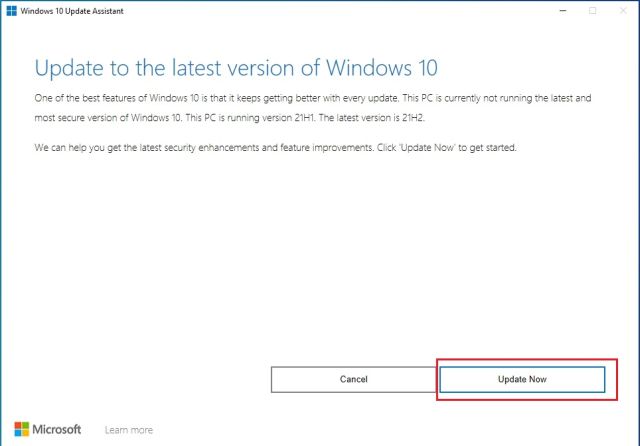
2. Now, open the downloaded program, and it will offer you a window to easily upgrade to the Windows 10 November 2021 build. Click on “Update Now“.

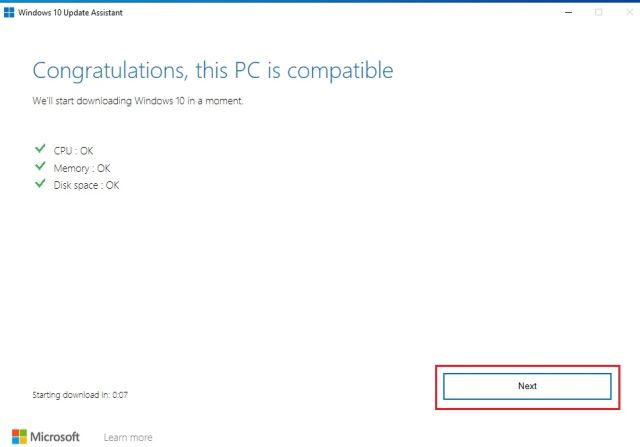
3. After that, it will do a compatibility check of your PC. Click on “Next“.

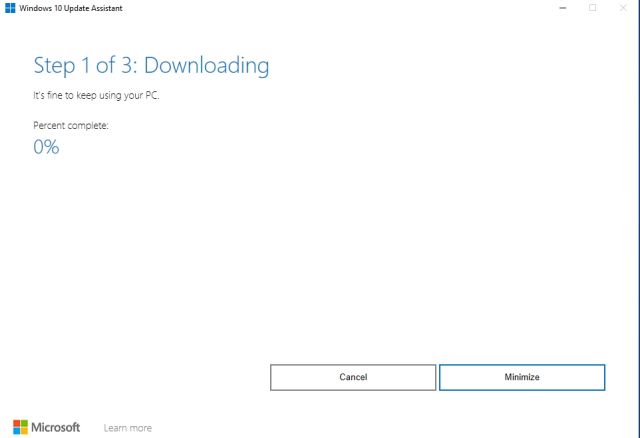
4. Finally, the Update Assistant will start downloading the Windows 10 21H2 build on your PC.

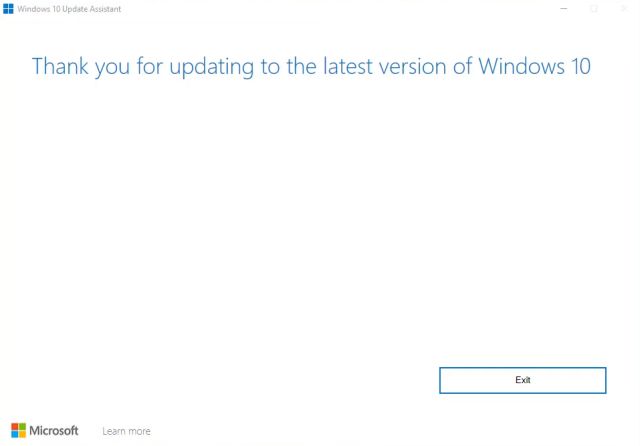
5. Post that, it will automatically install the update and ask you to restart the PC. Now, you will be upgraded to the Windows 10 November 2021 build without much effort.
Install Windows 10 (21H2) November 2021 Build With Bootable USB
If you are someone who likes to clean install major versions of Windows 10, this method is for you. Before proceeding, you must know how partitions work on Windows 10, else you will end up wiping your valuable data. Here are the steps to follow.
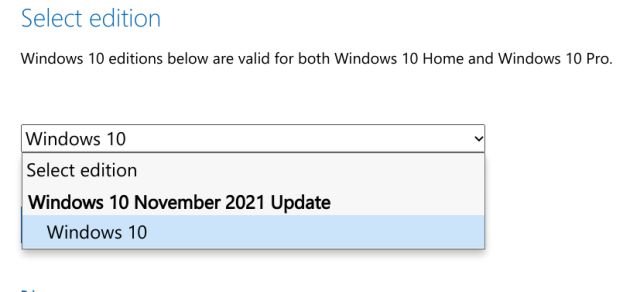
1. First, you need to download the ISO image of the Windows 10 21H2 build. Click this link and select the edition – Windows 10 November 2021 update from the dropdown menu.

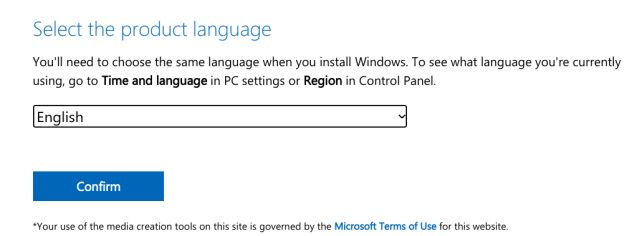
2. After that, select the product language from the dropdown menu and click on “Confirm”.

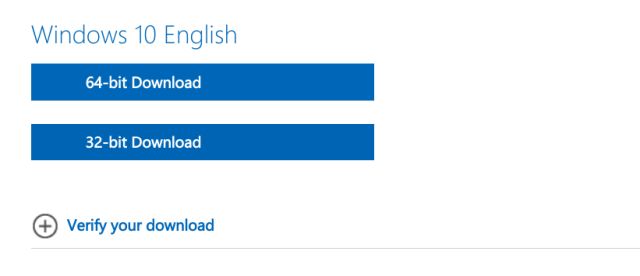
3. Finally, click on the “64-bit Download” link. Older computers built on the 32-bit architecture can download the 32-bit ISO image.

4. After downloading the ISO image of the Windows 10 November 2021 build, go ahead and download Rufus (Free). It’s a free utility that allows you to create a USB bootable drive. In case you find Rufus needlessly complex, check out other Rufus alternatives from this curated list.
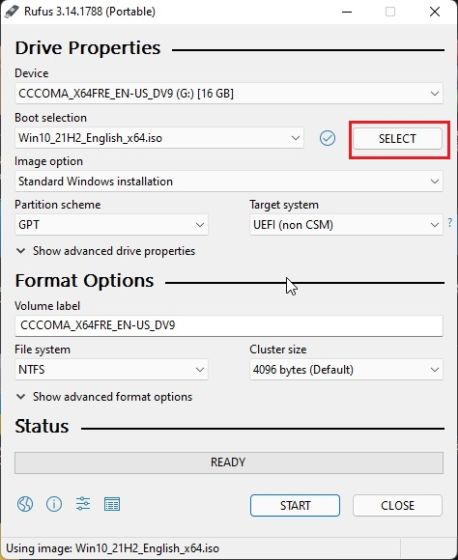
5. Now, plug the USB thumb drive into your computer. Launch Rufus, and it will automatically pick the USB device. Now, click on “Select” and choose the Windows 10 21H2 ISO image from the File Explorer. I would recommend running Rufus on the same PC where you wish to install Windows 10. It allows Rufus to automatically pre-select the correct values based on your system configuration.

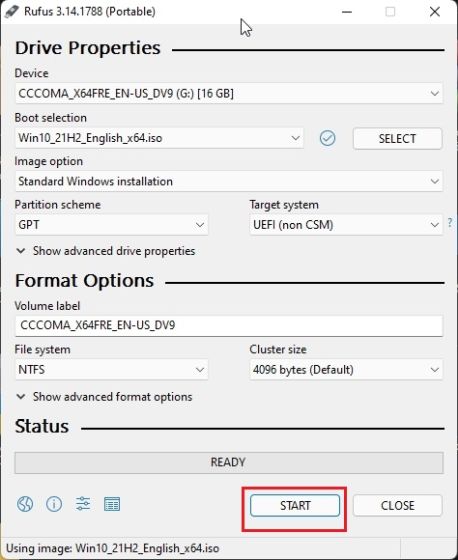
6. Finally, keep everything as default and click “START“. Once the flashing process is complete, close Rufus and plug the Windows 10 USB stick into the target machine.
7. To install Windows 10 November 2021 build from a USB drive, you need to restart your computer. As your PC boots up, you will need to start pressing the boot key continuously.
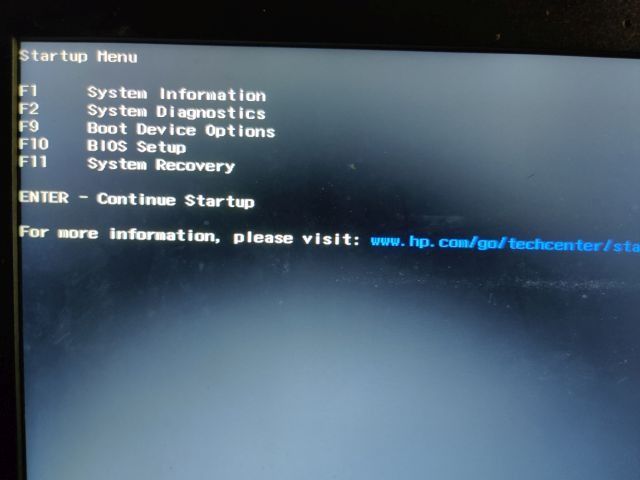
Note: On HP laptops, pressing the “Esc” key during startup brings up the Startup menu. For other laptops and desktops, you will have to look for the boot key on the Internet. It should be one of these: F12, F9, F10, etc.

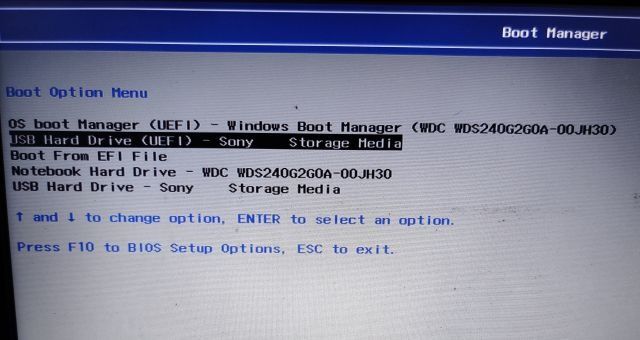
8. Then, press “F9” (the key can be different for your laptop/ desktop) to open “Boot Device Options”. Here, select the thumb drive that you created and hit Enter.

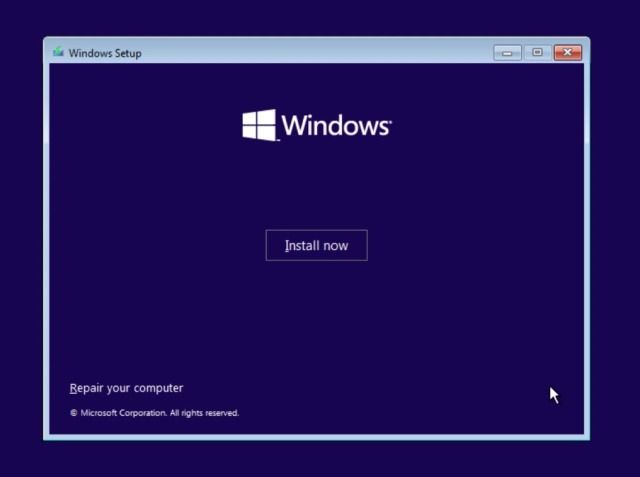
9. You will now boot into the Windows 10 installer setup. Click on Next -> Install now.

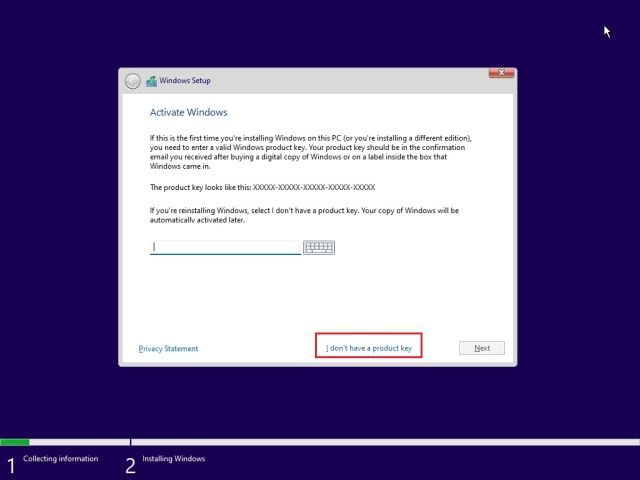
10. On the next page, choose “I don’t have a product key“.
11. After that, you might be asked to select the Windows 10 edition. If you are using a laptop with activated Windows, the edition will be selected automatically based on your earlier configuration.
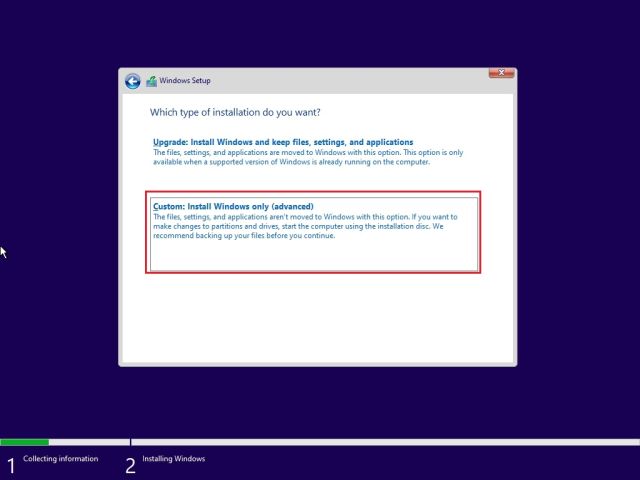
12. Next, click on “Custom“. It allows you to install Windows 10 November 2021 build on a specific drive. This way, you will not have to erase the whole disk.
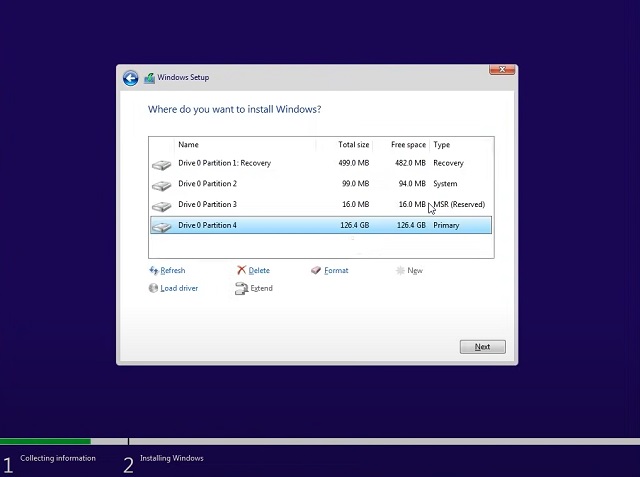
13. Once you are on the partition page, identify the “C” drive based on the drive size and click on “Next” to install the latest Windows 10 build on your PC. This will only wipe your C drive, including programs and files from Desktop, My Documents, Downloads — all within C drive, and will not touch other partitions.
Note: If you get any MBR-related error, follow our guide and convert MBR to GPT disk without data loss.
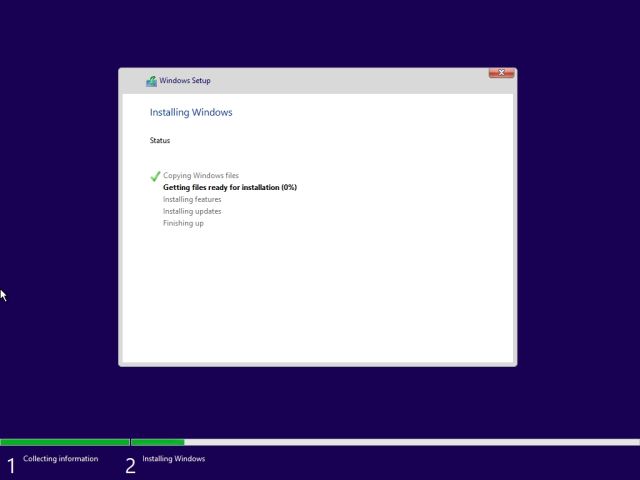
14. Finally, Windows 10 November 2021 build will be installed from the USB drive to your PC.
15. After the installation, your PC will reboot automatically. During the bootup process, remove the USB thumb drive, and you will boot into Windows 10 November 2021 build. Enjoy!

Get Windows 10 21H2 Update on Your PC Right Now
So these are the two ways you can get the November update of Windows 10 on your computer right now. For most users, the first method is the easiest and one that works without any fuss. For advanced users, you can choose to clean install the 21H2 build. Anyway, that is all from us. If you want to install Windows 11 on your PC, follow our linked guide. And if you are looking to upgrade to Windows 11 from Windows 10 seamlessly, head over to our tutorial. Finally, if you have any questions, let us know in the comment section below.

