- There are 5 maps in Highguard that players will play a match in.
- Players can choose from 6 bases by voting as a team for their defense.
- Choosing the right base for your team comp is highly essential.
Highguard, the latest PvP shooter, is finally out, and players are joining in massive numbers to play the title across various platforms. While the dev team has been quite tight-lipped about the game up until launch day, when they aired a deep dive video about the title, now that it’s finally out, players are still navigating through a plethora of launch content.
If you’re one of the players just joining Highguard, you must know the maps you’ll play matches on and the bases you can build together and defend as a team. Since the game is all about choosing a base and defending it strategically from other Warden raids, you must know what each one has to offer.
At the same time, when you mount up and head out to look for the Shieldbreaker and gear up, it’s important to know about the world (known as maps) you’ll navigate to find loot and eliminate any opponents along the way. So we’ve got a full breakdown of all Highguard Maps and Bases and what each of them offers.
All Highguard Maps in Episode 1
There are 5 maps in Highguard in Episode 1. They are:
- Vesper City
- Summit
- Rivermark
- Kingdom
- Dustline
These maps are on a random rotation in each Raid Mode (3v3 sieges) rounds and you may be dropped on a surprise map in each round.
Here’s a full breakdown of each map in Highguard:
Vesper City
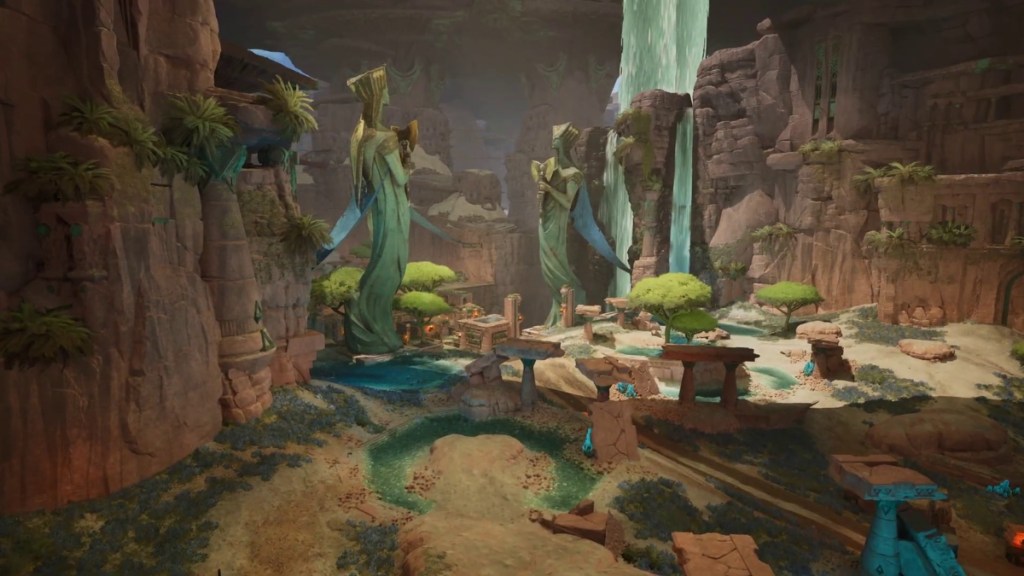
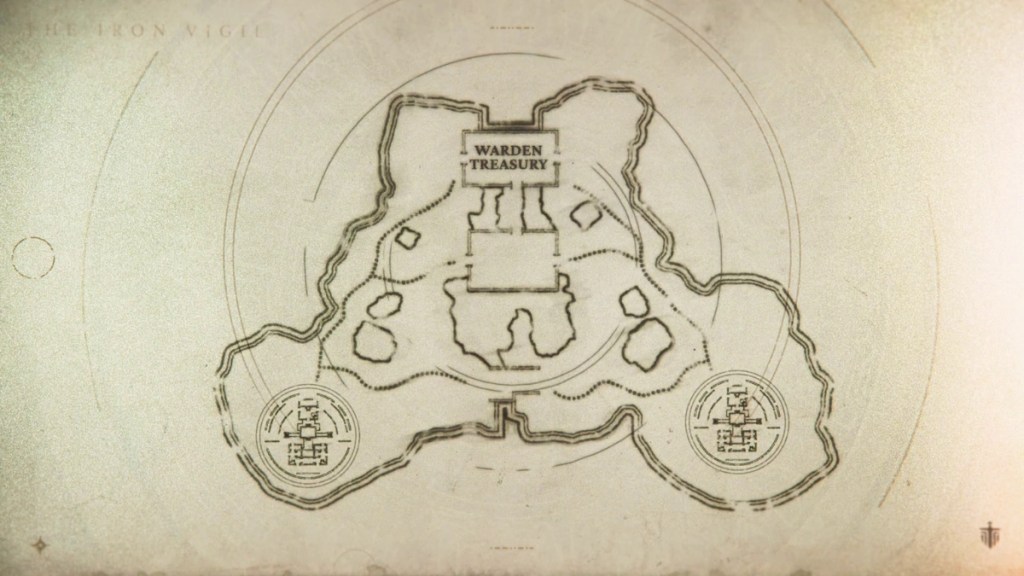
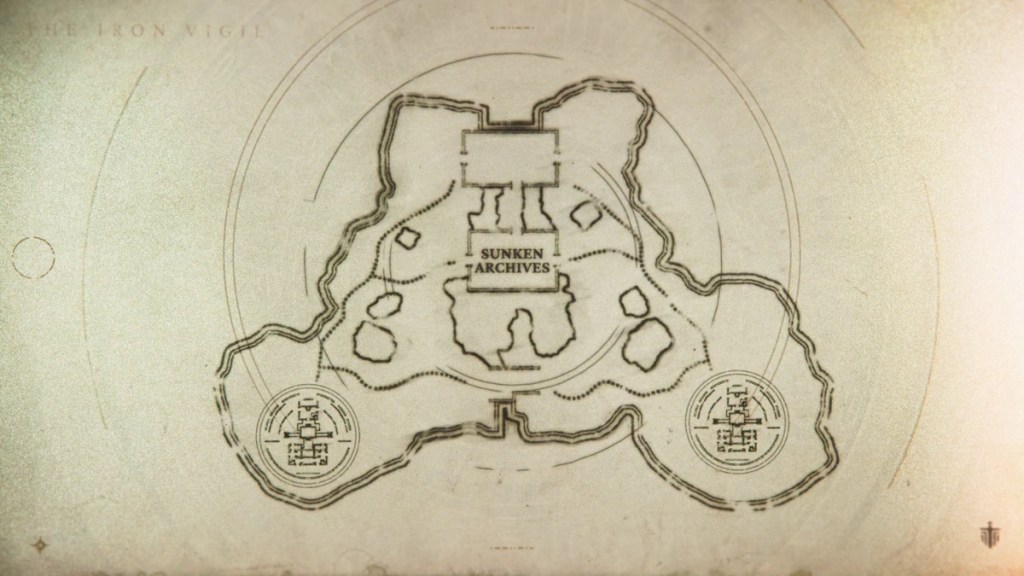
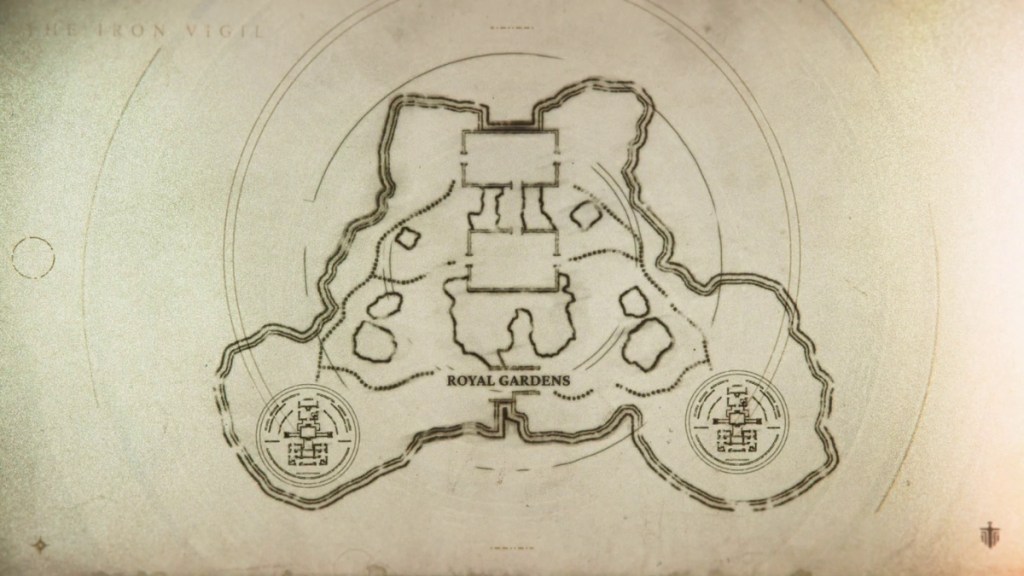
Vesper City is one of Highguard’s core maps with tons of Vesper deposits for players to mine. The map has three core areas for players to explore: Warden’s Treasury, Sunken Archives, and Royal Gardens.
The Warden’s Treasury is a primary hotspot on this map where players can head to grab some rare loot to upgrade, and find the Shieldbreaker spawn at its heart. The Sunken Archives are underground mineshafts located south of the Warden’s Treasury and house tons of Vesper deposits for miners to mine. Lastly, the Royal Gardens feature high ground areas that act as perfect sniper nests for your team’s sniper to scope in on enemies and defeat them when they head for the Shieldbreaker.
Summit

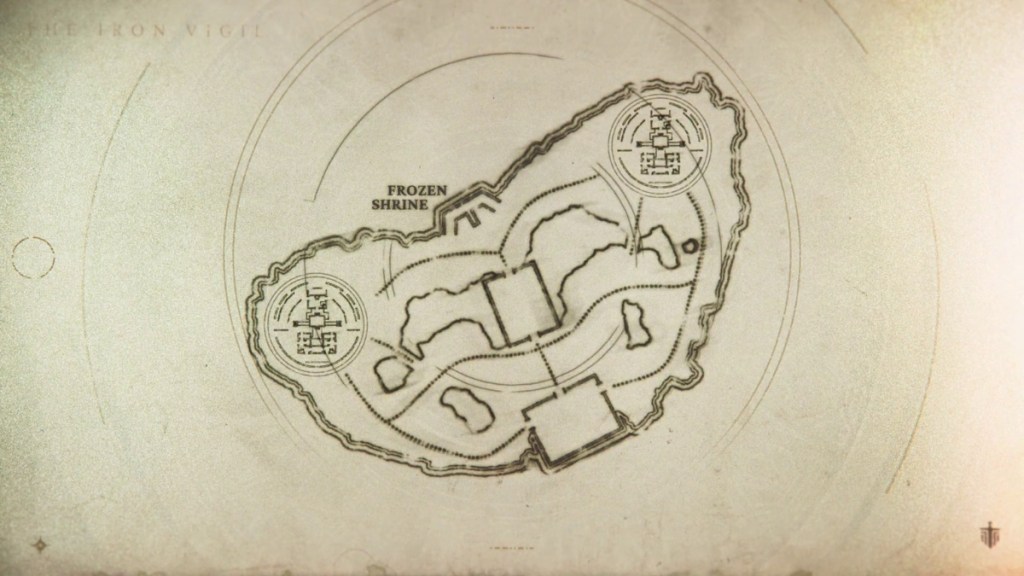

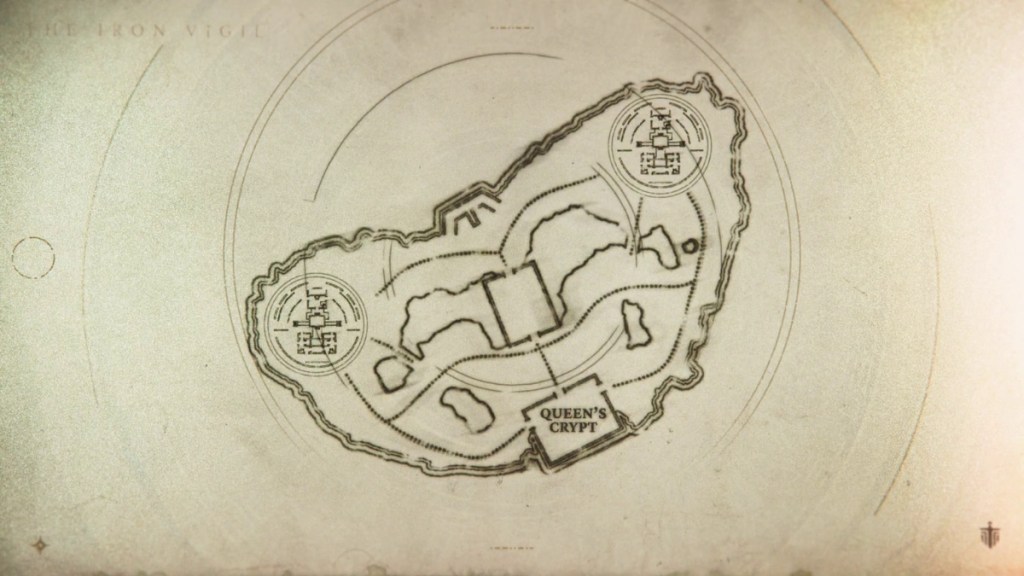
Summit is an icy map in Highguard where players will be dropped in a frozen kingdom with plenty of high ground and locations to ascend. The map has three locations for players to explore: Queen’s Crypt, Golem Forge, and Frozen Shine.
The Queen’s Crypt is one of the most sought-after spots on the map, as you can find some extremely rare chests and supplies in this location. But this spot also has tons of ziplines that run over deep trenches; one wrong step and you’re back to respawn. The center-most area on the map is Golem Forge, where players will be able to use long-range weapons and shortcuts to head to the mountain. Furthermore, you’ll be able to find Vesper deposits, loot caches, and Shieldbreaker spawns on the Summit map quite often here.
Lastly, Frozen Shine is the farthest area on the Summit map, which is quite a tactical zone where two narrow passages converge on a center point. Here, Wardens will be able to battle one another using close-range weapons and protect the site until Shieldbreaker spawns randomly, while claiming ample supplies from the Vigil.
Rivermark
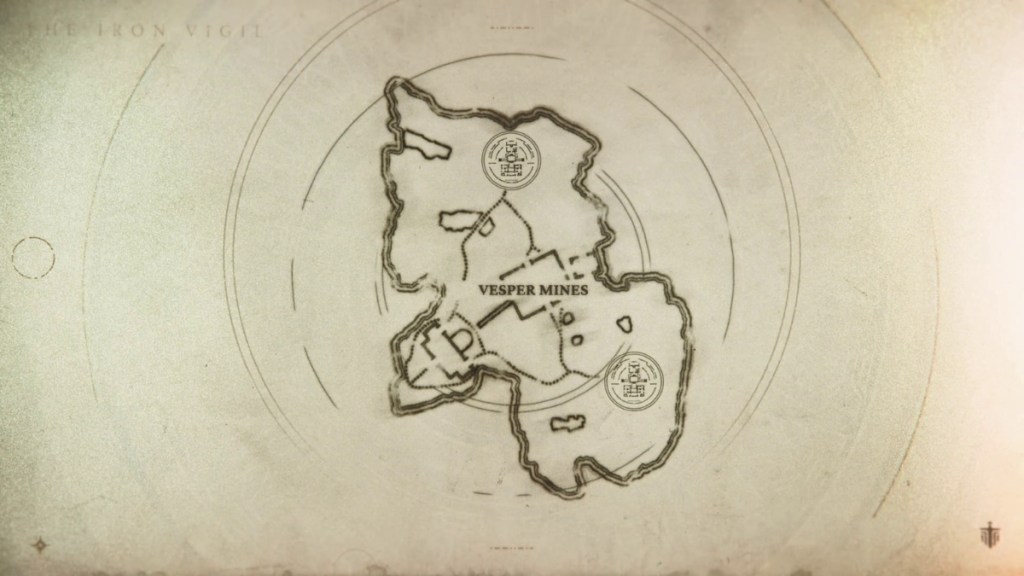
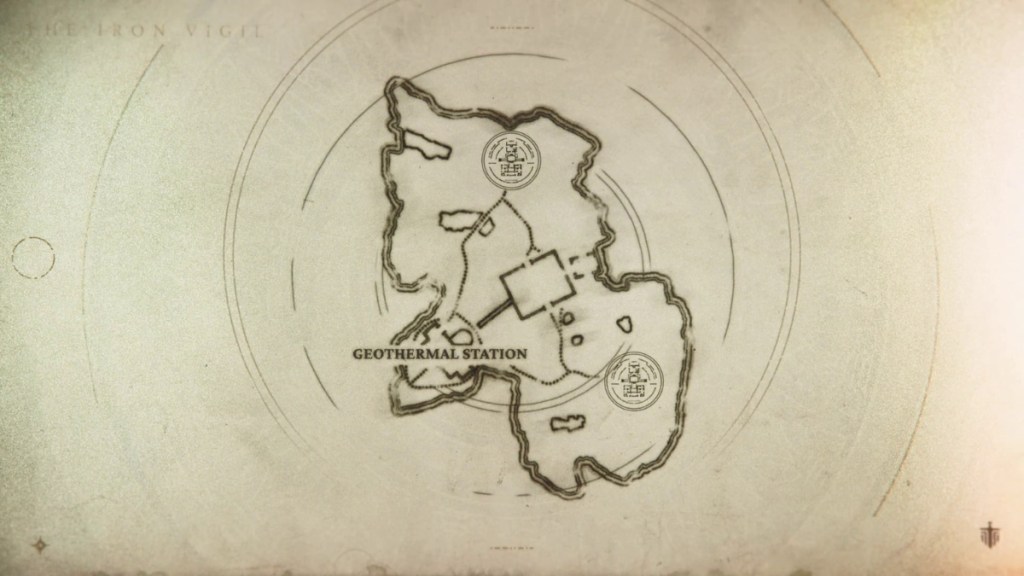
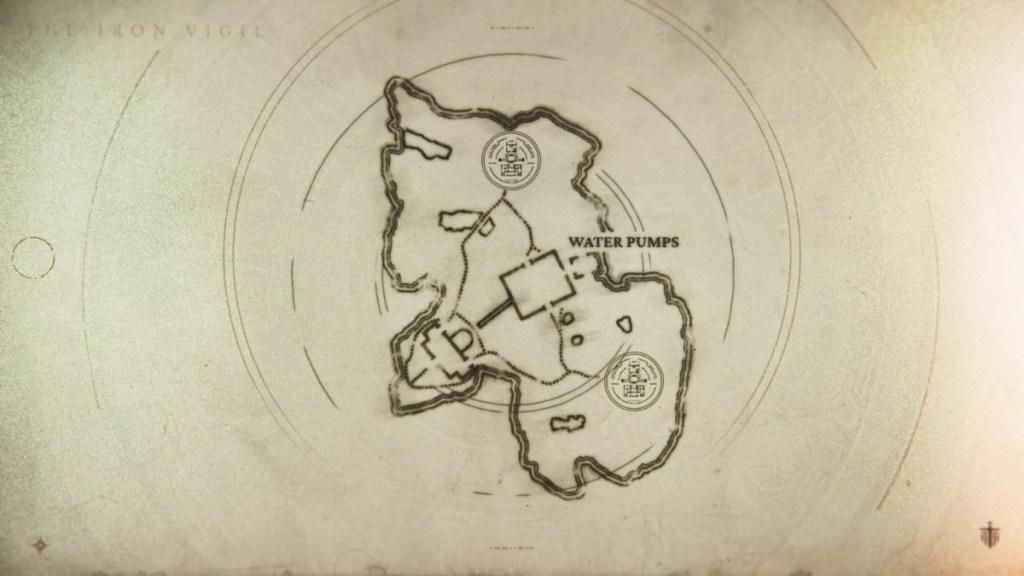
Rivermark is an abandoned industrial town in Highguard which mainly has water bodies surrounded across the area. Here you’ll find three spots to travel to: Geothermal Station, Vesper Mines, and Water Pumps.
The Geothermal Station is a factory area that is half flooded with water and contains ample supplies for Wardens to loot around and mine some Vesper while exploring the area. The Vesper Mines is quite a straightforward area with tons of Vesper to mine, and a center site for the Shieldbreaker spawn where you can easily roam around and escape while on a mount. Lastly, the Water Pumps site lies beyond the mines and contains hidden passages for those who like to move around without being seen and surprising your enemies when Shieldbreaker spawns directly above them.
Kingdom
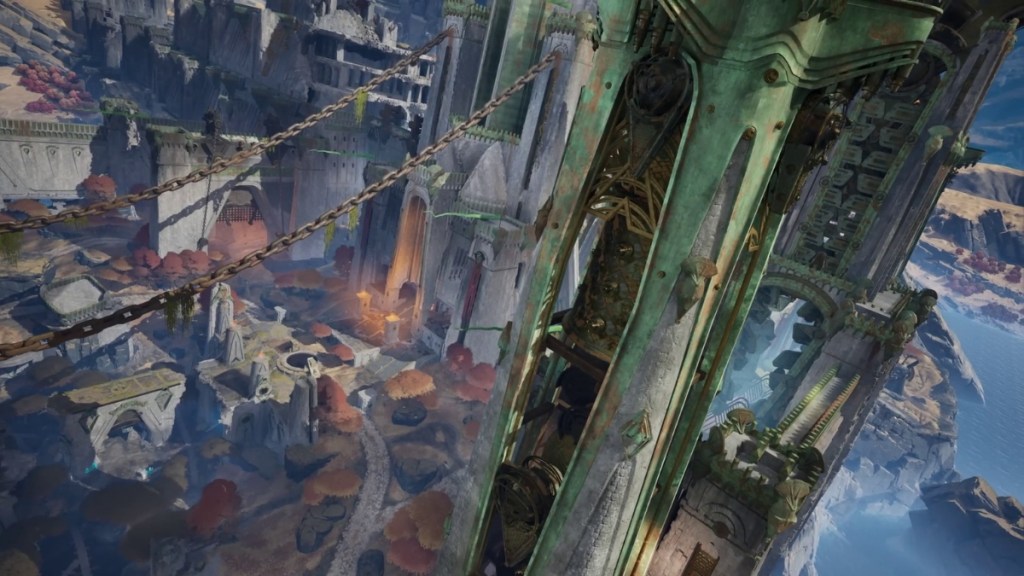

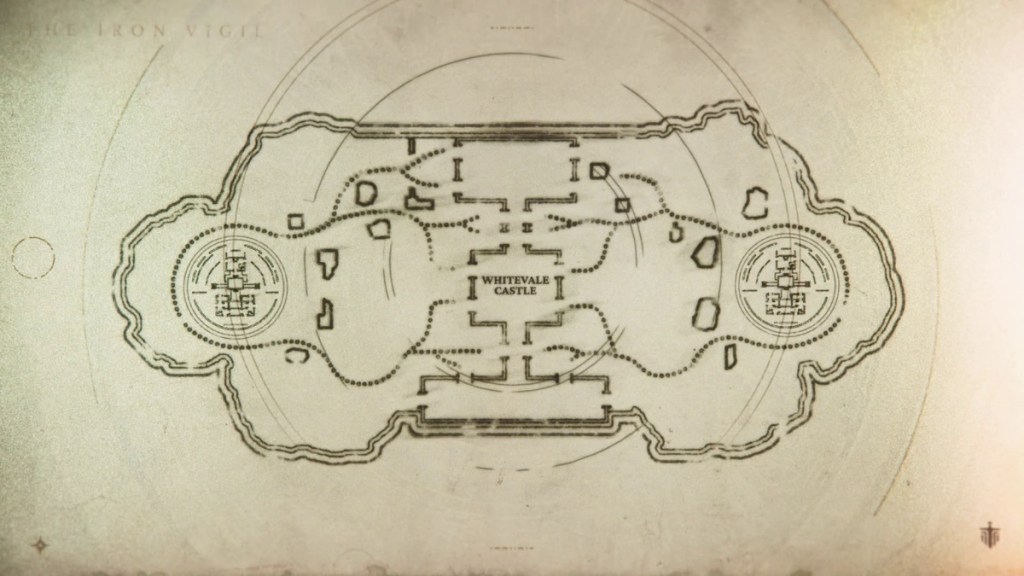

Kingdom is one of the largest maps in Highguard, which is themed after a ruined castle, as you’ll mostly be travelling across different areas of the Kingdom ruin and its towers. The three spots that you’ll visit while in Kingdom are: Whitevale Castle, Central Belltower, and Dungeon.
The Whitevale Castle is the central site in the Kingdom, and it contains plenty of treasures for players to loot alongside hot spots for Vigil supply drop chests to loot from. Furthermore, one of the hotly contested Shieldbreaker sites in Whitevale Castle sits inside the Throne Room, which is a closed area perfect for close-quarter combat. The Central Belltower is a sprawling vertical site where verticality and ziplining are key. This site has vantage points perfect for snipers and an open corridor, which is a Shieldbreaker site.
Lastly, the Dungeon is an underground site that has the most loot as it houses rich Vesper deposits, chests, and is perfect for mid-range combat against enemies if a Shieldbreaker spawns in the center of the site.
Dustline
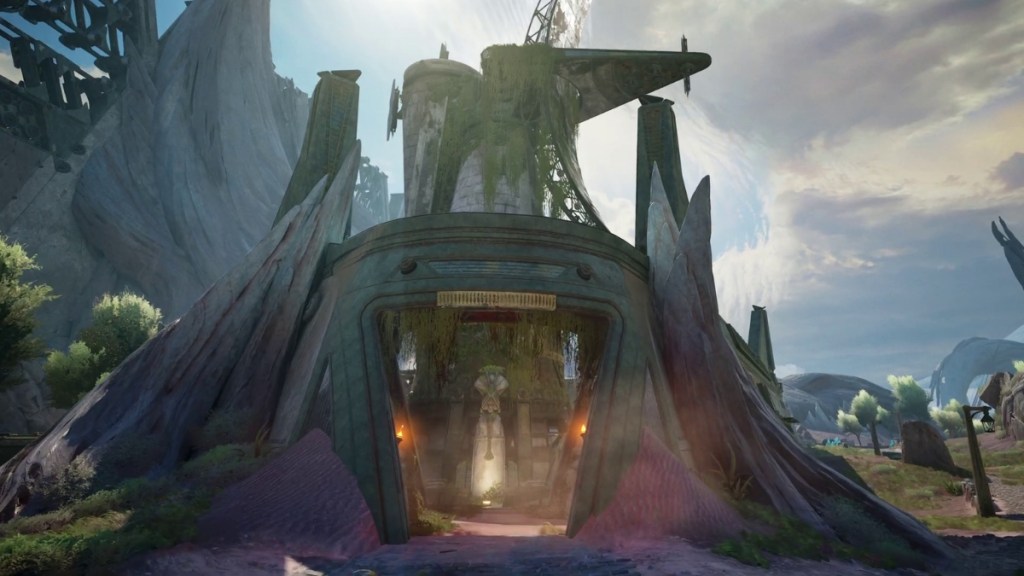
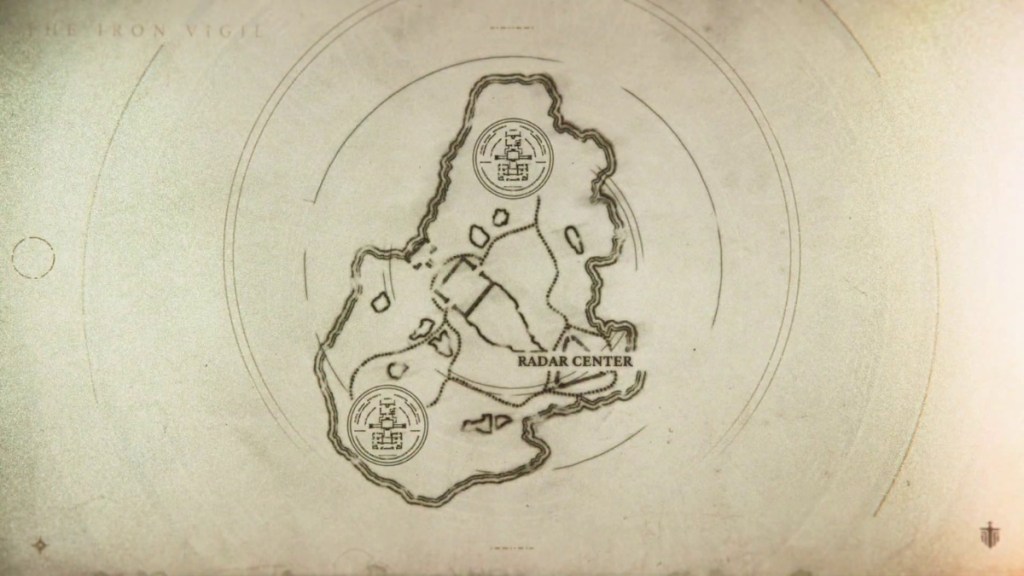
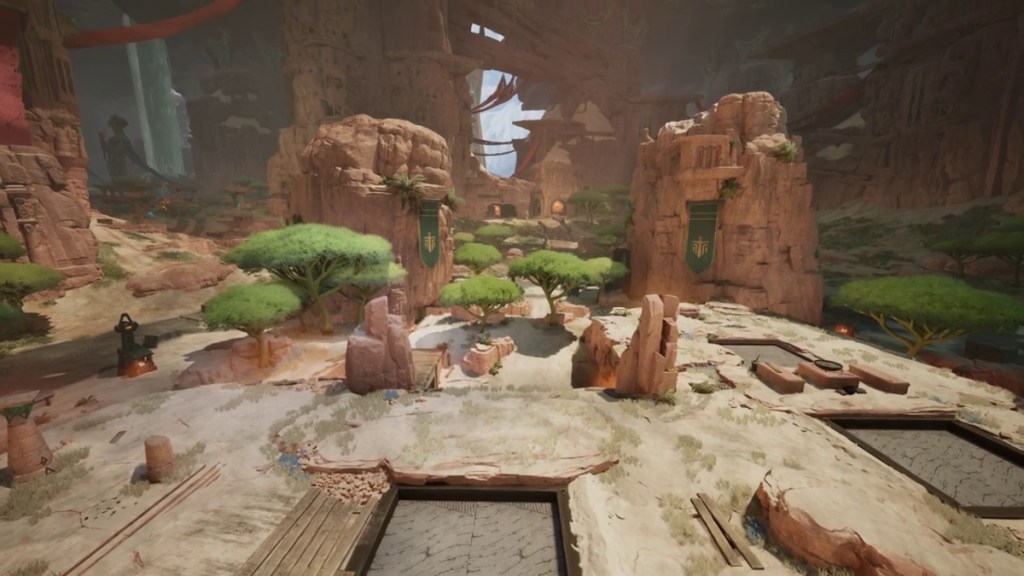
Dustline is a desert ruin map in Highguard, which features abandoned factories and sites where Wardens will find plenty of opportunities to ride their mount and battle on the move against enemies. The map has three spots players can explore: Radar Center, Mine, and Furnace.
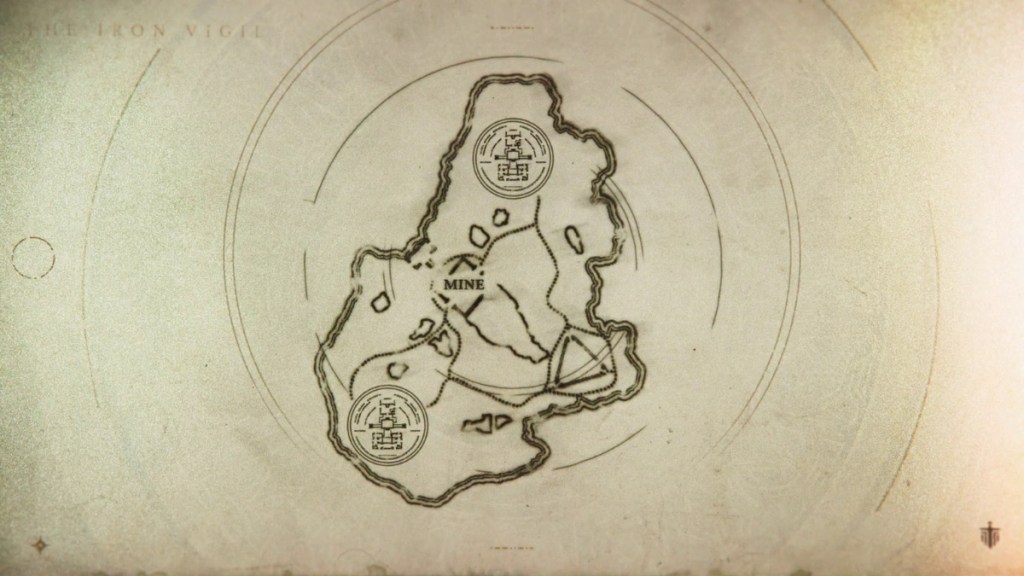
The Radar Center is an abandoned facility that houses plenty of caches for players to loot, as well as a Shieldbreaker site that’s easy to find indoors. The Mine is filled with Vesper deposits for players to mine and claim, as well as explore rare loot lying around.
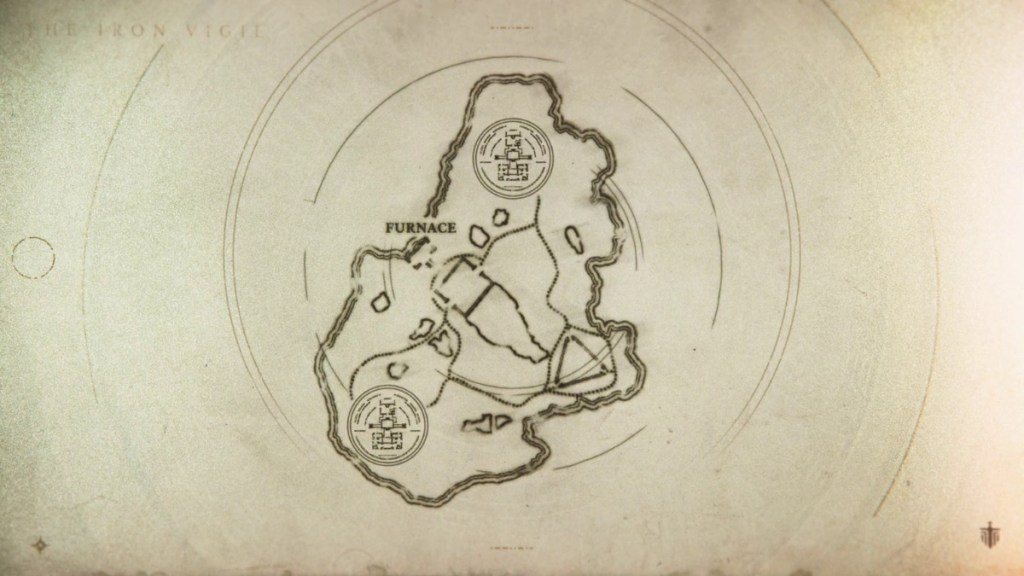
The site has some pretty dark areas along the shaft and tracks from where enemies can catch you by surprise. Lastly, the Furnace is a site which is known to be elevated and perfect for those long-range shots, while at the same time, narrow passageways run underground if you’d like to ambush enemies heading for the Shieldbreaker.
All Highguard Bases in Episode 1
There are 6 bases in Highguard Episode 1. They are:
- Wellspring
- Smuggler’s Den
- King’s Lair
- Hellmouth
- Frosthold
- Bellringer
Choosing the right base is extremely crucial, as each base has a different layout and reinforcement strategies you’ll need to employ together as a team.
If you’re a team of Assault Wardens with high mobility, choose a base with more ziplines. If you’re a team full of Defensive Wardens, it’s best to choose a base with higher chances of reinforcement, and so on. Remember, for every team comp, you’ll need to rethink together as a team about which base you can protect together to the best of your abilities.
So here’s a full breakdown of all the bases available in Highguard:
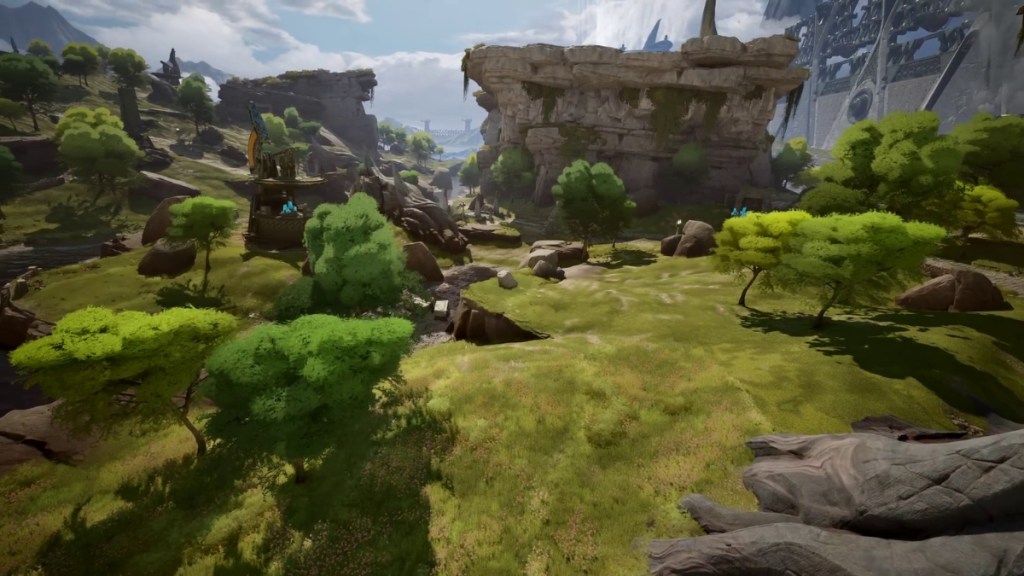
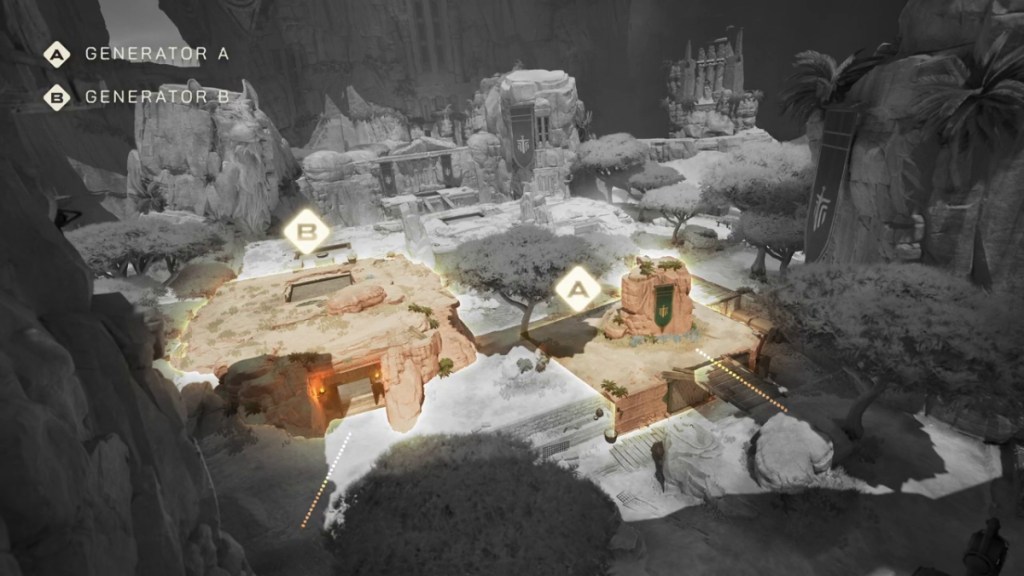
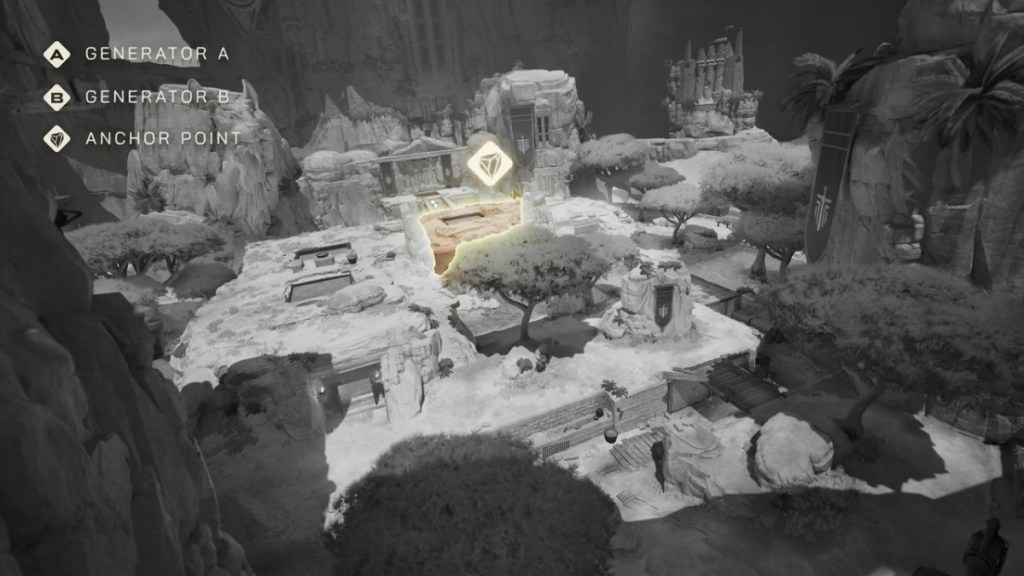
Wellspring
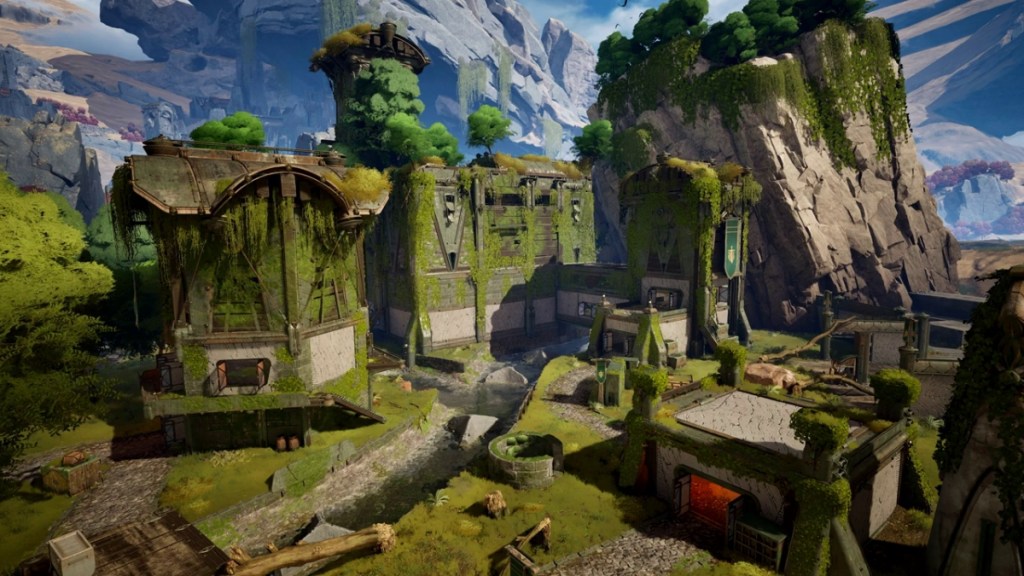
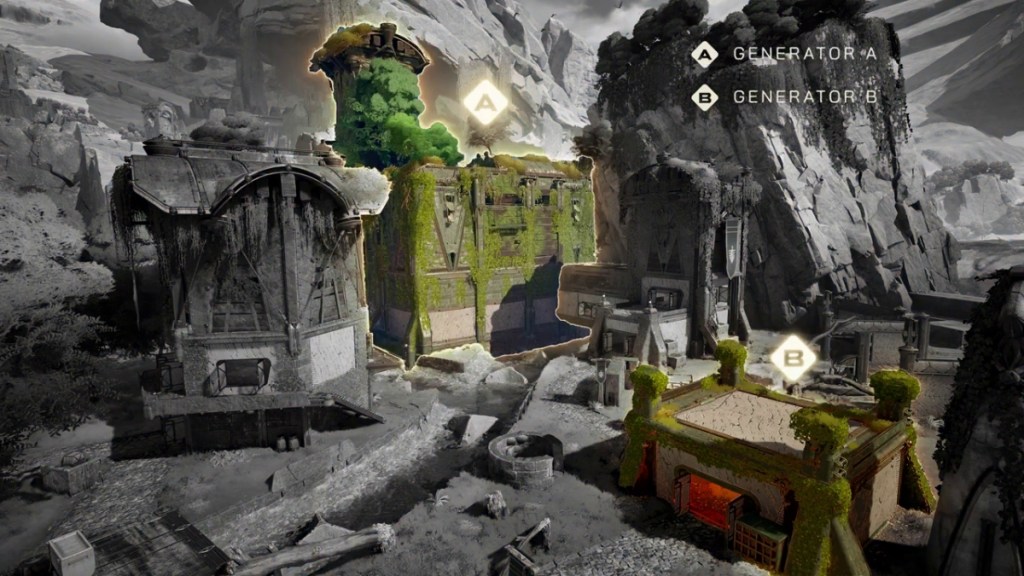

Wellspring is completely surrounded by an outside curtain wall, which protects the overgrown interior of woodland meadows. The two generators are housed in a fortified outbuilding and the rear keep, while the anchor stone is in the forward sniper tower. The view positions given by both the tower and the rear keep allow defenders to maintain consistent pressure on attackers attempting to cross in the open.
A zipline placed between the two structures enables fast redeployment across a wide territory. To properly defend this fortress, defenders must keep their heads on swivel, keeping an eye on the open field, back cave, and tangled network of recessed streams that flow through it.
Smuggler’s Den
Smuggler’s Den is difficult to siege despite the fact that it lacks exterior fortifications. At its core is a massive multi-level stronghold topped by a taller watchtower, which provides defending Wardens with a commanding view of the explosive-trapped dunes below.
High cliffside platforms offer long-range shooting coverage, with zip lines connecting them to the main structure for fast redeployment. However, in the back of the main structure is a partially submerged bunker designed for smuggling and quick escapes. If seized, this bunker can quickly negate Smuggler’s Den’s vaulted strength.
King’s Lair
The King’s Lair base is mainly underground, with few exposed walls, making it significantly less vulnerable to rocket fire. Its flat earthen ceiling grants great sightlines in all directions, while rocky outcroppings sticking out from the ground can be exploited as cover for snipers. Down below, its walls and rooms twist into a labyrinth of narrow passages with low-hanging ceilings. An excavation trench runs across the front approach, offering good cover for defenders looking to protect the forward generator site or gain rapid access to the base’s rear.
Beyond this trench is the lair’s core, which attackers must approach by a sloping drop surrounded by windowed walls. If defended properly, this location creates a dead end, trapping enemies in a funnel of suffering. A determined attacker, with the correct equipment and time, may infiltrate these old halls. When fighting the King’s Lair, hammers and zip lines will come in handy. A well-placed zipline to one of the rock formations can take you to ceiling panels that can be smashed from above, allowing you to descend into the heart of the opposing base.
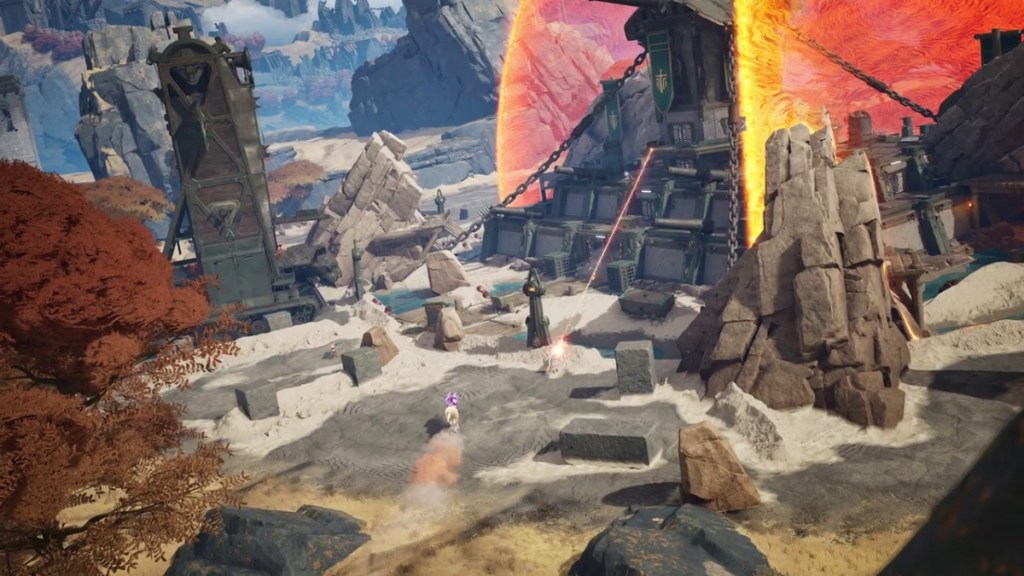
Hellmouth

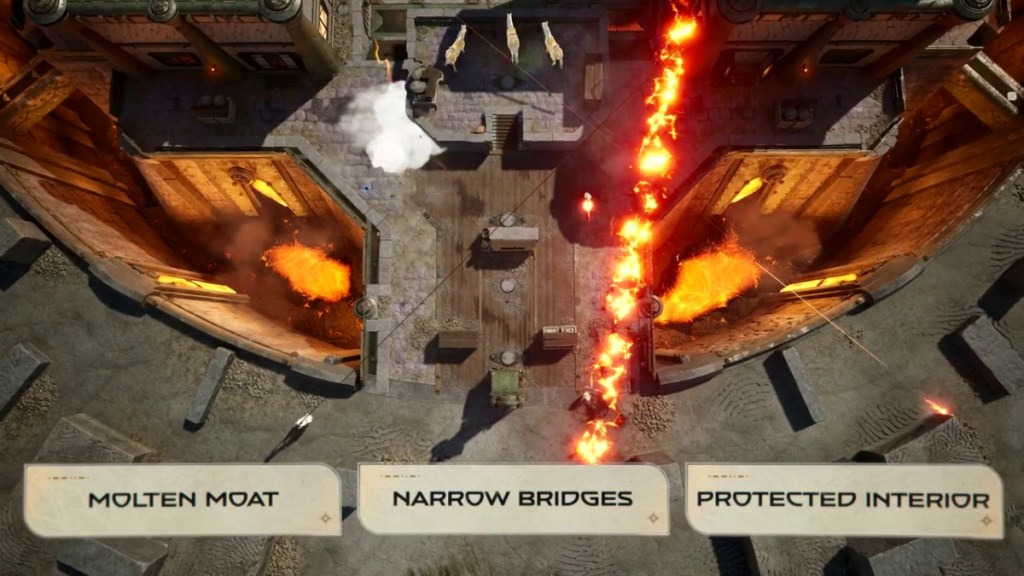
Hellmouth’s molten moat serves as a powerful initial line of defense, forcing enemies to traverse one of numerous small bridges before attacking the inside. When defending, these small spaces become death traps, allowing a single defender to defend numerous attacks. In the heart of the fortress are three massive structures connected by a suspended walkway, allowing defenders to travel quickly between generator sites and the anchor stone. This tower, located within the center defended tower, gives a commanding view of the attackers below and makes a great perch for sharpshooters.
Hellmouth may appear impenetrable, yet it is not without flaws. Its ceilings are fragile. Well-placed zip wires may cause havoc if left uncontrolled. And concealed passageways render it open to sneak attacks by those who are skilled enough to discover them. This castle has long been and will continue to be a favorite of wardens seeking to punish opposing teams with cruel choke points, high, sharp shooting positions, and a torrent of fire.
Frosthold
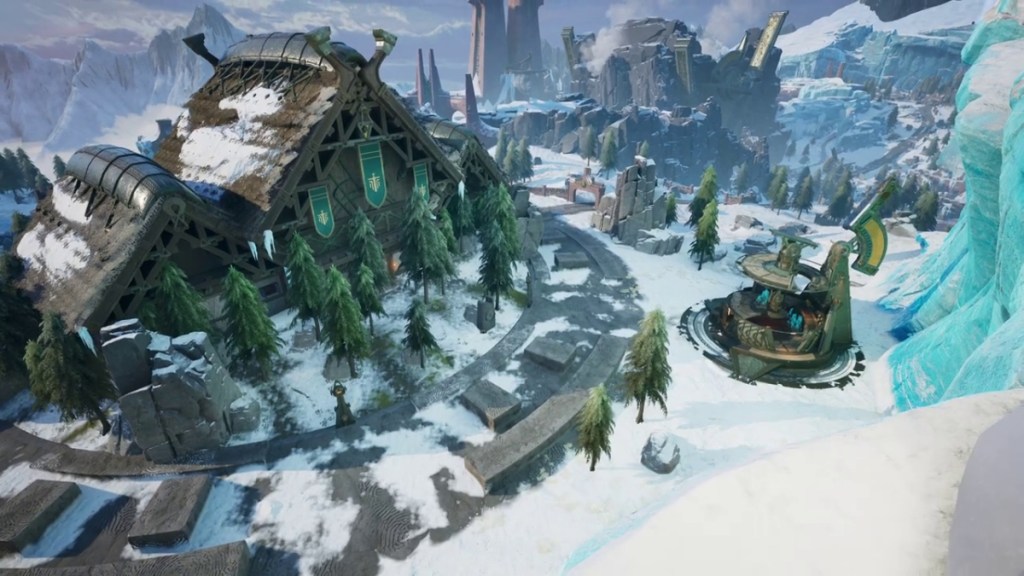
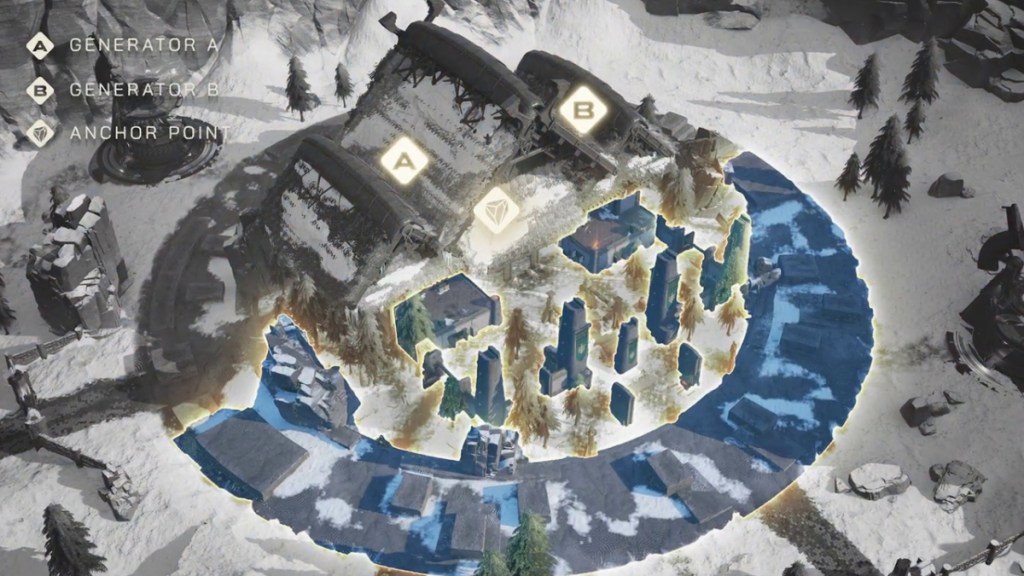
Frosthold is fortified with levels of compartments, each meant to protect the treasure formerly concealed inside its frozen center. The back of the building is open and exposed, rendering it vulnerable to stealth attacks or dome splitter breaches. Formidable teams will defend this chamber well, giving them easy access to both bomb locations if they are broken from below.
With elevated forward-facing balconies, tiered vertical chambers, and a vast, expansive interior for a more versatile defensive method, this snow-covered lodge is designed to keep out more than just the cold.
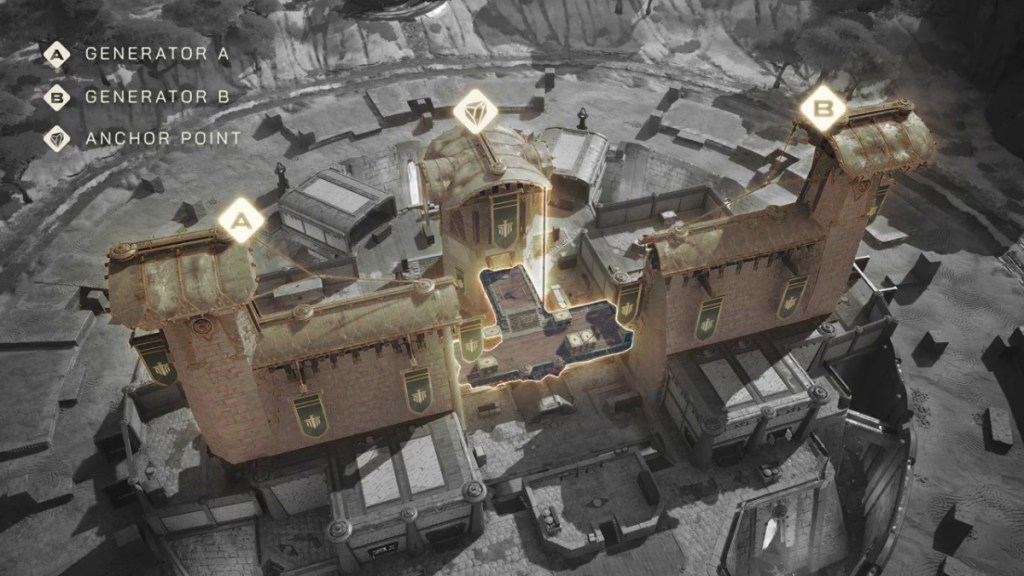
Bellringer
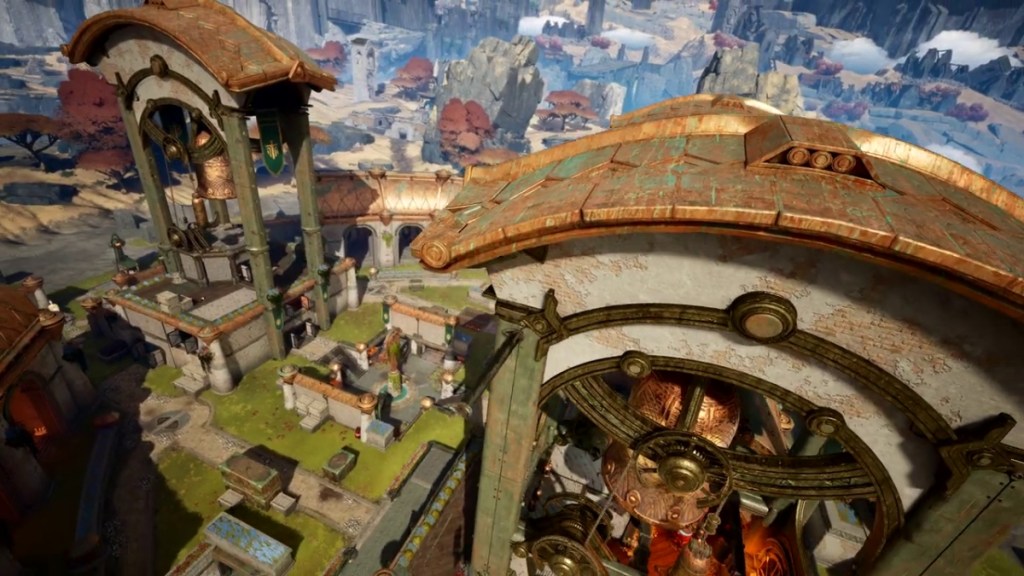
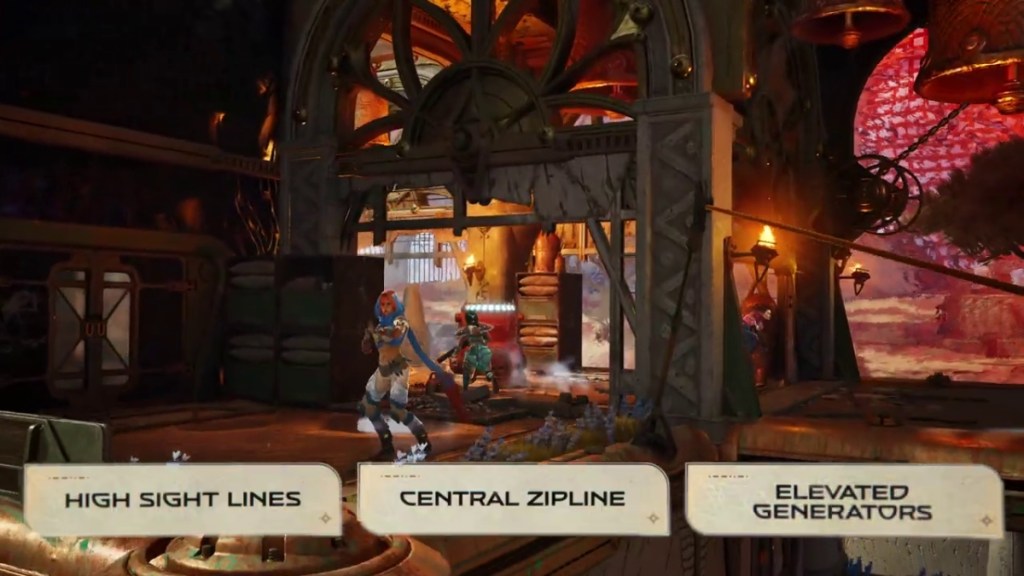
Bellringer features three massive bell towers. Each has a generator or anchor stone, reinforced by high firing positions from which defenders may rain down fire on attackers from below. These sightlines compel attackers to scale towering outside walls or break in from below and battle their way up numerous stories to reach the opponents.
The front bell tower is located near the front gate of the castle. Defenders can defend a direct assault by positioning themselves around high windows and an open rooftop. If this advanced position is lost, defenders can retreat via a center zip line to the two rear bell towers. Then they may regroup and form a second line of defense from numerous sharp-shooting positions.
Despite its benefits from above, Bellringer is vulnerable from below. Subterranean storage tunnels beneath the towers allow crafty attackers to penetrate the stronghold’s very foundation. And, while the towers are tough to grab, keep in mind that once they fall, defenders may rapidly turn Bellringer’s might against its own defenders, compelling them to repeat the risky assault path to recover their base.
Now that you know the maps and bases in Highguard, we hope you have fun raiding your enemy’s bases out there, no matter what the game throws your way.
Which is your favorite map/base in Highguard so far? Let us know in the comments below!


 Sanmay Chakrabarti