
Blue Screen of Death errors are incredibly rare nowadays, but once in a while, users who are mostly on older hardware face the frightening BSOD screen on Windows 11. A while back, several users reported seeing a black screen issue on Windows 11 after an update so we wrote a detailed tutorial to help resolve the issue. And in this guide, we have compiled all the crucial resources to fix the Windows 11 Blue Screen of Death error. If you are getting “CRITICAL_PROCESS_DIED” or “DPC_WATCHDOG_VIOLATION” error on your Windows 11 PC, do not worry. Let’s go ahead and learn how to fix the Blue Screen of Death error on Windows 11.
Fix Windows 11 Blue Screen of Death (BSOD) Error in 2022
In this article, we have added 10 ways to fix the Blue Screen of Death error in Windows 11. From “VIDEO_TDR_TIMEOUT_DETECTED” to “SYSTEM_THREAD_EXCEPTION_NOT_HANDLED” BSOD errors, we have covered all the possible solutions.
1. Restart Your PC
Before anything, I would suggest restarting the PC to fix the Blue Screen of Death (BSOD) error on your Windows 11 PC. Most of the time, the BSOD error goes away after a simple reboot.
If you are getting the “CRITICAL_PROCESS_DIED” or “DPC_WATCHDOG_VIOLATION” error on your BSOD screen, a quick reboot should fix the issue. In case you are still getting the Blue Screen of Death screen on Windows 11, move to the next section.
2. Startup Repair
Windows 11 comes with a built-in recovery environment (WinRE) that allows you to access system tools to fix the issue. Here, we are going to use that to fix the Blue Screen of Death error on Windows 11.
1. First, shut down your PC. Now, turn it on, and as the Windows loading sign appears, shut it down again by holding the power button. Now, turn on your PC and shut it down again in a similar fashion. Do this 2-3 times, and Windows will be forced to load the recovery environment. It will show “Preparing Automatic Repair” or “Please wait”. Let it complete the process.

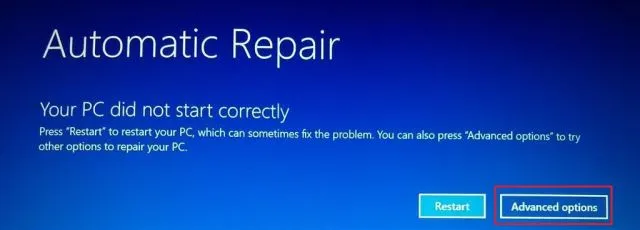
2. Once you are on the recovery screen, select “Advanced options“.

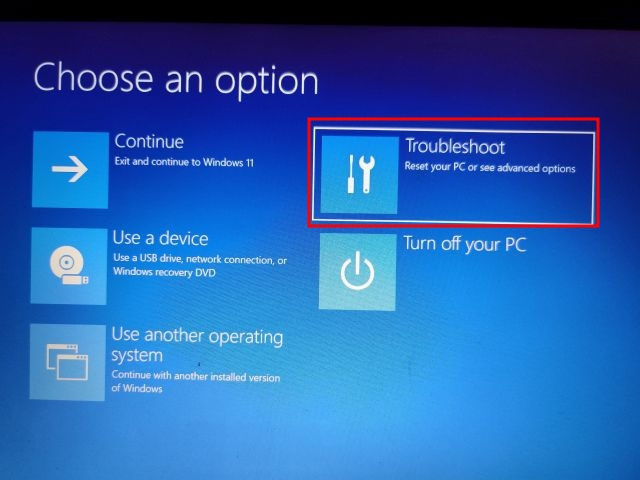
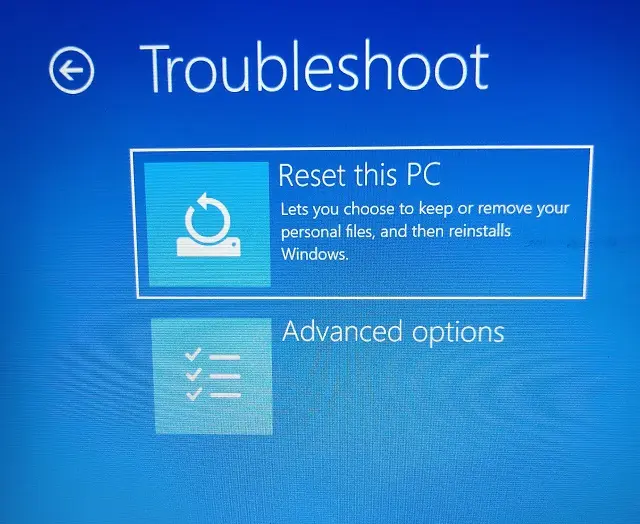
3. Here, open the “Troubleshoot” options.


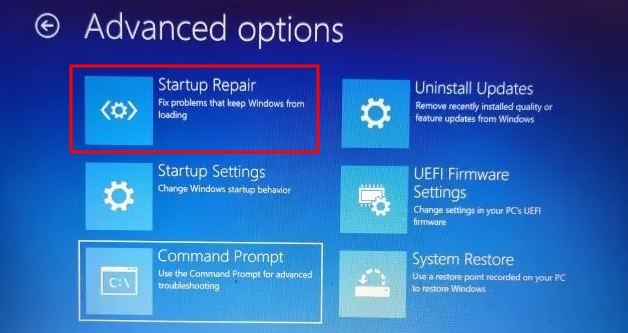
4. Finally, click on “Startup Repair“. This will restart your Windows 11 PC and try to fix the Blue Screen of Death error.

5. The BSOD screen should now be gone. In case the “Advanced options” screen appears again, move to the next section for a potential solution.
3. Run SFC Scan
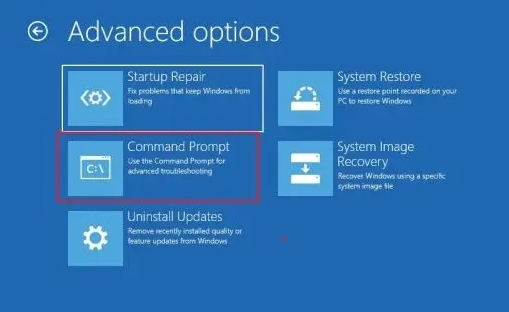
1. To fix the Blue Screen of Death error on Windows 11, you can run the SFC scan via Command Prompt in the recovery screen. Follow the above instructions to boot into the recovery menu and click on Troubleshoot.
2. Here, click on “Command Prompt“.

3. Now, run the below command to check the file integrity of your PC. During this process, Windows 11 will also fix the BSOD issue on your computer.
SFC /scannow

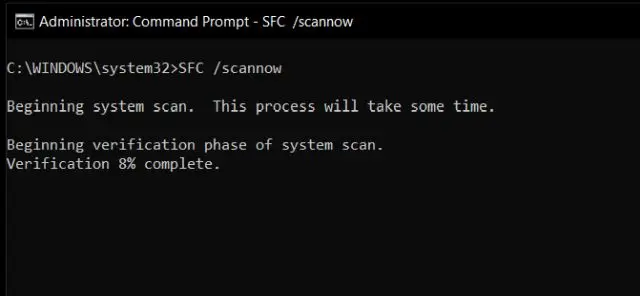
4. Once the scan is complete, restart the PC, and the Blue Screen of Death error should be fixed on Windows 11.
4. Uninstall Recent Update
If you are facing the Blue Screen on your Windows 11 PC after a recent update, then it’s likely that the update may have messed up with the OS. In such a case, the best solution is to simply uninstall the update. Just recently, a Windows 11 KB5013943 security update crashed PCs, resulting in the infamous Blue Screen of Death error for many users. With that said, here is the fix to follow.
1. Boot into the recovery screen by following the instructions in method #2 (Startup Repair). After that, click on Troubleshoot.
2. Here, click on “Uninstall Updates“.


3. Now, click on the “Uninstall latest quality update” option. Quality updates are frequent and smaller in size, so it’s likely that your PC may have received a security patch or a minor update. If you are sure it was a feature update (which rolls out once or twice a year), click on “Uninstall latest feature update”.


4. Now, your PC will restart, and it will start uninstalling the update. After the reboot, the Blue Screen of Death issue should be resolved on your Windows 11 PC.
5. Boot into Safe Mode
1. Open the recovery screen by following method #2 (Startup Repair) and click on Troubleshoot.

2. Next, open “Startup settings” and click on “Restart”.


3. Once you are on the Startup Settings screen, press the “4” or “F4” key to start Windows 11 in Safe mode.


4. You will now boot straight into Safe mode. Here, press the “Windows + R” shortcut to open the Run prompt, type appwiz.cpl into the text field, and hit Enter.


5. It will open the Programs and Features window inside the Control Panel. In the left pane, click on “View installed updates“.


6. Here, select the most recent update and uninstall it right away.


7. You can also go back and uninstall unknown and suspicious apps if you feel some apps might be causing the Blue Screen of Death error on your Windows 11 PC.


8. Finally, restart your PC, and you will boot into the normal mode – minus the Blue Screen of Death error.
6. Rollback Driver Update
If some recent driver update is causing the Blue Screen of Death error on Windows 11, then you can very well roll back the update. Here is how to do it.
1. First, boot into the Safe mode by following the above method. Then, press “Windows + X” at the same time to open the Quick Links menu and select “Device Manager”.


2. If you are certain about a recent driver update, expand the appropriate category and right-click on the device. Then, open “Properties” from the context menu.


3. Here, move to the “Driver” tab in the Properties window and click on “Roll Back Driver“. If the option is greyed out, you can disable it.


4. Finally, restart the PC and check whether the Blue Screen of Death error has been fixed or not.
7. Unplug Unnecessary Devices
It has been often seen that if you have too many hardware devices connected to your PC, the OS crashes and the Blue Screen of Death error appears. It has mainly to do with driver conflicts and USB peripherals not playing well with the OS. So the straightforward solution is to unplug all the unnecessary hardware devices connected to your PC. After that, restart the computer, and it should resolve the BSOD error.
8. System Restore
If the Blue Screen of Death error is still persisting on your Windows 11 PC, you can restore the computer to an earlier date when the PC was working fine. While this method works well and fixes the BSOD error, the only con is that you will lose changes made to files and folders, if any, on your PC. Basically, with System Restore on Windows 11, your PC will travel back in time to a functional state. If you are fine with it, follow the below steps.
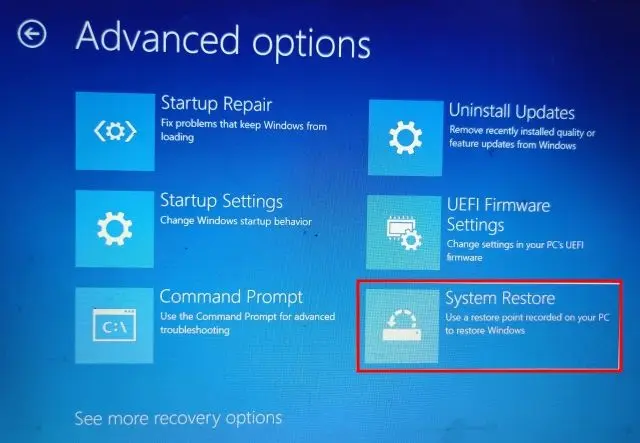
1. Open the recovery menu by following method #2 (Startup Repair) and move to Troubleshoot.

2. Here, click on “System Restore“.

3. On the next screen, choose the latest restore point and click “Next”. Finally, Windows 11 will start restoring the system and files to the said date.

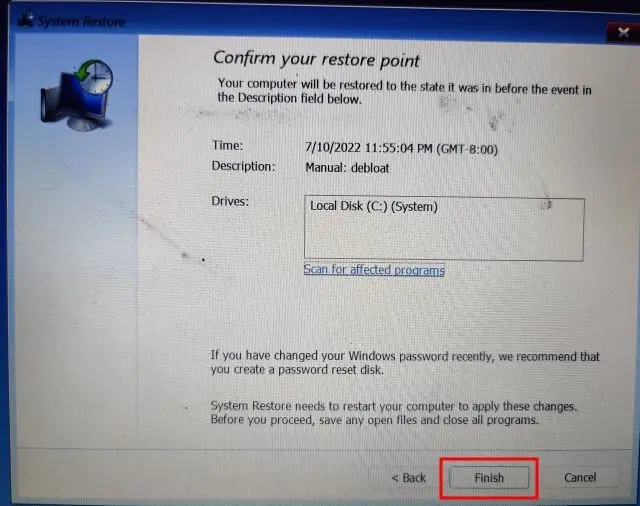
4. Now, restart the Windows 11 PC, and you should boot without the Blue Screen of Death error.
9. Reset the PC
If nothing worked so far to fix the Blue Screen of Death error, it’s time to reset your Windows 11 PC. It will not touch files and folders from other drives but will delete the C drive, including files and folders on the Desktop, Documents, Downloads, etc. Here is how it works.
1. Boot to the recovery screen by following instructions in method #2 (Startup Repair). After that, open Troubleshoot and click on “Reset this PC“.

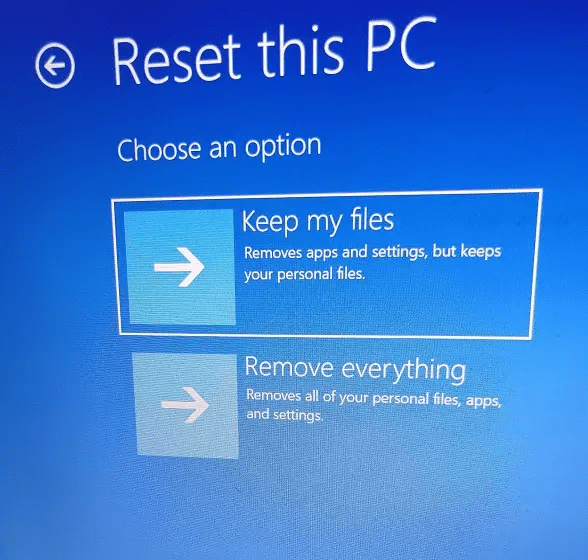
2. On the next screen, choose “Keep my files” and follow the on-screen instructions.

3. Finally, your PC will reboot, and a clean copy of Windows 11 will be reinstalled on your computer. Now, you will definitely not see the Blue Screen of Death error.
10. Clean Install Windows 11


For users who want to start from a clean slate to steer clear of the BSOD error, they can clean install Windows 11 using a USB bootable device. This will allow you to install the latest build of Windows 11, which would have less bugs and new features. Do note that this will wipe all of the C drive data but will not touch other drives.
Currently, you can install the Windows 11 22H2 build (2022 update) on your computer, which is stable and has not seen any major crashes or BSOD errors, except on certain Intel PCs. Due to an incompatibility issue with the Intel Smart Sound Technology (SST) driver on Rocket Lake CPUs, the Windows 11 22H2 update is causing the Blue Screen of Death error. The official way to fix that is to update the Intel SST driver. Navigate to Settings -> Update and Security -> Windows Update -> View Optional Updates and download the latest driver updates or head to your PC manufacturer’s website for the same.
Recover Your Windows 11 PC From BSOD Error
So these are 10 effective ways to fix the BSOD error on Windows 11. No matter if you’re seeing the “DPC_WATCHDOG_VIOLATION” or “IRQL_NOT_LESS_OR_EQUAL” error on the Blue Screen, we have mentioned fixes for all the scenarios. Anyway, that is all from us. If your Windows 11 PC is showing the ‘Undoing changes made to your computer‘ error after every update, follow our linked guide for an in-depth solution. And if you have any questions, let us know in the comment section below.

