Among all the wide amount of things one can do on the iPad, one of the most basic yet important ones is taking screenshots. Whether you are trying to share a funny meme or perhaps you have encountered an error and need help, screenshots come in handy. However, if you’re new to using an iPad, you might not be aware of how to go about it. Well, this one’s for the new users and ones looking for more ways to screenshot. We have compiled a complete guide about all the methods to take a screenshot on iPad.
How to Take Screenshots on iPad
We have not only listed all the methods for taking screenshots on iPad but also how to take full-page screenshots to help you out. To check out what these methods are, use the table below.
How to Take Screenshot on iPad (All Methods)
Method 1: Using Face/Touch ID
You might have an iPad, an iPad Pro, or Air. Depending on your model of iPad, you’ll either have access to Face ID or Touch ID. Depending on your configuration, jump below and learn how to take a screenshot on your iPad quickly.
For Models Without a Home Button (Face ID)
If you have an iPad without a Home Button, follow the steps below to take a screenshot.
1. Open the app, website, page, the document you want to screenshot.
2. Holding your iPad upright, press the Top (Sleep/Wake) button and volume up button at the same time.
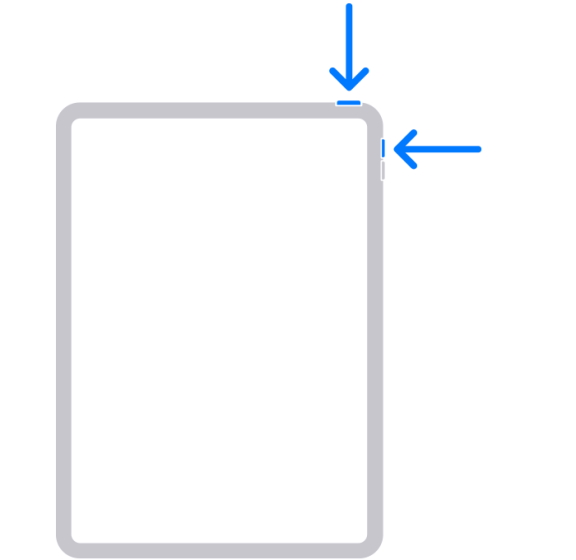
3. After a fraction of a second, quickly release them.
4. You will hear a camera snap sound and the screen will flash white for a second. A thumbnail will appear on the bottom left corner of the iPad. You have just taken a screenshot.
For Models With a Home Button (Touch ID)
If you have an iPad with a Home Button, follow the steps below to take a screenshot.
1. Open the app, website, page, the document you want to screenshot.
2. Holding your iPad upright, press the Top (Sleep/Wake) button and Home button at the same time.
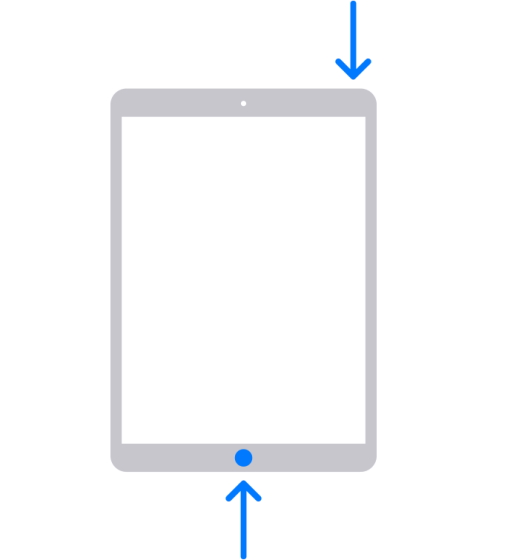
3. After a fraction of a second, quickly release them.
4. You will hear a camera snap sound and the screen will flash white for a second. A thumbnail will appear on the bottom left corner of the iPad. You have just taken a screenshot.
The key to taking a screenshot of any iPad model is speed. If you hold the buttons for too long, you might activate either Siri or the Power Slider. So make to quickly hold and release them to get it right.
Method 2: Using Apple Pencil
If you have an Apple Pencil and are in the habit of using it daily, you’re in luck. iPadOS has seamless integration of the Apple Pencil when it comes to taking screenshots among a lot more. You can even edit your screenshots with Markup which we will discuss below. For now, follow the steps below on how to take a screenshot with your Apple Pencil.
Note: Make sure your Apple Pencil is charged and fully paired to your iPad.
1. Open the app, website, page, or document you want to screenshot.
2. With the pencil in hand, position it at the iPad’s bottom-left/right corner.
3. Drag the selected corner towards the center. Like before, you will see a camera flash and white animation, and your screenshot is ready.
Taking a screenshot with Apple Pencil is much easier if you hate pushing buttons. Commit the above steps to memory and you’re all set.
Method 3: Using Assistive Touch
If you’re an individual with compromised hand functions, we understand it may be difficult pressing buttons or going the Apple Pencil way. Fortunately, however, Apple has thought of that too. Inside the Accessibility settings, is something called Assistive Touch that can make these gestures easier. So if you’re someone who has difficulty taking physical screenshots or are simply looking for a shortcut, follow the steps below.
Enabling Assistive Touch
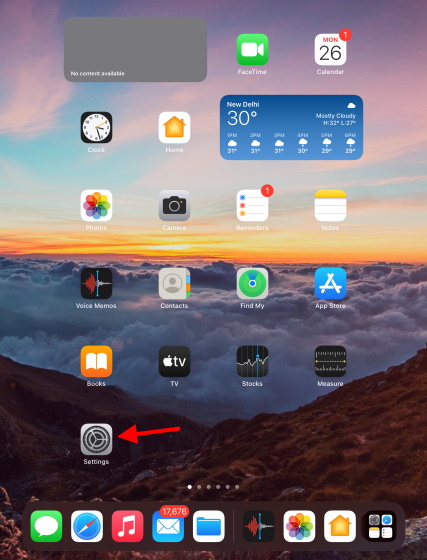
1. Open the Settings app on your iPad.
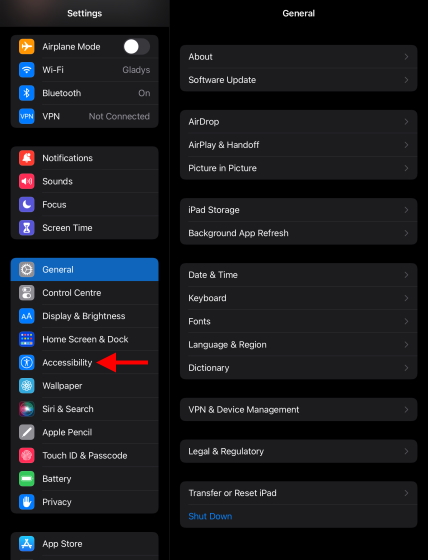
2. Using the sidebar, find and tap Accessibility.
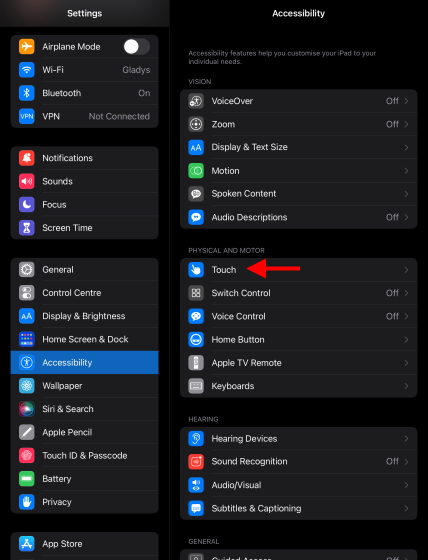
3. Depending on your iPad model look for Assistive Touch or simply Touch. Find and tap it.
4. Tap Assistive Touch to access it and you’ll be led to another menu.
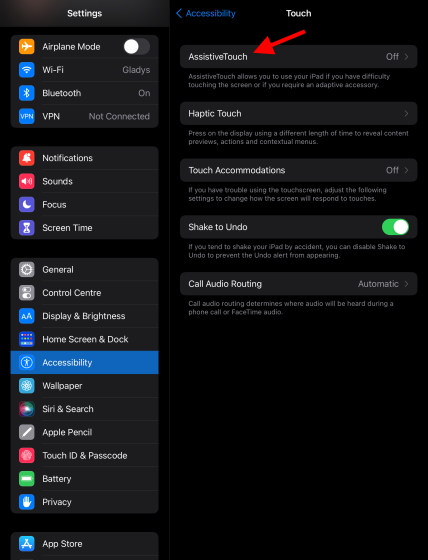
5. Turn the Toggle on to enable Assistive Touch and stay on this screen.
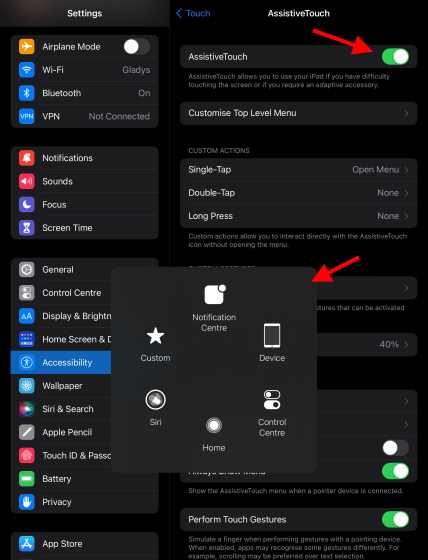
You will know Assistive Touch is on as a round button will appear on the lower right corner immediately. You can click it to expand it to the menu above. This is what we will be using to take a screenshot on the iPad.
Creating a Screenshot Shortcut in Assistive Touch and Taking Screenshot
The normal process in Assistive Touch requires one to tap it a couple of times to get to the screenshot button. However, we will make this job easier by creating a quick shortcut for taking a screenshot through Assistive Touch on the iPad. Follow the steps below to do so:
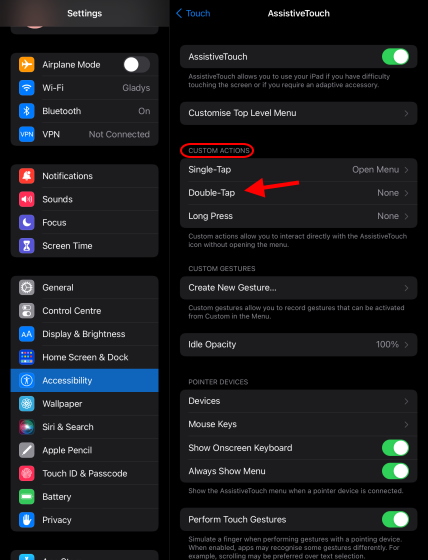
1. With the Assistive Touch menu open from above, find and tap Double-Tap under Custom Actions.
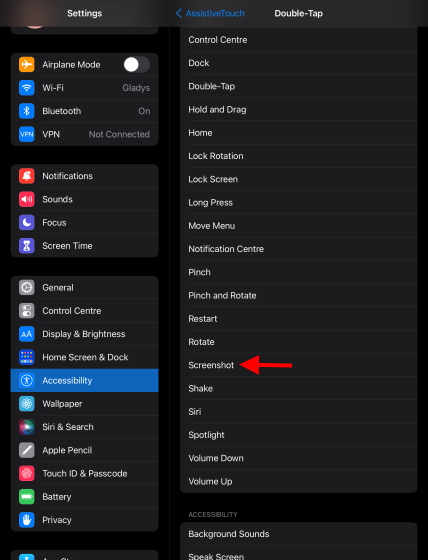
2. From this list, scroll and find the Screenshot option to set it as a shortcut.
3. Open the app, website, page, the document you want to screenshot.
4. Find the Assistive Touch button and simply double tap it to take a screenshot. As before the screen will flash white and a screenshot has been taken. You can click the thumbnail on the bottom left to access it.
The Assistive Touch feature is super helpful to users who are looking for the quickest way to take a screenshot on an iPad. You can choose to access more touch options by clicking the round button and accessing them.
How to Take Full-Page Screenshots
There will be times when the contents of the screenshots you’re trying to take just won’t fit on a single screen. For instance – say you want to share this list of the best iPadOS 15 features but without a link. In this case, a full-page screenshot on the iPad will come to your aid. Using this feature will help you capture the whole page and send it along to anyone in the form of a PDF. Follow the steps below to take a full-page screenshot on the iPad.
1. Open the app, website, page, the document you want to screenshot.
2. Use any of the above methods to take a screenshot and wait till the thumbnail appears on the bottom left corner.
3. Quickly tap the thumbnail and a new menu will open up.
4. From the top, tap the Full Page button and you will now see the full preview of your screenshot. Once satisfied, press Done and choose Save PDF to Files. You can access this PDF file in the Files app and share it across.

How to Edit Your Screenshots
You don’t have to go through a complex setup of importing the screenshot when it comes to editing. Instead, the iPad allows instant markup of the images whether you have an Apple Pencil or not. The thumbnail that appears is the way to get to it. Follow the steps below to edit to the editing suite:
1. Screenshot the desired content using the methods above.
2. Tap the thumbnail that appears on the bottom-left and you’re there.
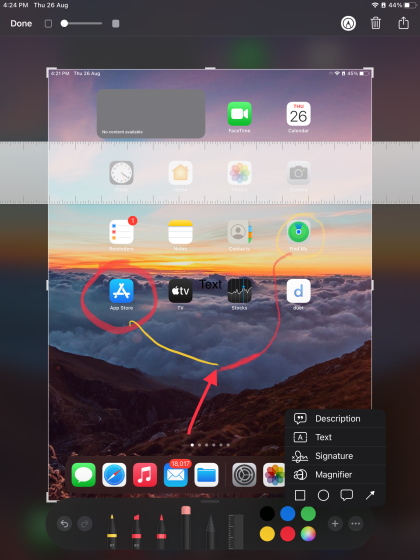
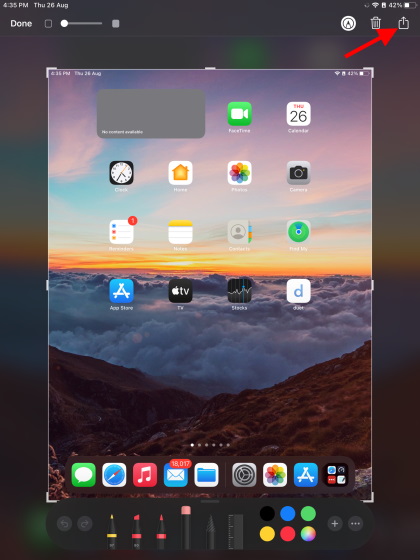
Instant Markup gives you a plethora of editing options including using various tools like a marker, pencil, eraser, a highlighter, and even a magic rope for editing. However, if you want to do some simple cropping you can do that easily too.
Besides the standard tools, you get five additional options under the more menu. These are:
- Description – This allows you to add a small description to the image when you’re sending it across later. Perfect for concisely describing the image.
- Text – You can insert a custom text above the image’s layer and fill it with your chosen text.
- Signature – True to its name you can create and insert your custom signature if need be to verify the image.
- Magnifier – Choosing the magnifier brings up a circular lens that will zoom in based on where it is. You can adjust the level of zoom and the lens size too.
- Shapes – You can even add particular shapes like a square, circle, speech bubble, and arrow.
The iPad’s screenshot Instant Markup is a very handy feature and will definitely prove to be useful.
Where Can I Find My Screenshots?
All the screenshots on the iPad are stored in the Photos app. If you’ve chosen to do a full-page screenshot, you’ll find its PDF form in the Files App. Follow the steps below to find your iPad screenshots:
1. Open the Photos app from your Home Screen.
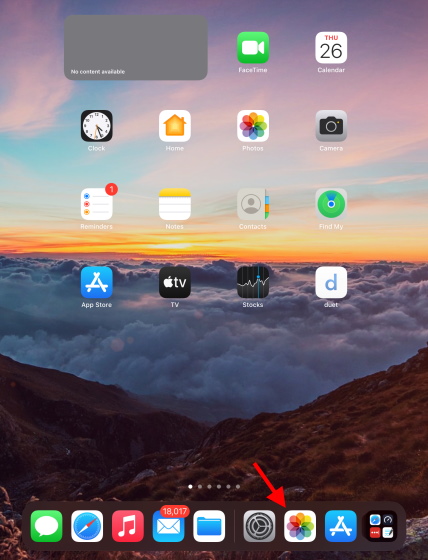
2. Using the sidebar, find and tap Screenshots under Media Types.
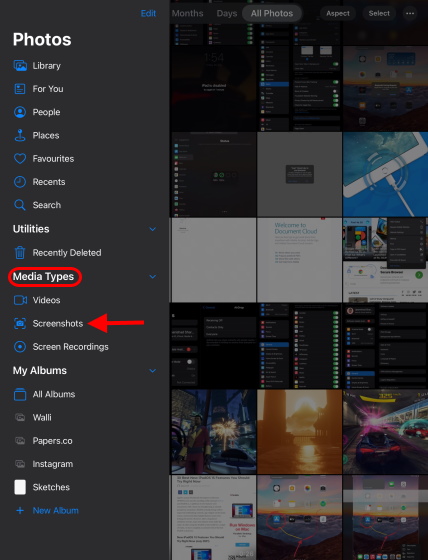
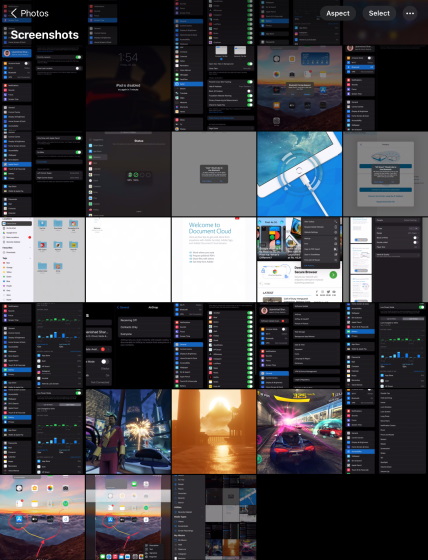
3. You can see all your screenshots neatly divided into this category and access them anytime.
How to Share Screenshots Taken on iPad
Sharing your iPad screenshots with friends or colleagues is extremely easy. Follow the steps below to do so:
1. Once you have taken the screenshots, simply tap the small thumbnail on the bottom left corner.
2. Make the necessary edits and then tap the share button on the top right.
3. You will now see your list of frequent contacts along with other methods to share your image.
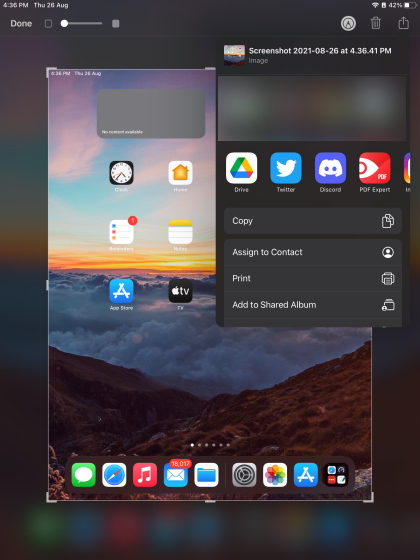
You can choose your desired method and share the images along. You can choose to share the screenshot by messages, upload it to Google Drive, or any which way.
Moreover, if you’ve already taken a screenshot, you can send it using the same way. Just open the Photos app>navigate to your screenshot and press the same share button.
Take Screenshots on the iPad with Ease
We hope the above guide will help you learn about the different ways to take a screenshot on your iPad. You can use any method to get to it. However, consider these Apple Pencil alternatives if you want to use a stylus but don’t have an Apple Pencil. So, which method of taking iPad screenshots do you prefer using? Let us know in the comments below.