


iPhones (and the entire Apple ecosystem) boast the availability of a large number of apps on the App Store. That’s all well and good, until you need a particular app, only to find out that it is localized to a country, and you’re not in it. While it is rather easy to install geo-restricted apps on an Android device, Apple’s strict security, and the “walled-garden” that is iOS, make it rather difficult to download and install apps that are not available in your country. Sure, you can change stores and view the app, but Apple still won’t let you download an app from a store in another country.
So, what can you do the next time you realize that an extremely awesome app that you want is “not yet available” in your country? You could wait, but the developers might not have any plans on releasing it to other countries, or maybe you’re like me and simply dislike the entire idea of waiting. That’s the problem we’re going to help you solve in this article; so read on!
How to Install Georestricted Apps on Your iPhone
This is essentially a step-by-step walk-through for your perusal, and one which you can follow easily, to download any app that is available on the App Store, regardless of what country it is localized to.
1. Launch App Store on your iPhone.
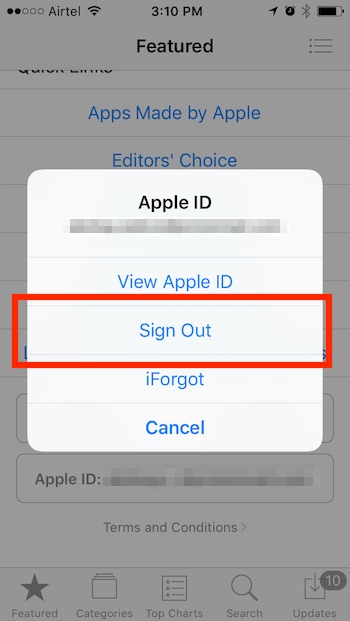
2. In the “Featured” page, scroll down to the bottom of the page. Tap on your Apple ID, and select “Sign Out”.

3. Next, go to iPhone’s Settings -> General -> Language & Region and change the Language and Region to the country where the app is available. I’m looking for Polaroid Swing, so I chose English (US) and United States, respectively.
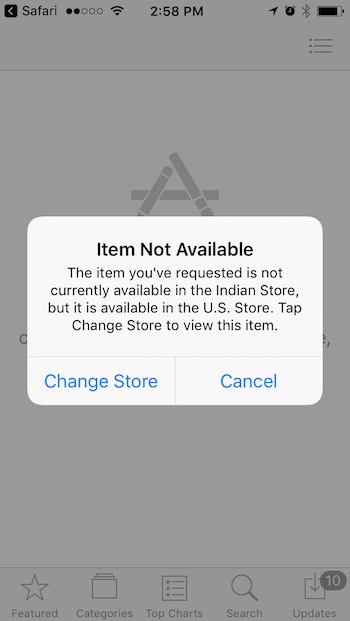
4. Search for the app on Safari since searching directly inside the App Store will not work. Tap on the iTunes link of the app, and App Store will launch, asking you if you want to change your Store to the country where the app is available (US, in my case). Tap on “Change Store“.
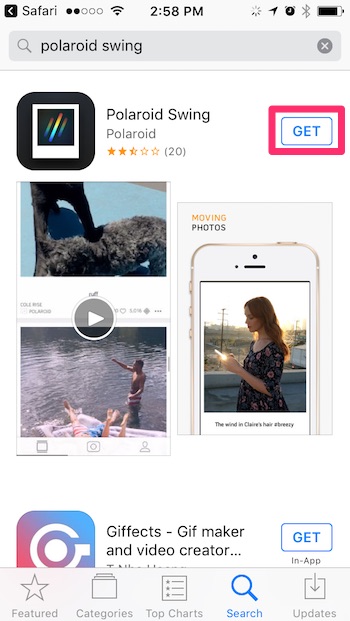
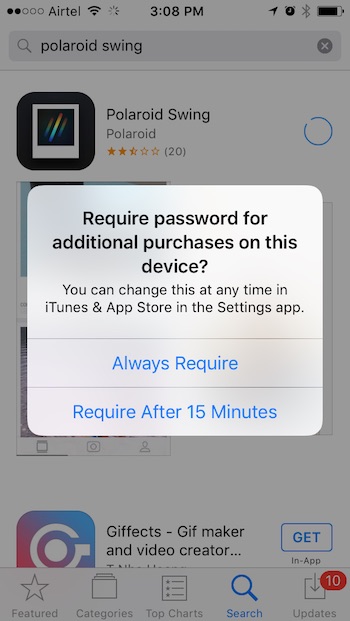
5. Tap on “Get” next to the app’s name in the App Store listing.
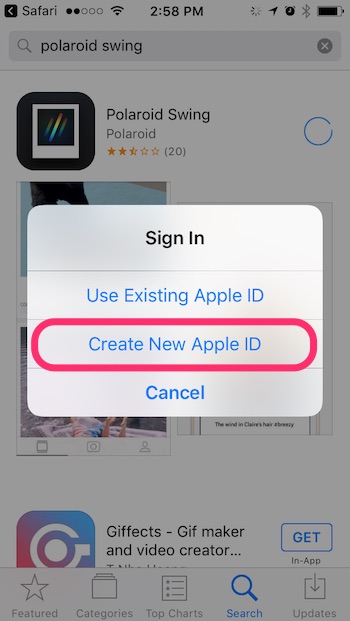
6. The App Store will ask you to sign in with an Apple ID, tap on “Create New Apple ID”.
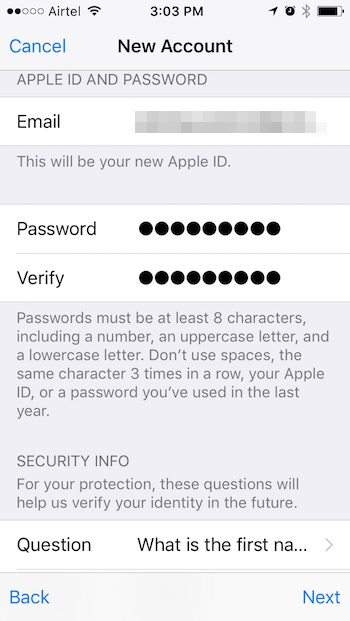
7. Agree to the terms and conditions, and you will land on a page asking for details.
- Provide an email ID that you have access to, and that has not been used to create an Apple ID in the past.
- Provide a password, fill up the rest of the form, and tap “Continue”.
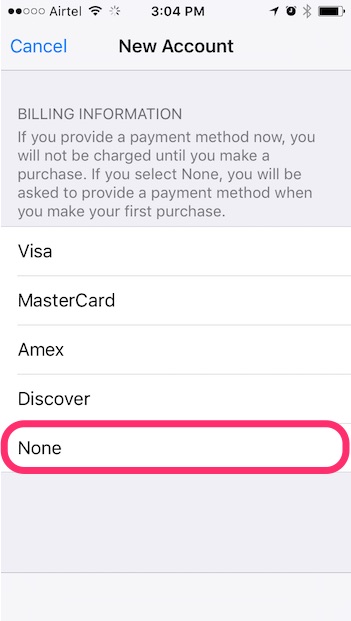
8. In the Payment Method page, select “None”.

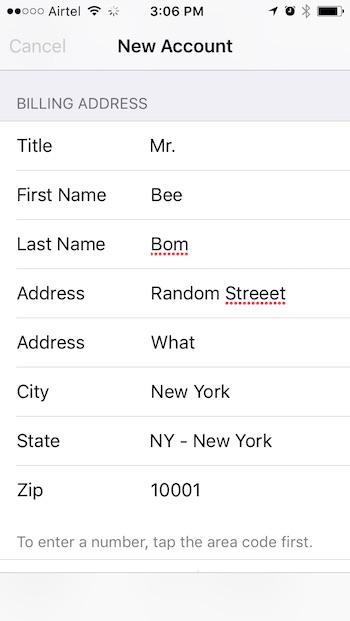
9. Fill up a random address in the details, and select a city and state. (I used NYC, NY).
- If you do not know the ZIP code for a city, it can easily be found on Google.
- For the phone number, enter any random numbers or google “Fake NYC phone numbers“, and you will get a list of numbers that you can use, pick one and enter it. Apple does not verify the phone number, so you can enter any number you want.
10. Tap on “Continue”, and Apple will send a verification mail to the email ID you entered earlier. Use the link in the email to verify your Apple ID.
11. Well, that’s it. You can now download the app not available in your country by signing in with the new Apple ID on the App Store.
SEE ALSO: 10 Free AR Apps for iPhone and Android
If you have difficulty understanding written tutorial, here’s our video tutorial on how you can install iPhone apps not available in your country:-
Install Georestricted Apps With Ease
Now that you know how to install geo-restricted apps on your iPhone, go ahead and install all the apps that you have wanted to, but couldn’t, because of geo-restriction. The only problem with this method is that for every country’s store, you will need a different Apple ID, to be able to install apps that are localized to that country. However, most of the apps are available in the US store, so, if you have an Apple ID that is eligible for purchases from the US store, you are pretty much set.
As always, give us a shout out in the comments section below; we would love to hear about your experience with installing geo-restricted apps on your iPhone, and your thoughts about the method we shared, or any issues you faced.


It works got my Alexa App!
Thanks thanks!