
Buying a laptop in China or from Chinese ecommerce websites like Alibaba or Banggood is quite an attractive prospect for international buyers these days as these website not only offer great deals on laptops, but also allow international customers to get their hands on laptops that are exclusively available in the Chinese market. One of the biggest challenges buyers face while ordering laptops from China, is that they ship with a Chinese version of Windows 10. While the setup process is fairly straightforward and users can easily get to the desktop using a translator app, installing the English version of Windows is a challenge most users face, especially if they aren’t quite tech savvy.
If you’re in the market for a new laptop and are considering buying one from the Chinese market, you’re probably already worried about the Windows 10 installation process. Well, you don’t need to worry anymore. We’ve compiled a simple step-by-step tutorial for you, to guide you through the installation process and get the English version of Windows 10 on your Chinese laptop. In order to get started you’ll first have to activate the Chinese version of Windows 10 that ships with the laptop and connect your Microsoft ID to the laptop. Once you’re done with the initial Windows 10 setup, you’ll have to carefully carry out the following steps to get the English version of Windows 10 installed on your laptop:
Requirements
- Laptop with Chinese version of Windows 10 installed
- A separate laptop with the English version of Windows 10 installed
- A spare USB flash drive (minimum 8GB)
- A Microsoft ID (Outlook, Live, Hotmail, etc.)
Create a Windows 10 Installation Media
To get started with the process, you’ll first have to create a Windows 10 installation media using a laptop which is already running the English version of Windows 10. Creating the Windows 10 installation media is a fairly simple process, but before you begin the process, you’ll first have to head to Microsoft’s website and download the Windows 10 installation media tool. Once you’ve downloaded the tool, you’ll have to connect your spare USB drive to the system and run the tool. Now that you’ve done that, just follow the steps given below and you’ll be able to create a Windows 10 installation media in no time:
- As soon as you run the installation media tool, you’ll be asked to go through the applicable notices and license terms. You’ll need to accept the terms and conditions before you can begin with the process.


3. Once you select the option and click on next, you’ll be required to select the language, edition, and architecture of the Windows 10 installation media. You could go with the default option if you have a fairly new laptop, but in case you’ve got an older laptop, it’s best to check the edition and architecture that is best suited for your particular model.

4. The next dialog will prompt you to select which media you wish to use to create the Windows 10 installation media. In this case, since we’re using a USB flash drive, you’ll have to select the USB flash drive option and click next.

5. The next dialog will highlight all the USB flash drives available for the installation process. In case you have more than one USB flash drives connected to your laptop, you’l have to carefully choose the spare drive you’re using for the process. Once you’ve selected the appropriate drive, just click on next.


6. If you’ve followed all the aforementioned steps carefully, the tool will now start creating the Windows 10 installation media in the assigned USB flash drive. The process takes quite a while, so you’ll have to be a bit patient as the media creation tool does its job.
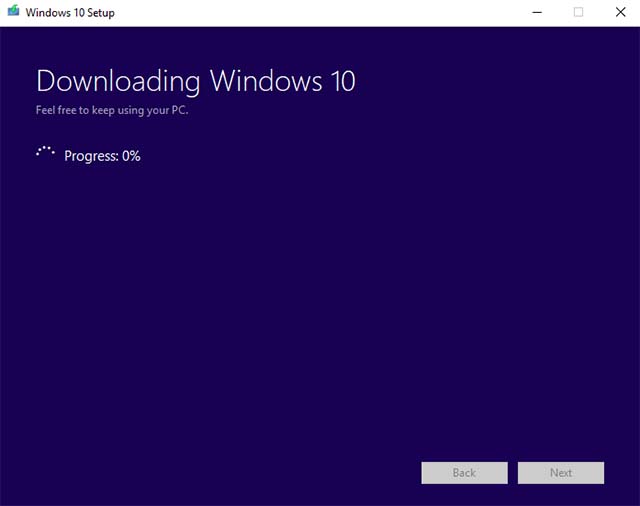
The media creation tool usually takes about an hour or an hour and a half to create the installation media, depending on your PC’s configuration. As soon as the process is completed, you’ll be able to unplug the USB flash drive and use it to install Windows 10 on any other laptop, following the steps given below.
Install Windows 10 Using the Installation Media
To install the English version of Windows 10 on your new laptop, you’ll first need to turn it off completely and the boot into the BIOS. Booting into the BIOS requires you to tap a function key repeatedly as soon as you press the power button. The function key to boot into the BIOS varies depending on the laptop manufacturer. In our case, it’s the F2 key, but yours could be different. You’ll have to head to your laptop manufacturers website or conduct a simple Google search to check which function key will boot your laptop into the BIOS. Follow the steps given below in order to begin the Windows 10 installation process:
1. Once you’ve successfully booted into the BIOS on your laptop, you’ll have to change the boot priority to the USB flash drive that you just created. Changing the boot priority will make the laptop boot using the USB flash drive, which will start the Windows 10 installation process. Also, in case your BIOS is in Chinese, which is highly probable, you’ll have to make use of a translation app, like Google Translate, to navigate your way through the BIOS.


2. In order to change the boot priority, you’ll have to navigate to the Boot tab in the BIOS and change the ‘Boot Devices Order‘. Once again, it’s worth noting that different laptop manufacturers configure their BIOS differently, so your interface might not be the same as ours. However, the main process remains unchanged and you’ll have to change the boot priority and select the USB flash drive with the Windows 10 installation media as the primary boot device.


3. After successfully changing the boot priority, you’ll have to save the changes and exit from the BIOS. To do so, you’ll have to press the F10 key. Again, the save and exit command on your particular laptop might be different, but you’ll be able to easily figure it out on your own.


4. If you follow all the aforementioned steps carefully, your laptop will now boot into the Windows 10 setup and you’ll be able to select the Language to install, Time and currency format, and the Keyboard or input method.

5. Once you’re done selecting your preferences, the rest of the installation process is fairly straightforward. Just click on the Install Now button on the next window and the Windows 10 installation will begin.

6. Windows will now ask you for a product key. If you have the product key, you can enter it at this point and your Windows license will be activated, however, if you don’t have the product key, you can select I don’t have a product key and move onto the next step, where you’ll have to accept the terms and conditions of Microsoft’s software license.


7. Once you accept the terms and conditions, you’ll have to select Custom: Install Windows only (advanced) in the next step in order to start installing Windows 10 on your system.


8. You’ll now have to select the drive partition in which you wish to install Windows 10. In case your laptop has an SSD, you’ll select the SSD to install Windows 10. However, if your laptop doesn’t have an SSD, you’ll have to select the same drive in which Windows 10 was previously installed, to carry on with the installation.

9. The installation wizard will now take some time to copy the Windows 10 files from the installation media to your system, after which it’ll directly boot into the Windows 10 installation process in English.


After the wizard successfully copies and installs are essential files, Cortana will guide you through the rest of the setup. In order to activate your license of Windows 10, you’ll have to log in with your Microsoft ID. Make sure you log in with the same Microsoft ID you previously used to log into the Chinese version of Windows 10, or your license won’t be activated.
See Also: How to Get macOS Mojave Features on Windows 10
Installation Complete!
As you can see, the installation process is fairly simple and doesn’t require much effort. If you follow all the steps carefully, you won’t face any difficulties installing the English version of Windows 10 on your new laptop. Now that you’re fairly certain of the process, you can go ahead and make your purchase without worrying about any language issues you might face. There are quite a few decent options in the Chinese market today, which laptop do you intend on purchasing? Let us know in the comments section below.

