


Google’s Chrome OS platform might have been here now for more than five years but it’s still in a phase where it’s considered as an evolving ecosystem. If you are coming from a mature desktop platform like Windows or OS X, you’d be surprised to see that Chrome OS lacks the ability to print through the conventional way. Basically, Chromebooks don’t feature a port to connect to printers directly and moreover, they don’t support USB printers.
So, if you have been using a Chromebook and want to print a document, webpage, picture etc., there’s only one way and that’s through Google Cloud Print. Well, here’s how to set up Google Cloud Print on a Chromebook:
Set up Google Cloud Print on Chromebook
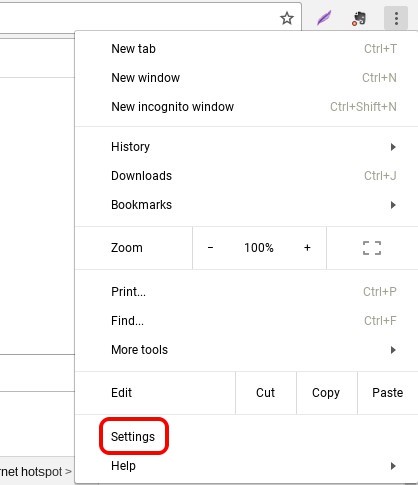
1. Open up Chrome and hit the menu three-dot button at the top right and go to “Settings“.
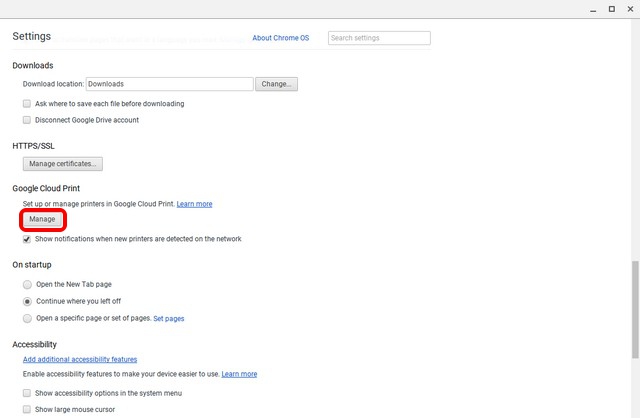
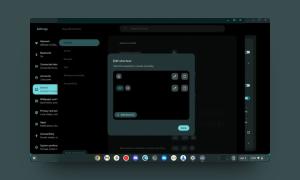
2. In the Settings page, scroll down below and click on “Show Advanced Settings“. Then, scroll down further and you should find a Google Cloud Print section. Here, click on “Manage“.
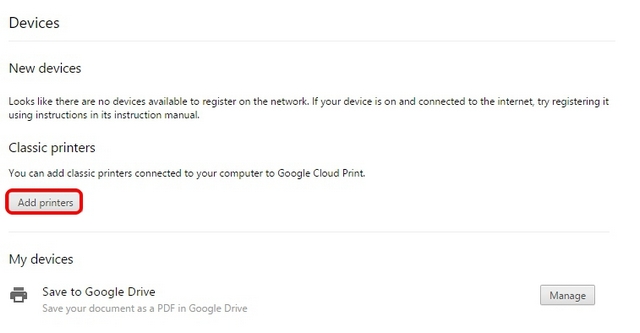
3. If you have added any printers in the past to your Google account, you will find them listed here. If you are using it for the first time, you can click on “Add printers“.
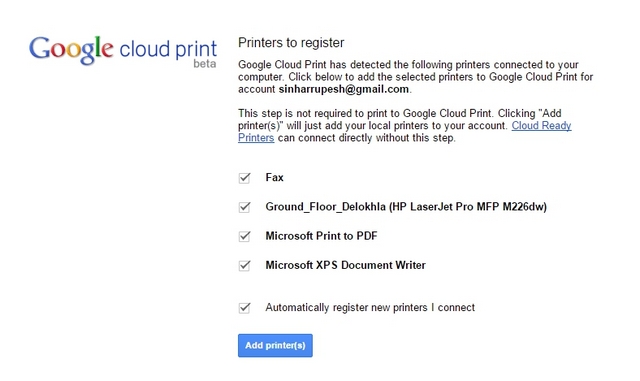
4. You will then see a list of all the Google Cloud Print supported printers that are connected to the same WiFi network as you and are available to be registered. Select the printer(s) you want to use and click on “Add printer(s)“.
Once done, the printers will be available for all your printing needs on Chromebook. To remove a printer or check the printers added, you can again go to the Cloud Print manage page through Chrome Settings.
Add a local printer to Cloud Print
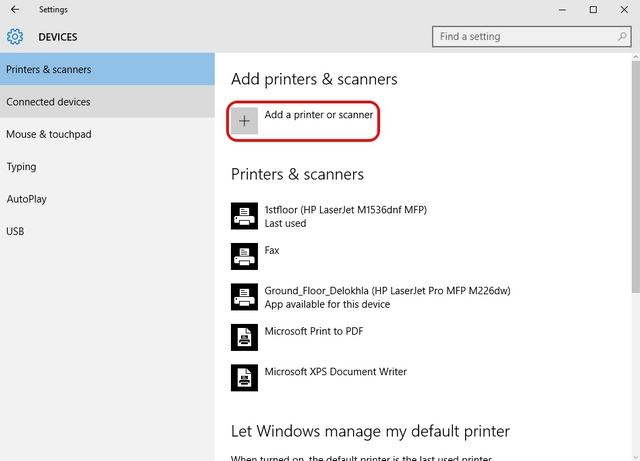
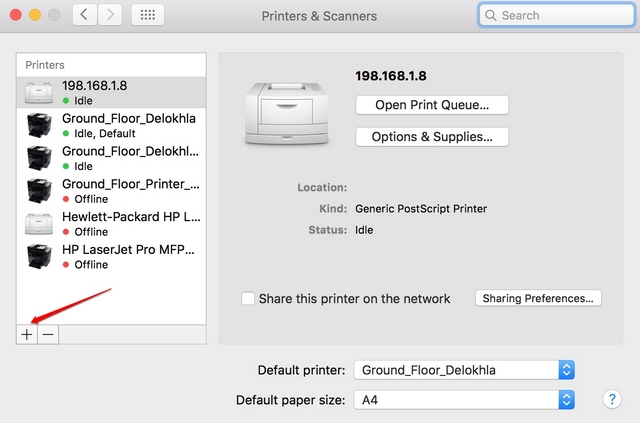
If you don’t have a Cloud Print supported printer, you will have to go ahead and add your classic or local printers through a Mac or Windows PC. To do so, first you will have to add the local printer through your usual “Printer & scanners” settings in Windows and OS X.
Once the local printer is added on your PC or Mac, you will have to open up Chrome on a Mac or PC and repeat the aforementioned steps to add printers to your Google account with Cloud Print. Once done, you can login with the same Google account on your Chromebook and you will find the printers available for you.
Start Printing on Chromebook
After you have set up and added Cloud Print enabled printers to your Google account, you can start printing from your Chromebook.
To print from a Chromebook, just open the file, document, webpage or picture you want to print and press the key combo of Ctrl+P or right click anywhere on the page and select “Print”. You can also go to Menu->Print to start printing.
After you have pressed the key combo or the print button, you will get a preview of the print.
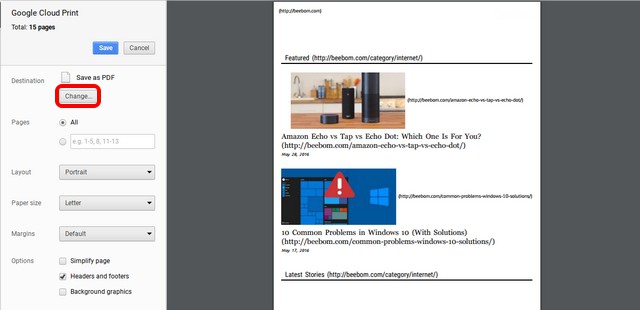
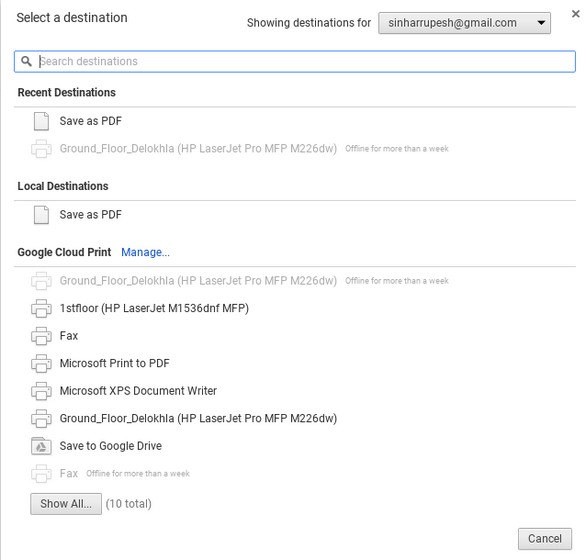
Here, you can click on the “Change” button besides “Destination” to change the printer. Once you have selected the printer, you can click on “Print” and your document, picture or webpage will be printed.
SEE ALSO: How to Unlock Chromebook With Your Android Device
Ready to start printing on your Chromebook?
While Cloud Print enabled printers are pretty easy to add on a Chromebook, there’s no way to natively add classic local printers on Chrome OS, which is a shame. You can only do that when you have a Windows PC or a Mac, which certainly ruins the purpose of Chromebook being a standalone computer.
However, if you are okay with that, you can go ahead and follow the aforementioned steps to start printing from your Chromebook. Do let us know if you have any doubts regarding the same. Sound off in the comments section below.


 Abubakar Mohammed
 Arjun Sha
 Arjun Sha
 Arjun Sha
 Abubakar Mohammed
 Satyam Kumar
 Satyam Kumar
 Arjun Sha
