


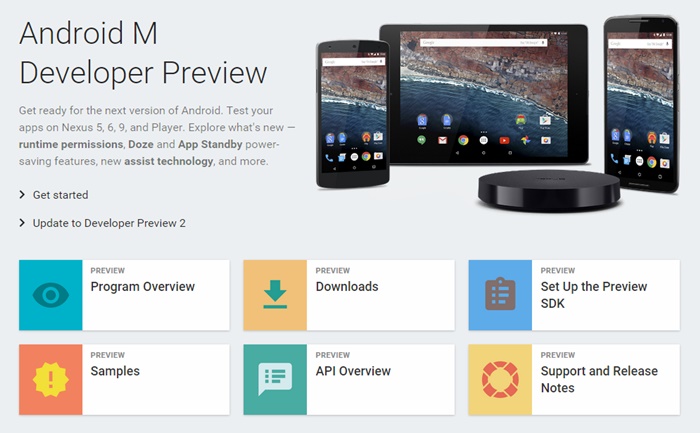
Android M – the upcoming release of Google’s Android – is going to bring numerous platform improvements and feature additions. These enhancements are worth a try but are you worried your device won’t get M update? Don’t worry, here’s a good news – you can still try Android M.
Android Emulator, a software that emulates an Android device, can provide you hands-on experience with Android M and its new features. It allows you to run and try any Android release on your computer. You can even install and run apps and games inside the emulator almost like you do in your phone.
In this tutorial, we’re going to run Android M on Windows. We’ll make use of Android Emulator together with Android Virtual Device to get Android M running on your system. Let’s get started.
Note: This article focuses on running Android M Developer Preview 2 on Windows platform but the same procedure can be used to run other Android releases on Windows.
1. Set up the Android SDK
Android SDK is a comprehensive set of tools required for doing software development for Android platform. It packs one of the required tool – Android Emulator and that’s why, your first task is to get up and running with Android SDK.
Follow the given steps to set up the Android SDK:
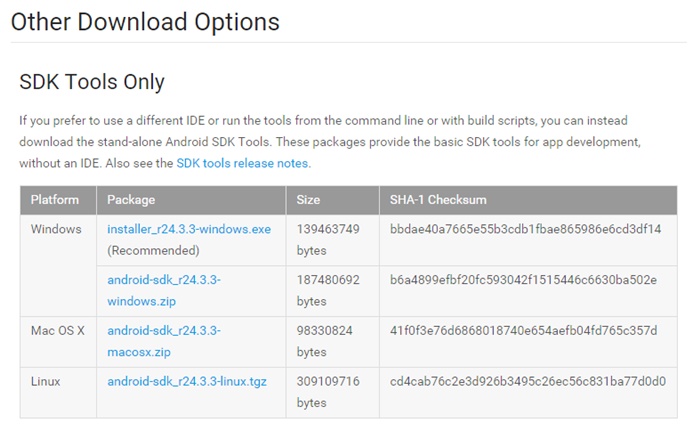
1. Download Android SDK Tools (download the file “installer_rxx.x.x-windows.exe”)
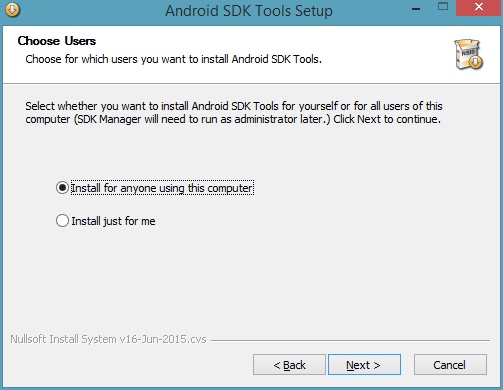
2. Install the SDK Tools (choose the option to install for anyone using this computer)
2. Set up the M Developer Preview 2
M Developer Preview 2 don’t come along with Android SDK but you can download it once you’ve got the SDK Tools in your system. For this task, you need to use the SDK Manager that comes bundled inside Android SDK to set up the M Developer Preview 2.
Follow the given procedure to set up the M Developer Preview 2:
1. Open the installation folder of SDK Tools, which will probably be any of these three:
- C:\Program Files (x86)\Android\android-sdk
- C:\Users\UseRNamE\AppData\Local\Android\sdk
- C:\Users\UseRNamE\AppData\Local\Android\android-sdk
2. Open the SDK Manager.exe
3. Open the Options window by choosing the Tools > Options
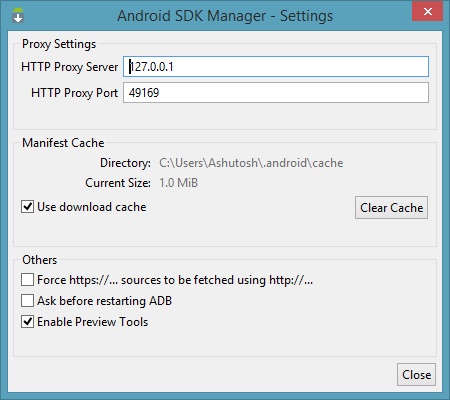
4. Check the option Enable Preview Tools if unchecked and click Close
5. Reload the packages by choosing the Packages > Reload
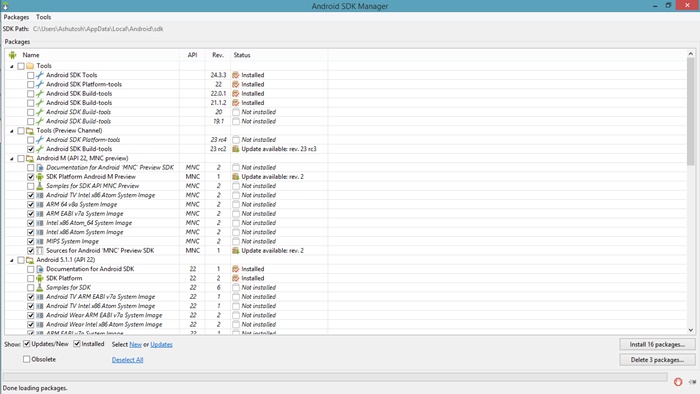
6. Click the text Deselect All that’s present near bottom-left corner
7. Under Android M (API 22, MNC preview), check any one of these two:
- Intel x86 Atom_64 System Image if your system has 64-bit Windows
- Intel x86 Atom System Image if your system has 32-bit Windows
8. Click the button Install 1 package
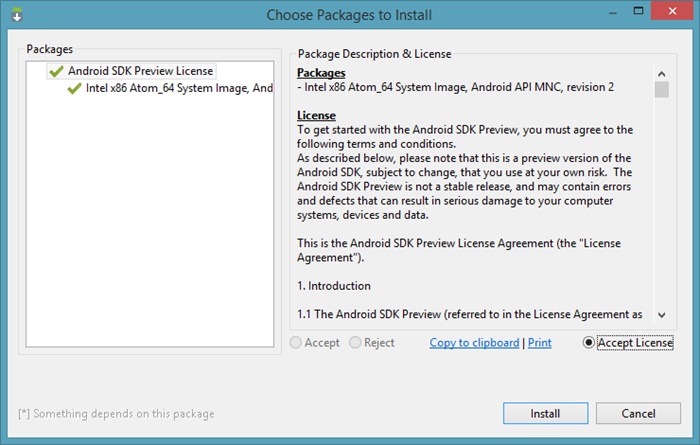
9. Choose Accept License and click Install
Note: If you want to run other Android releases on your computer, check the same names (in step 7 above) under different parent. For example, check the same names under Android 5.0.1 (API 21) if you want to run Android Lollipop aka Android 5 on your system.
3. Set up AVD for M Developer Preview 2
Android Emulator don’t work on itself – it runs Android Virtual Devices (AVDs). AVD is a virtual device with a set configuration of hardware and software. For example, an AVD can simulate a Nexus 4 running Android 5 (Lollipop) and another AVD can simulate a Nexus 6 running Android M.
We need to create an AVD configured to run Android M Developer Preview 2. Then after, we can tell the Android Emulator to execute this AVD, and we will end up running Android M on Windows.
Follow the given instructions to set up AVD for M Developer Preview 2:
1. Open the AVD Manager.exe in the installation folder of SDK Tools
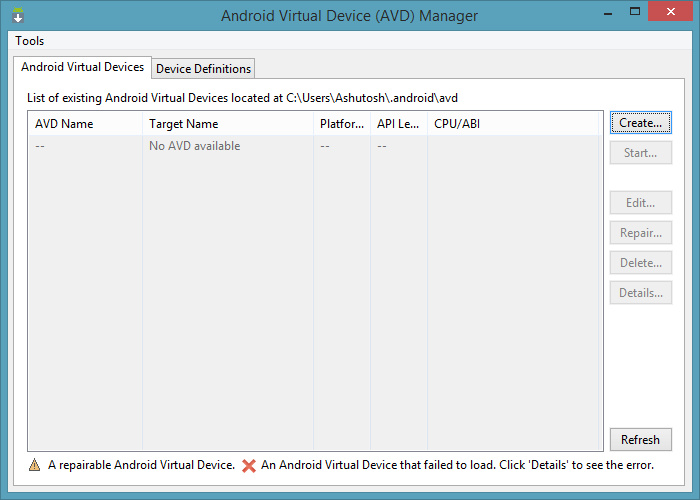
2. Click on Create button
3. Fill the values in Create a new Android Virtual Device (AVD) window as in below screenshot.
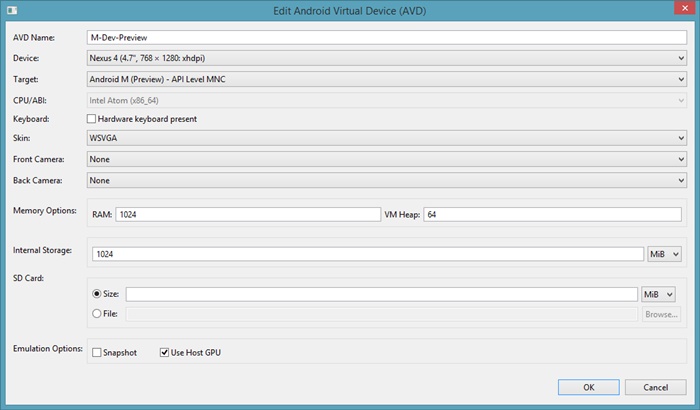
- Click on OK button to create your first AVD
AVD Manager will now show the newly created AVD – select the AVD and click on Start, and then Launch button to boot Android M on your computer. Android Emulator will open its window and you will see the boot screen of Android M.
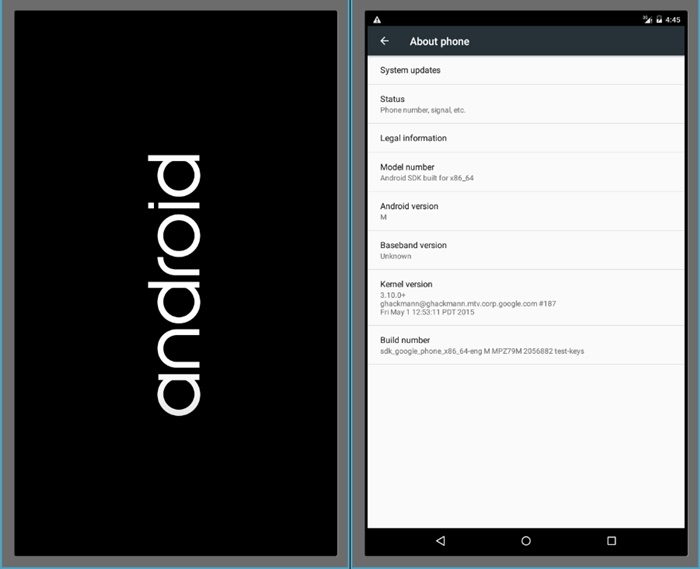
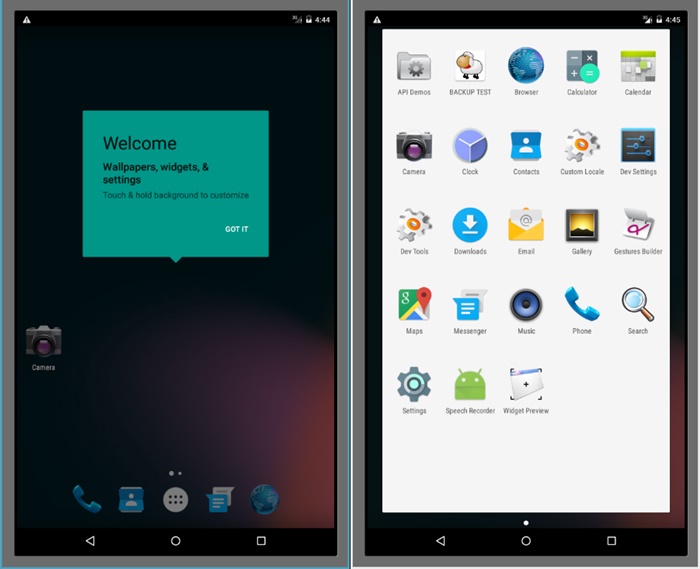
After the boot completion, Android M will greet you with a welcome screen along with some beginner tips. Hurray, you’ve successfully booted into M, and now you can start experimenting it. You can do most of the things like check and change settings, install new apps & games, etc.
That was all about running Android M Developer Preview 2 on your Windows PC using Android Emulator. You can have a bad experience running Android M using Android Emulator – kindly check the tips & tricks given below to gain better performance and do more with Android M.
Tips & Tricks for Android Emulator (Bonus)
Android Emulator can behave nasty upon running Android M with all those top-notch configuration. However, it can be adapted to meet your requirements – to run smoother and faster than ever before. Below are some tips to improve its performance:
How to Improve Performance of Android Emulator?
Intel Hardware Accelerated Execution Manager (HAXM) is known to improve the performance of AVDs. It makes them start faster and run smoother and more responsive. Download and install HAXM to get the best performance for Android M running on Windows.
How to Install Apps in Android Emulator?
Google Play Store is not available in AVDs to download & install apps. However, you can still install apps inside AVDs – either download APKs and install them in the AVD or download and install APK of third-party app store like Amazon, Mobogenie, Aptoide, etc. and use it to download and install apps in AVD.
Android Emulator is a nice piece of software, right? We hope this tutorial brings surprise to your eyes upon watching Android M booting up on your Windows. Please don’t forget to use the mentioned tips and tricks to improve your Android M’s experience and make the most of this tutorial.
SEE ALSO: 10 Must Have Xposed Modules For Android
Did this guide help you? How was your experience with Android M? Did you find any problem? Please do share your responses using the comments section below.


 Abubakar Mohammed

 Anshuman Jain
 Arjun Sha
 Abubakar Mohammed

 Kanika Gogia

 Sagnik Das Gupta
 Kanika Gogia
